Task categories are displayed in a project based on their sort order in the configuration screen. This order may be changed by clicking on Edit in the upper right corner of the screen.
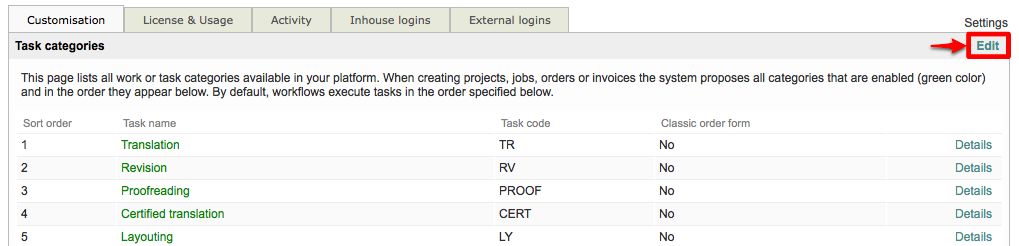
An up and down arrow will appear to the left of each task category and may be used to change its position within the list. For example, if you want the Translation task category to be in position 4, you would need to keep clicking on the down arrow next to this category until it is in the fourth spot on the list.

Please note that the position will move on each click; therefore, you will need to use the down or up arrow next to the task name in this list as it's order is changed. If you simply click on the down or up arrow in the first position, then you will be changing the order for a completely different category each time.
In this example, Translation has been moved to position 2 within the task categories list.

Once the task categories have been sorted appropriately, click on OK in the upper right corner of the screen to save your changes.

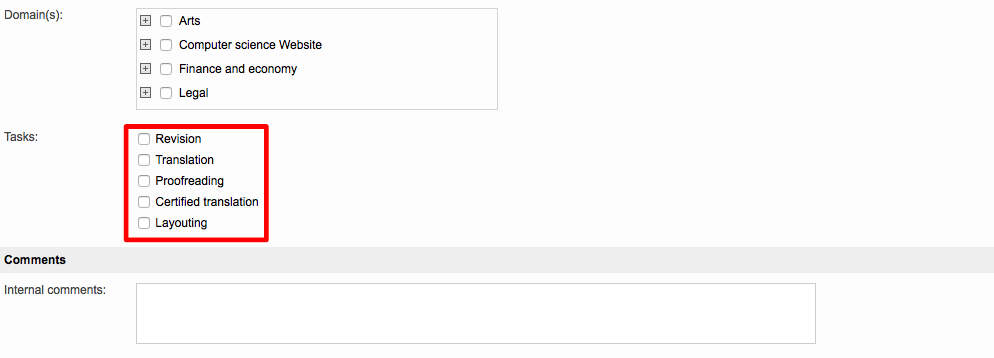
When opening a new or an existing project, scroll down within the Project Details Information to see the option for selecting task categories. In this example, a new project is being created and the tab is titled New Project Details. However, for existing projects it is simply titled Project Details.

Within this tab, you will see a Requirements Section and then a Tasks option for selecting available task categories. As shown in the image below, the Translation Task Category is now second in the list.