To add a new Machine Translation System in Wordbee Translator, navigate to the Settings page and select Configure for the option Machine Translation Systems.

In the next screen click on Add New in the upper right corner of the screen. In the dropdown, choose the provider you want to enable.
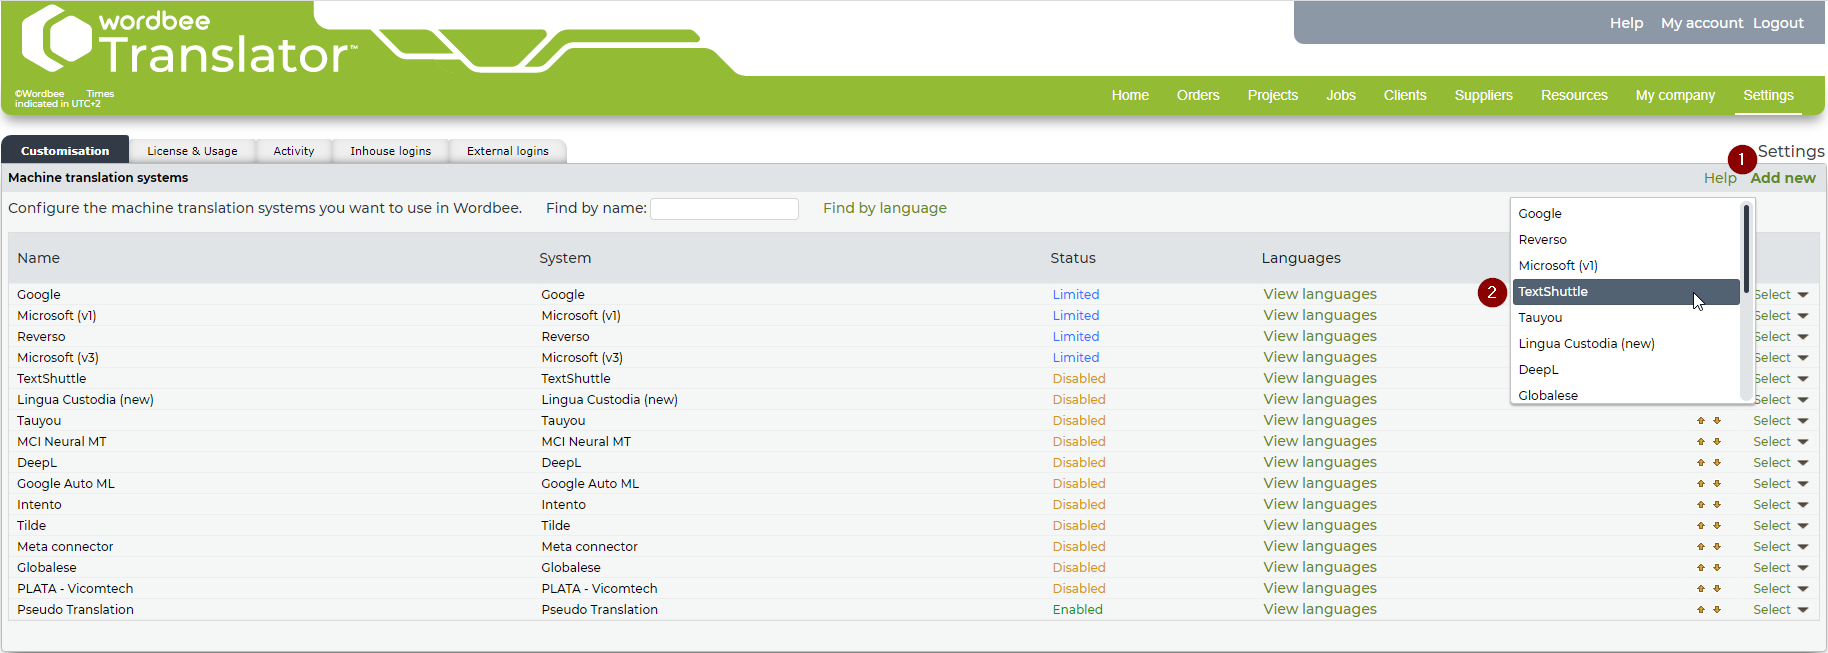
If you want to change your settings for an existing machine translation system, simply click Select for the correct system and follow the steps below.
Step 1: Enter a Name
Each MT system will have the provider as its default name. To avoid confusion, you should name your new MT system in a way that allows you to find it again in the future. The profile name will also be used if you decide to activate the profile for the Translation Editor or MT Hive. The name should make it easy for users to identify their intended use or language pairs.
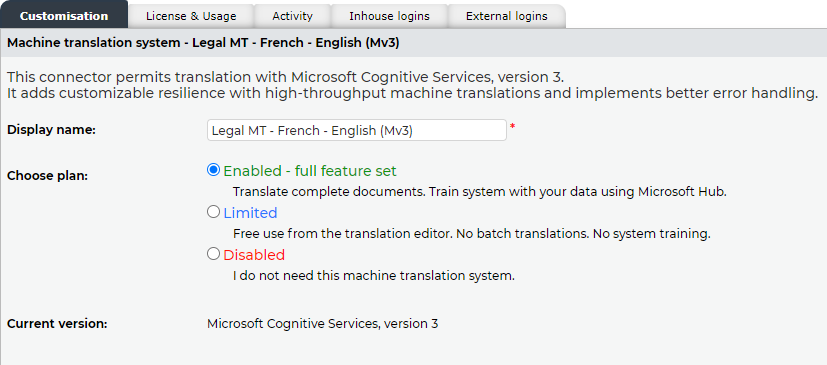
Step 2: Enable Your MT System
In the customization window you can enable, limit or disable the selected MT provider.
Enabled MT systems can be used throughout your platform. They will be available for translation of whole and multiple documents, Wordbee MT Hive, and for obtaining machine translations in Wordbee's Translation Editor.
Limited MT systems do not support any kind of batch actions. They can only be used in the Translation Editor to help translators localize single strings.
Disabled MT systems will not be available to any user on your Wordbee Translator platform.
The Limited option is only available for Microsoft, Google, and Reverso.
Step 3: Enter Credentials
Next, enter the credentials required to connect to your MT provider. Each provider has different requirements for authenticating API calls between Wordbee Translator and their MT solution, such as API keys, API URLs, client IDs or other configuration options. You can get all the details directly from your MT provider. Just copy/paste them into these fields. This information will be verified by Wordbee Translator when saving the machine translation system and must be correct in order for the save to be successful.
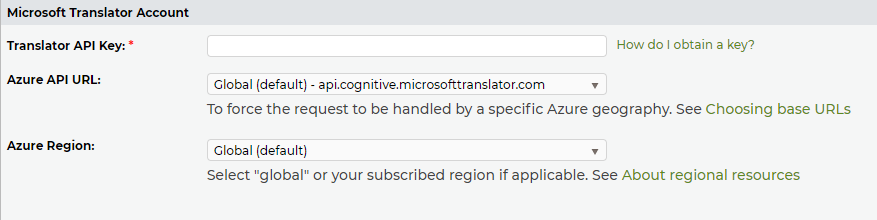
Learn more about MT Providers and Their Credential Requirements.
Step 4: Configure Source Languages
For new machine translation profiles, every available source language is enabled by default. Disable any languages that you don't want your profile to process.

Step 5: Configure Target Languages
As with the source languages, all available target languages are also enabled by default. To remove the selections, disable any languages you don't want your profile to process.

Step 6: Save Your Changes
Finally, it is time to save the machine translation system and for Wordbee Translator to verify the entered credentials. Click on Save in the upper right corner of the screen to begin this process.

You will receive a confirmation message that Wordbee Translator will be testing the supplied keys/credentials to ensure validity. Click on OK to begin.
If for some reason the keys cannot be validated, you will an error message. Click on OK and verify that the entered information is correct before attempting to save the machine translation system again.
Once all information has been entered correctly and have been successfully validated, the new machine translation profile will appear in the list of machine translation systems in Wordbee Translator.
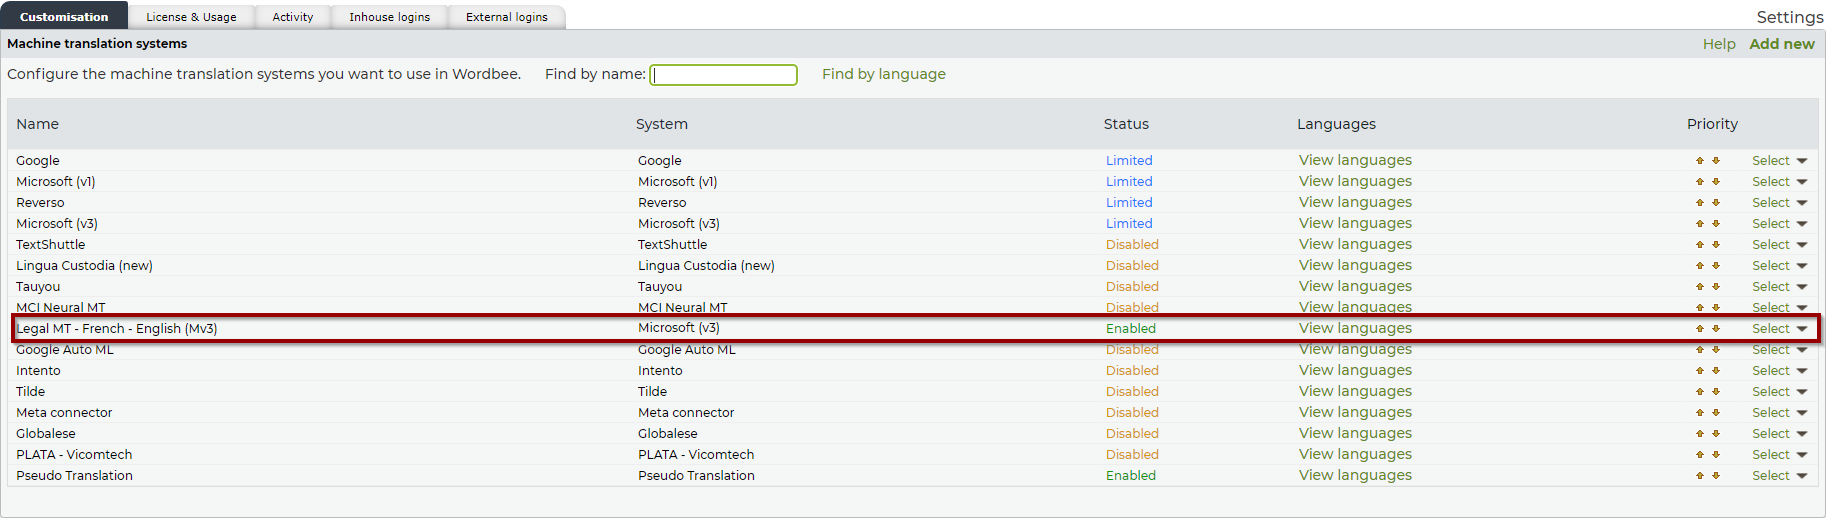
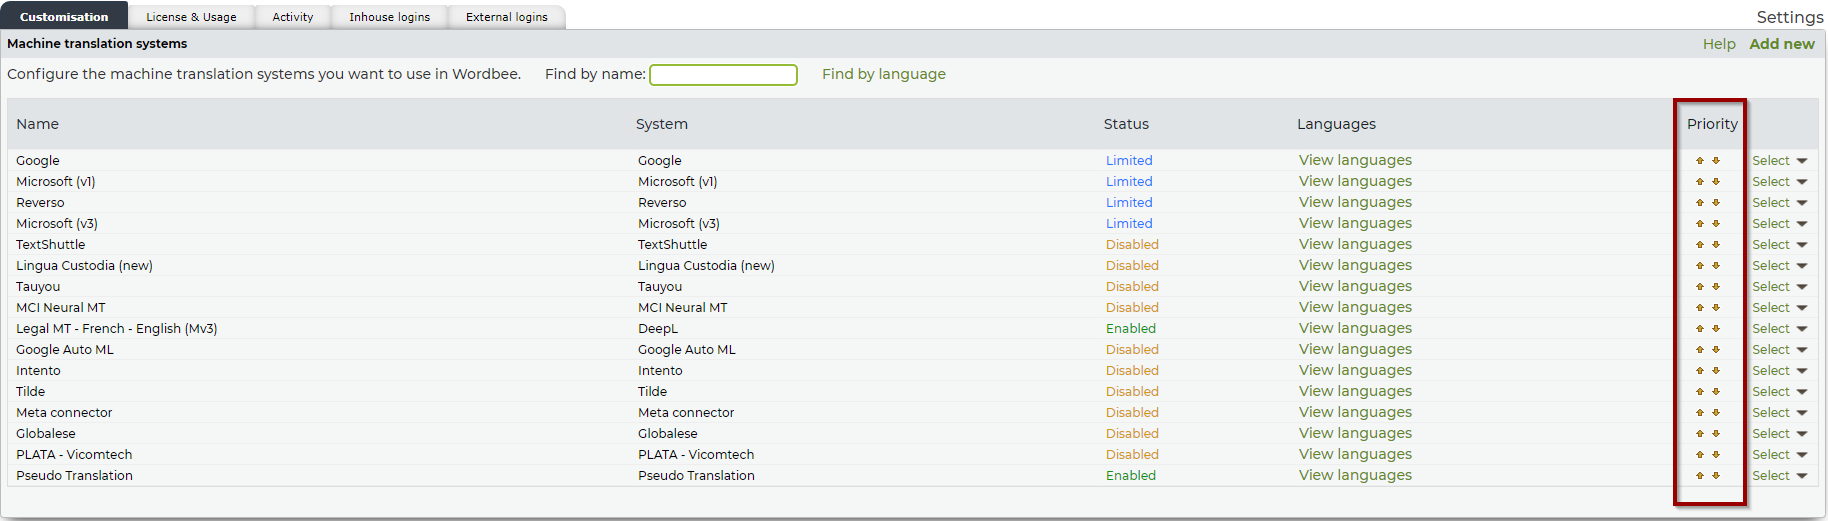
Step 7: Prioritize Your MT Systems
By default, machine translation profiles are listed in alphabetical order. However, users can choose to reorder them in this list to give them a specific priority. To do this, use the arrows on the right.
For example, you can place all enabled MT profiles at the top, or cluster systems based on domain or language pairs.