
A client is a person for whom you work. This could be an company that you are working for or an internal department which needs documents or other items to be translated, revised, proofread, and so on.
With Wordbee Translator, you are able to build a client list and manage each client in the system. This includes entering all the usual information: addresses, emails, phone numbers, etc. A client in the system may also have an associated price list.
The following sections have been provided to help you set up clients in the system:
Step 1: Add a Client
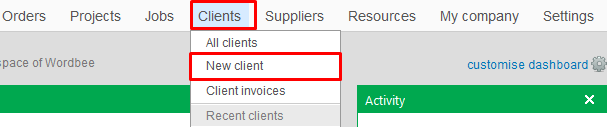
First, pass your mouse of Clients in the Menu Bar and then click on New Client.
Enter a Name and Email Address for the client. All other information is optional and does not have to be entered to add a client in Wordbee Translator.
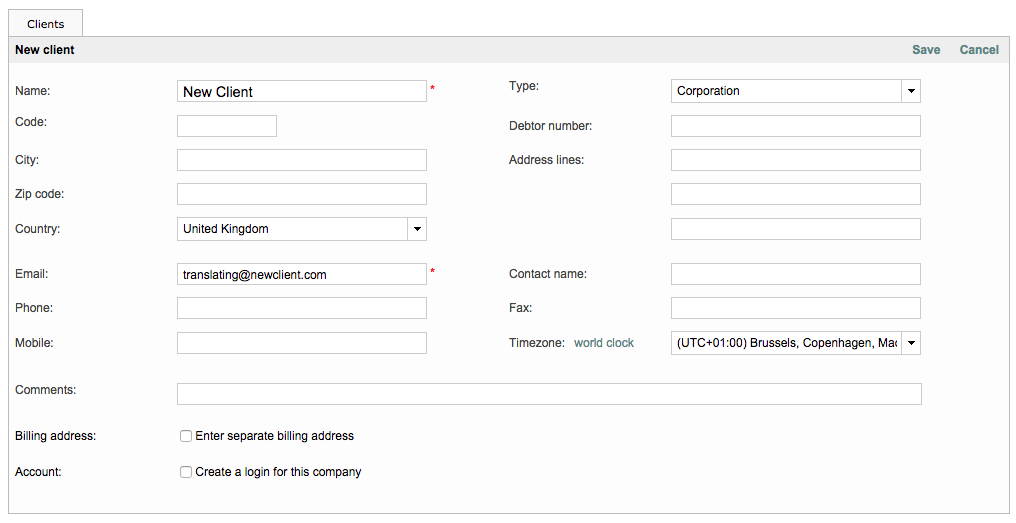
If the billing information is different than what has been entered for the client, tick the checkbox next to Enter separate billing address to save another address for billing in the system.
Step 2: Create a Login (Optional)
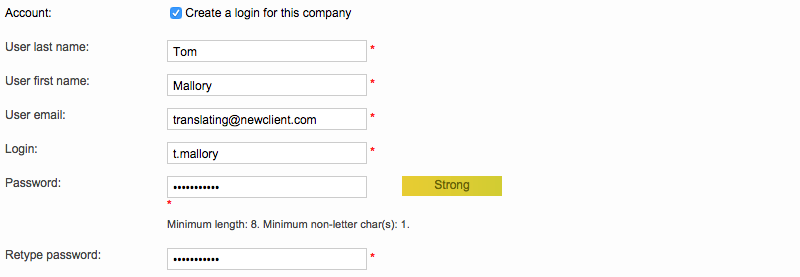
If you have the Wordbee client portal, you will be able to tick the box 'create a login for this company' to enable your client to access customized order forms and log into the system for revisions or other tasks. If you tick the box, you will need to enter and create the following:
-
First & Last Name
-
User Email
-
Login ID
-
Password
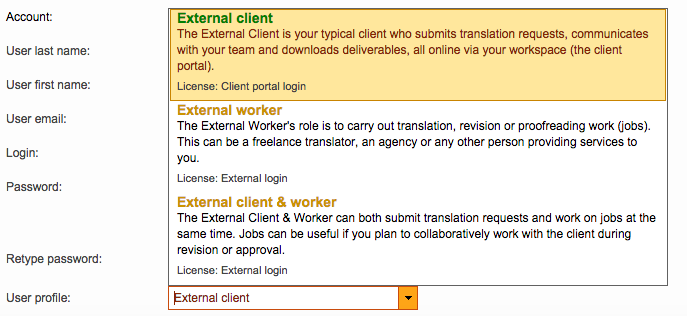
You will also need to configure a User Profile by selecting an option from the provided drop-down menu. The User Profile determines what the user is able to do when logged into the system.
You will be able to choose between 3 different profiles:
-
External Client - The External Client is your typical client who submits translation requests, communicates with your team and downloads deliverables, all online via your workspace (the client portal).
-
External Worker - This External Worker is any user who will need to perform translations or other job related work and communicate with the team.
-
External Client & Worker - The External Client & Worker can both submit translation requests and work on jobs at the same time. Jobs can be useful if you plan to collaboratively work with the client during revision or approval.
Step 3: Save the Client
After all required information has been entered and a login has been configured (if needed), click on Save to finish adding the client to the system.

A new screen will appear to show the client's details, as shown below:
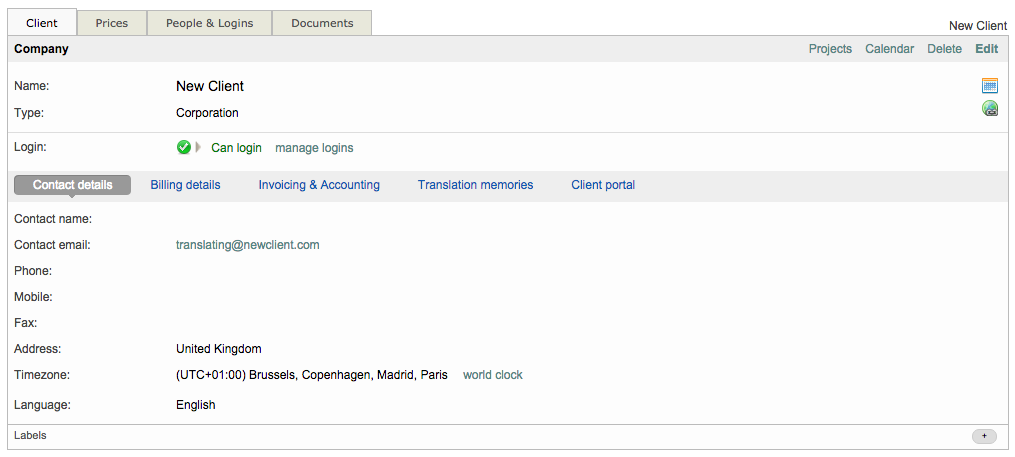
Note that by default, the language set for your client is English. That will be the language in which the notifications will be sent to all client users.
Once the login has been created, you should communicate it to your client.
Step 4: Add Pricing Information (Optional)
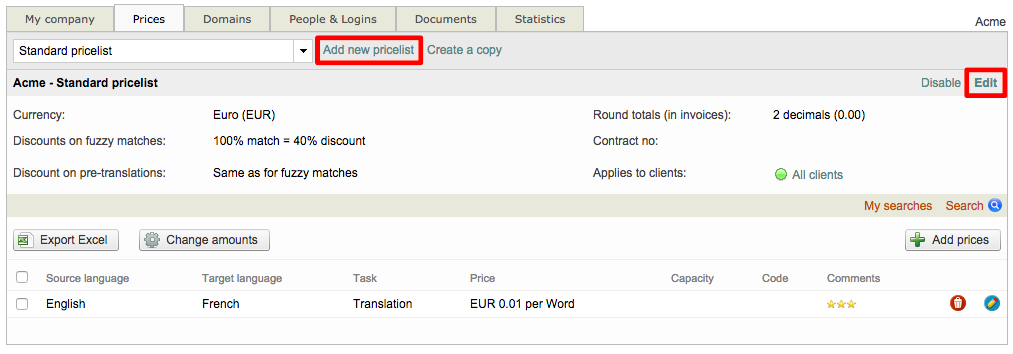
If a quote or invoice must be generated for the client, you may want to set up a pricelist with any applicable discounts and pricing information for language pair tasks. This can be done after saving the client by clicking on the Prices Tab and then clicking on Details next to the displayed Standard Pricelist.

Then either click on Edit or Add New Pricelist to make changes and configure pricing.
Enter a Name for the price list (if new), select a Currency, and then enter Fuzzy Match Discount information. You may also configure options for discounts on pre-translations, decimal places for rounded totals, minimum charges, etc. for the price list. Click on Save once finished.

After this information has been saved, you may enter Language Pairs, Tasks, and Pricing information. This informs the system about pricing for a specific task for a source and target language. For example, if the client requires an English to French Translation at .05 EUR per Word. This information will be entered here by clicking on Add Prices.

A default language pair is provide and will be modified after you click on Add Prices.
Select the Source and Target Language. Click on Select Multiple Languages to choose more than one target language. Then choose the task and configure the price for the language pair and task. Click on Add New when finished.
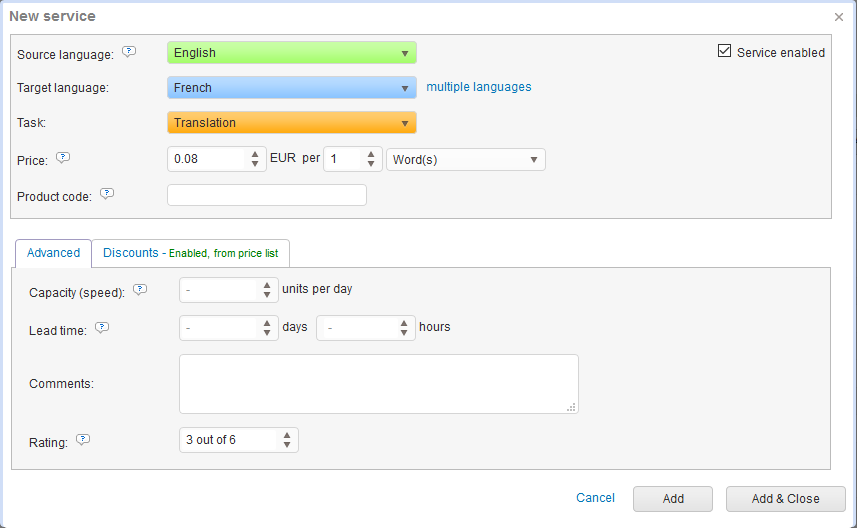
The pricing information will appear as shown below and you may add as many as needed:

You may add as many clients as needed to the system by following the steps above.
To learn more about entering pricing information and performing other client related tasks in the system, please see the Managing Clients section of the documentation.