
When working in the Editor, you may not need every language and metadata column visible at the same time. The Fields Panel lets you choose which columns appear in the grid, so you can focus on the data that matters for your current task. To open the panel, click the Fields button in the top-right area of the toolbar.
Configuring the Grid View
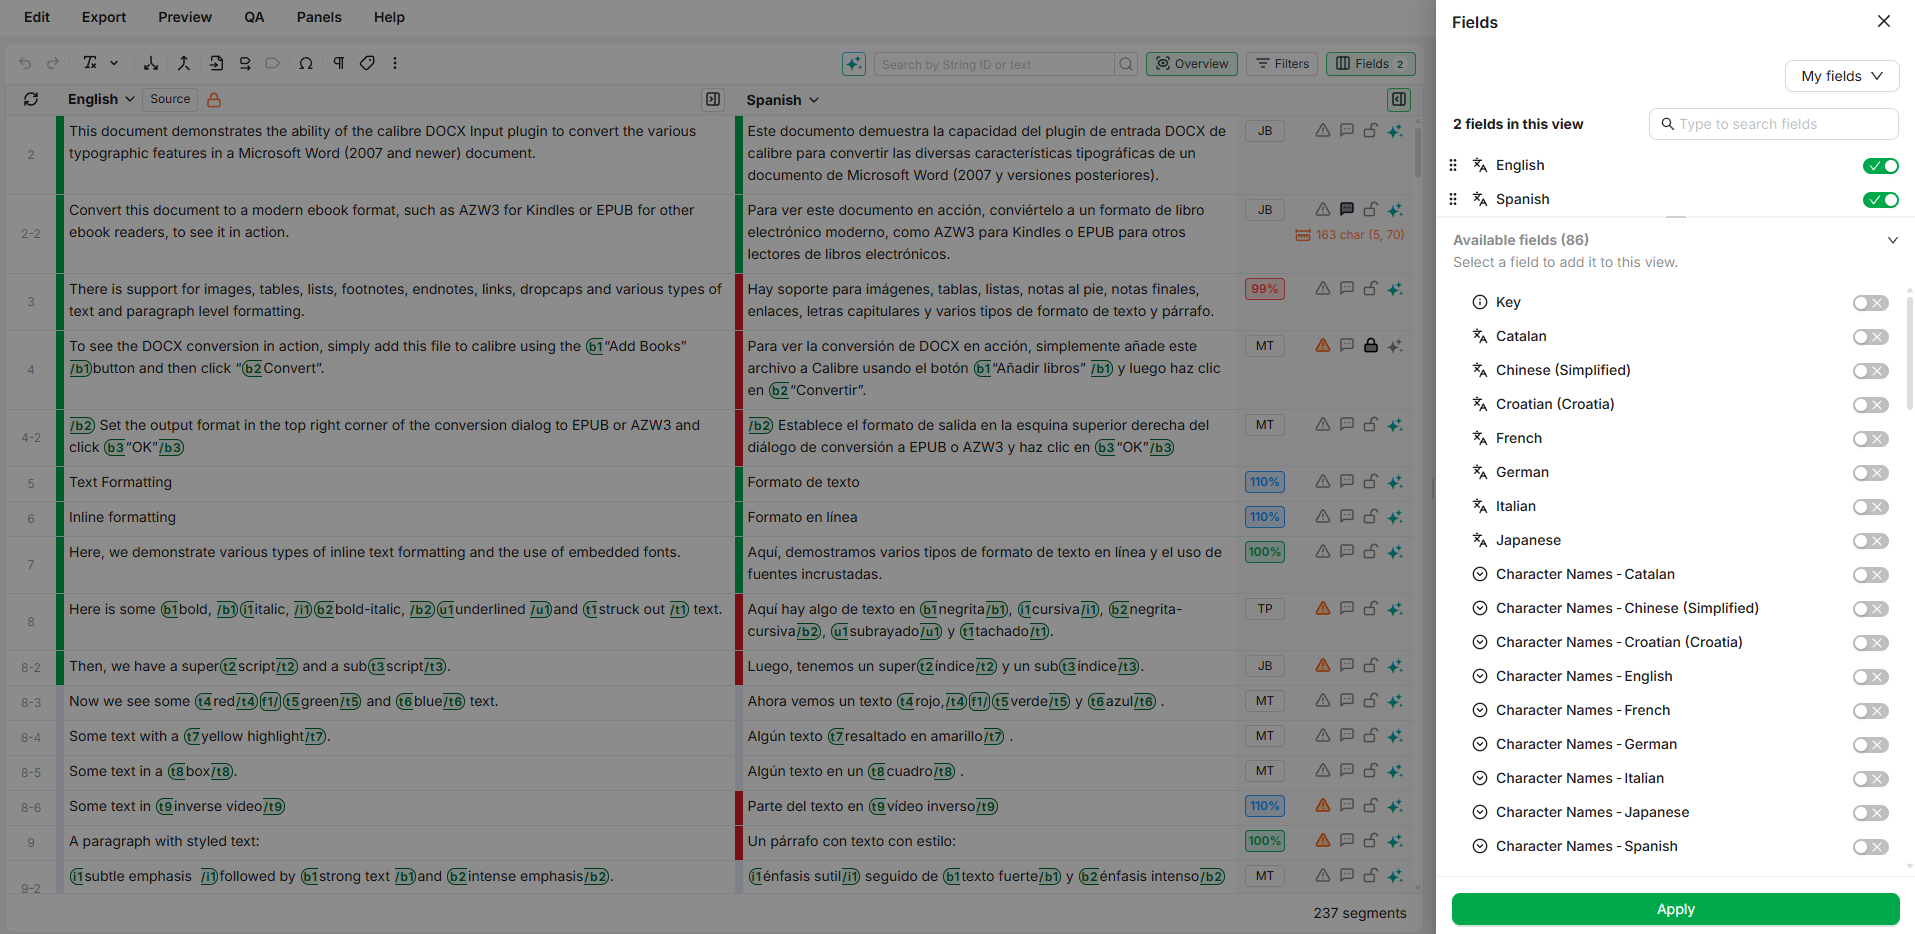
The Fields Panel is divided into two sections:
-
Fields in This View: the fields currently visible in the grid. You can drag and drop them to change the column order, or toggle the switch next to each field to remove it from the view.
-
Available Fields: all remaining fields that are not currently shown. Toggle the switch next to any field to add it to the grid.
Use the search bar at the top to quickly locate a field by name.
After making your changes, click Apply to update the grid immediately.
Field Categories
Fields are organized into the following categories:
|
Category |
Description |
|---|---|
|
Languages |
Translation content columns (e.g., English, Arabic, Spanish) |
|
Status |
Validation state per language (e.g., Status - English, Status - Arabic) |
|
Comments |
Read-only column showing comments per language |
|
QA |
Quality columns: the QA score per language (0-100, read-only) and the QA flag column showing every segment with open issues from the latest QA run. Both update live as QA runs complete and scores are recomputed. Useful for spotting affected segments without opening the QA panel and for prioritizing low-scoring segments for review. |
|
Custom Fields |
Project-specific fields, pre-defined or customizable |
|
Labels |
Custom labels used to tag or categorize segments |
Fields reflect metadata at either the segment level (shared across all languages) or the language level (specific to one language). Both types can be added to the grid.
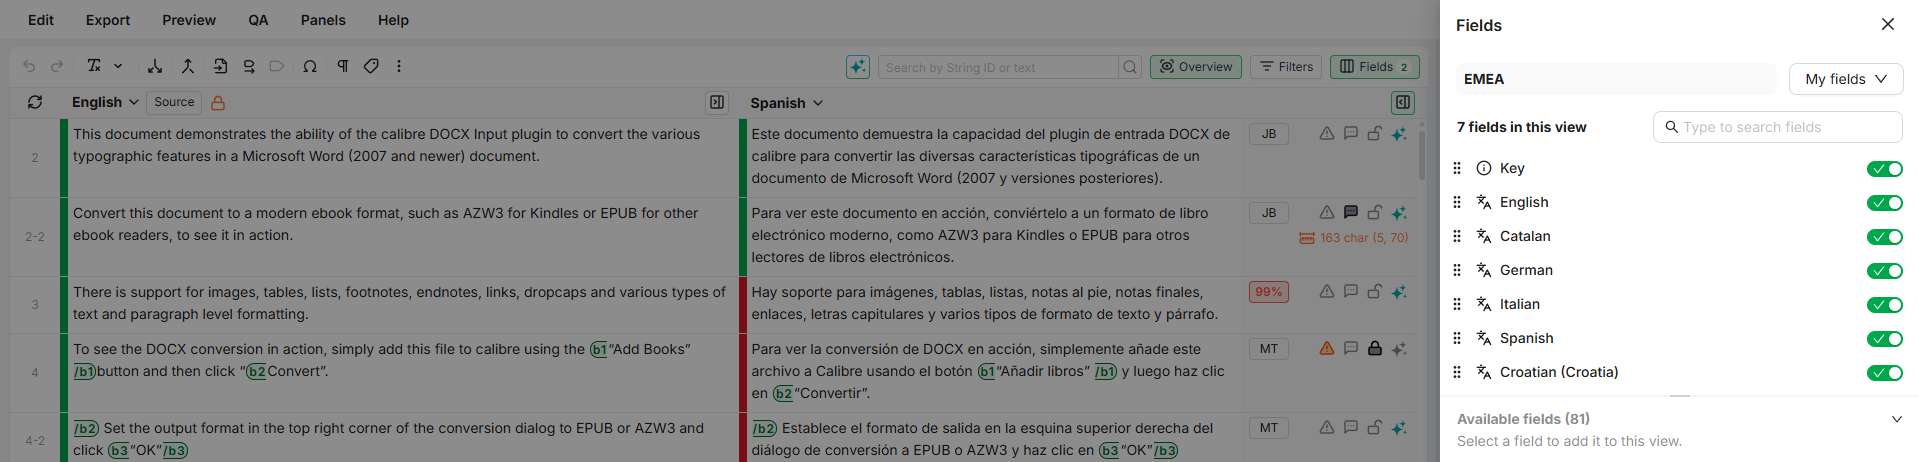
My Fields (Presets)
If you frequently switch between different field configurations, you can save them as presets and load them with one click. Click the My Fields dropdown in the top-right corner of the panel to access your presets.

Saving a Preset
-
Configure the fields you want in the grid (add, remove, reorder).
-
Click My Fields and select Create new preset.
-
Enter a name for the preset and click Save.
Loading a Preset
-
Click My Fields to open the dropdown.
-
Select a preset from the list. The grid updates immediately with the saved field configuration.
When a preset is active, its name appears at the top-left of the panel.
Updating a Preset
After loading a preset, you can modify the field selection or order. Click the save icon next to the preset name to overwrite the preset with the current configuration.
Renaming a Preset
Click the preset name at the top-left of the panel to edit it directly. Type a new name and the change is saved automatically.
Deleting a Preset
-
Click My Fields to open the dropdown.
-
Hover over the preset you want to remove and click the trash icon.
Sharing a field layout by link
You can share a specific set of columns and their order through a link, so the Editor opens on the exact layout you choose. This is useful for support, training, and customer-facing documentation.
When you open a link that carries a field layout, the Editor shows those columns, in that order, for that visit. Your own saved layout is never changed. As soon as you refresh without the link, or change and save your own columns, you are back to your own layout.
The shared layout applies to your current visit only and never overwrites your saved layout. Column permissions are always respected: a link can never show you a column you are not allowed to see. Any column you cannot see, or that does not exist in your project, is simply left out.
If some columns cannot be applied
If the link includes columns that cannot be applied, the Editor shows a short, dismissible message at the top of the grid. The valid columns are still applied. Select Review columns in the message to open the Fields panel and check which columns are shown.
Unknown Attachment
When your saved layout takes over
A shared link tidies itself up once you make the view your own. After you change and save your columns, the link's layout is removed from the address bar, so the next refresh shows your own saved layout.
Learn More
-
Filters Panel: Narrow down the segments shown in the grid using filters across all field types.
-
QA Panel: Run QA checks and review flagged issues in detail.