To access and manage the Global Search module, go to Settings in the upper right corner of the screen. Scroll down to the Global Search section and then click on Configure.
The Global Search Settings will appear as shown below. Click on Edit to make changes to these settings.
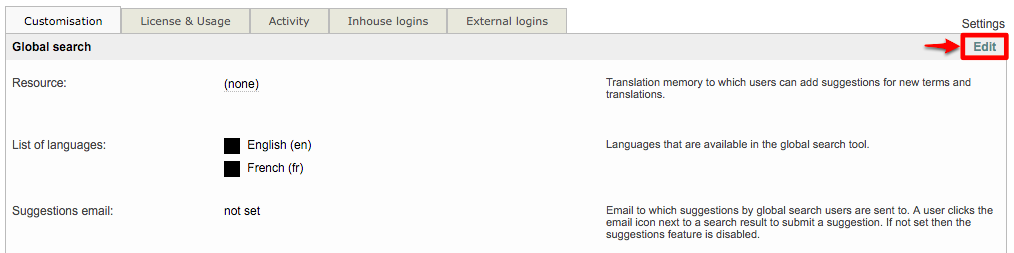
Once all changes have been made, click on Save in the upper right corner or Cancel to exit without saving your changes.

To learn more about these settings, please see the sections below:
Resource
By default no resource is selected in the Global Search settings. When a resource is configured, users are able to add suggestions for new terms or translations to the configured resource. This allows all suggestions to be stored in an empty glossary or translation memory.
To configure this setting, click on the drop-down menu and choose the desired empty resource (glossary or translation memory).

If no empty resource is available, then click on Create new to create an empty glossary or memory for suggestions regarding new terms or translations.

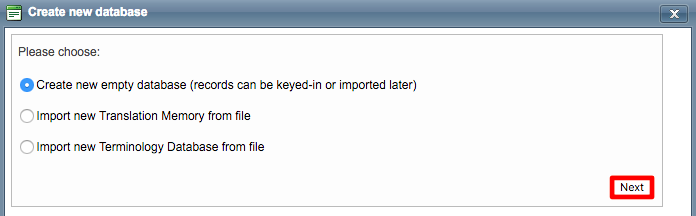
Then tick the radial for Create new empty database in the pop-up window and click on Next.
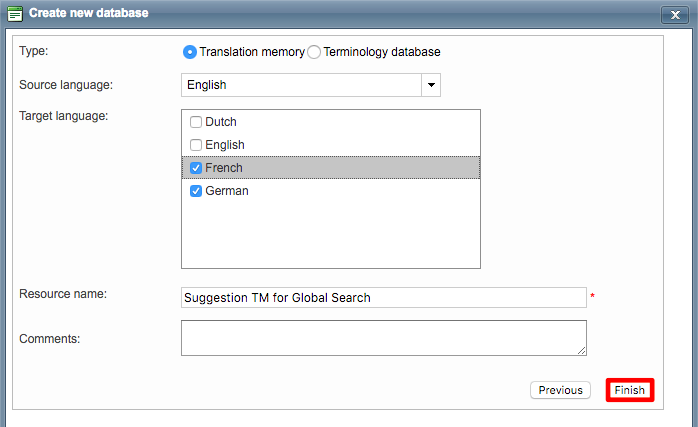
Choose a Type by ticking the appropriate radial (Translation Memory or Terminology Database). Choose a Source Language from the drop-down menu and tick the checkbox for each Target Language to be included as part of the resource. Next, enter a Name for the resource and click on Finish.
Once this has been done, you will be able to select the new resource for storing suggestions made when using Global Search.

List of Languages
The List of Languages determines what languages can be selected for a search. For each language, you can define a color so that it is easier to recognize in the results. This is done by clicking on the drop-down arrow for the color setting next to a language and then choosing the color you want to use.
Additionally, you can add more languages by clicking on Add or remove a language by clicking on Delete. Use the Up and Down Arrows to change the position of a language in the list.

Suggestions Email
Users are able to submit a suggestion via email (when this option is enabled) by clicking on the email icon located next to the search result. If no email has been entered, this feature is disabled by default.

Logo
The Logo appears at the top of the Global Search landing page. By default, a Wordbee logo is used for Global Search; however, you can also upload your own image by clicking on the Change Image option located below the logo.
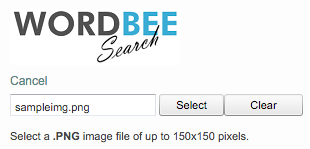
Click on Select to browse to and select your image. The name of the selected image will appear as shown below. Once an image has been selected, you can click on Clear to remove the selected image and keep the default logo.
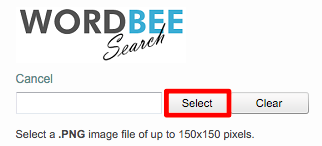
Images must be a PNG format and cannot exceed 150 pixels by 150 pixels.
If the image has been changed, you can set the logo back to the default image at any time by editing the settings and clicking on Reset Default.
Welcome Message
The Welcome Message appears right below the logo on the Global Search landing page. By default, no message is entered. You can click on the field and enter you own welcome message that includes your company name or other types of information.

Find a Supplier
When this option is enabled, any user who has been permitted to view suppliers will have a link at the top of Global Search that can be used to locate external suppliers.

By default this option is disabled. To enable it, click on the radial to the right of the Green Checkmark.

The link will appear in the Global Search Page as shown below and takes the user to the suppliers page.

Search Filters
Several filters are also provided for showing and hiding information in the search results. Each of these filters are enabled by default, as shown below:
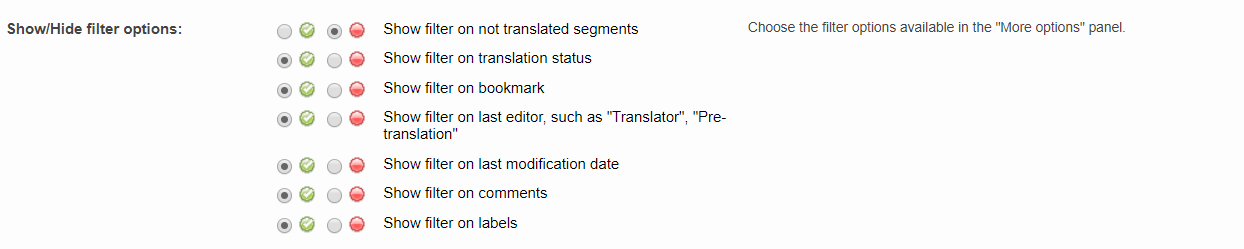
A filter can be disabled by ticking the radial for the Red Circle. For example, let's say you do not want to show a filter for viewing results based on translation status or bookmarks. The configuration would appear as shown below for the filters. If a filter is disabled, then it is hidden from the Global Search page.

These filters can be viewed on the Global Search Page by clicking on More Options and appear as shown below:
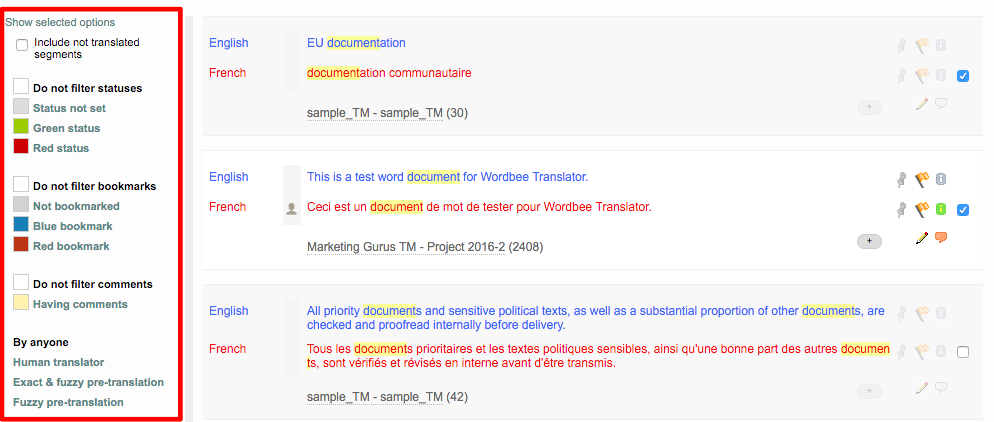
If all filters were disabled in the Global Search Settings, then this sidebar would appear differently. You can enable or disable any of these settings to ensure the appropriate filters are provided to users.

Search Result Details
The Search Result Details options determine if bookmarks or segment lock statuses are shown with each hit in the results. By default, bookmarks for each hit are shown, but not segment lock statuses.

When Show bookmarks with each hit is enabled, you will see a small icon to the left of each hit in the results that appears as a Push Pin. This shows the current bookmark for the hit.

When it is disabled, this icon will no longer be present for each hit in the results. The same applies for segment lock statuses when they are applicable for a hit in the global search results.

Reference Documents
The Reference Documents options can be used to provide access through the global search page for shared documents. The option for providing this access is disabled by default.
When enabled, the user can open a list of documents that have been uploaded through the link on the Global Search Page. The default name for this link is Resource Documents, but can be changed to another name for display on the page.
In order to see this information, the user must also have the appropriate access rights for global search and the shared documents. The Reference Documents Title option can be used to enter a more recognizable name for these files.

When you give access to reference documents from the global search page, it is for global access. This means that there is no separation per viewing by client, suppliers, etc. Everyone on the platform is able to view these documents and download them.
When enabled, the users will see an additional link at the top of the Global Search Page titled Reference Documents (if the name has not changed).

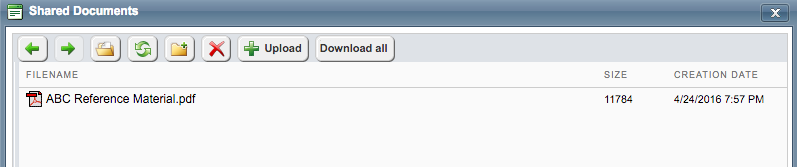
If the name was changed, then the link will appear with the given name. In this example, the name was changed to Shared Documents.

A pop-up window will appear as shown below after clicking on this link. Here the user can create folders, upload additional shared documents, delete documents, and download files when the appropriate access rights have been provided.