This article shows you how to edit the settings and define how your Wordbee Translator platform appears to users.
Go to Settings > Look & Feel and click on Configure to open the settings.
To add your own logo, change colours, configure email, or alter login appearance, click on Edit in the upper right corner of the screen.

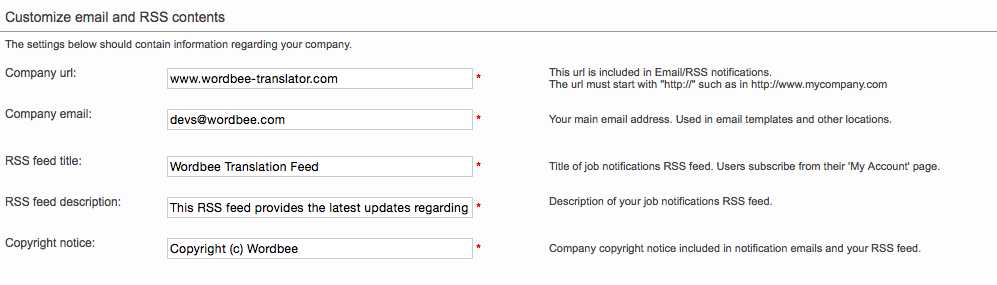
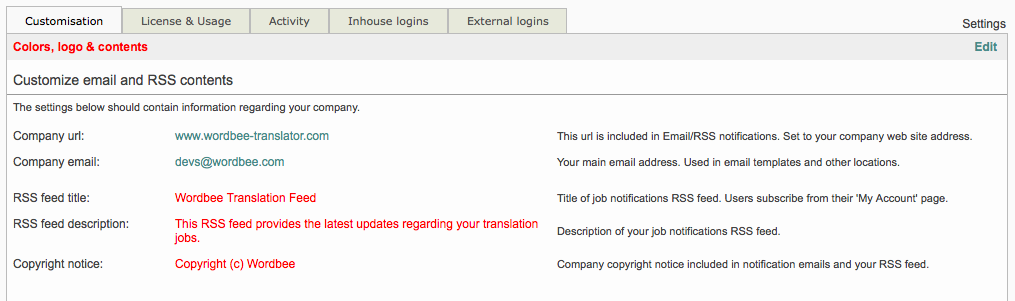
Customize Email and RSS contents
These settings may be used to direct users to the URL of your business, to configure the desired address for email generation, and to display copyright information within the system.
By default, the system displays information related to Wordbee Translator, such as a link to the main website, emails to the default Wordbee email, and Wordbee copyright information.
You can use these settings to tailor what is displayed so that it properly reflects your company and provides users with the information they need.
Please note that while RSS Feed options are shown, these options will be removed shortly and do not pertain to customizing Wordbee Translator.
Company URL
The Company URL is included in emails, used to direct users to your website when clicking on the logo, and for other purposes in Wordbee Translator. In order for it to be configured correctly, you must include http:// within the URL (http://www.mycompany.com). This URL will be included in email notifications and is used for directing users to the entered website upon clicking on the page logo.
http:// must be included at the front of the Company URL in order for the link to work appropriately within the system.
Company Email
The Company Email setting may be used to configure the default email address used for email templates as well as in other locations within the system. To change this, simply click on the text entry field and type in your company email address.

Copyright Notice
By default, the Copyright Notice within email notifications shows "Copyright (c) Wordbee". This can be altered to display the copyright notice of your company thus creating a tailored, copyrighted platform. Simply type in the copyright text you want to appear within Wordbee Translator. After the change has been saved, you will immediately see the new copyright information within any notification emails sent by the system.

Customize General Look & Feel
The General Look and Feel the section provides options for adding your own logo to the page header, changing the background colour, entering a custom Help URL or hiding the help link, and applying advanced custom styles with CSS code.
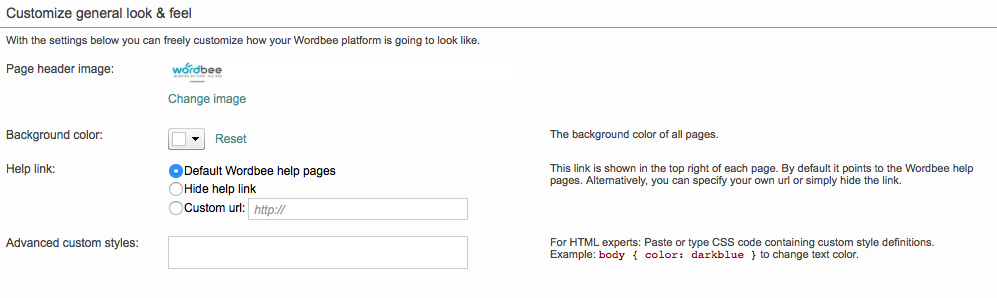
Page Header Image
By default, the page header image displayed is the Wordbee Logo; however, this can be customized to show your company logo.

The image must be 1000 pixels wide and at least 30 pixels in height in order to appear correctly on the screen. It must also be a .jpg image, as other image types are not supported. To add an image to appear as the page header logo, click on Change Image.

Then click on Select to choose the .jpg image you want to use.

The file name will appear within the text box to the left of the Select Button. You will need to save this change for it to appear in Wordbee Translator. If for some reason you need to remove the current image, simply click on Clear and the image name will no longer appear on the screen.

Please remember that an uploaded image for the page header must be a .jpg image. It must also be 1000 pixels wide and have a minimum height of 30 pixels in order to appear correctly in the page header, but must not be more than 200 pixels.
Background Color
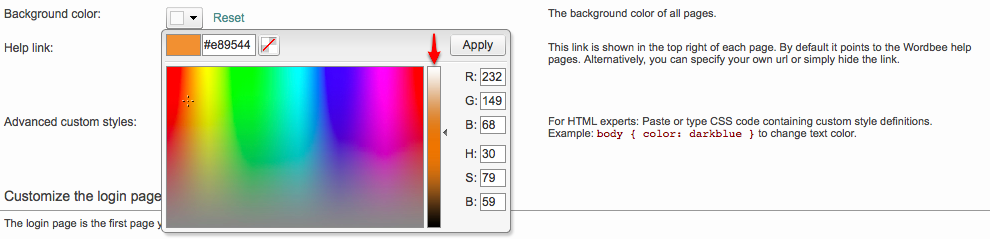
By default, Wordbee Translator uses a specific colour as the background colour. This can be changed by selecting a different colour within the Background Color option. For example, if you want the background colour to be orange, then click on the Colour Selection Menu to make this change.
Then click on a colour within the provided colour selection area. In this example, orange is selected.
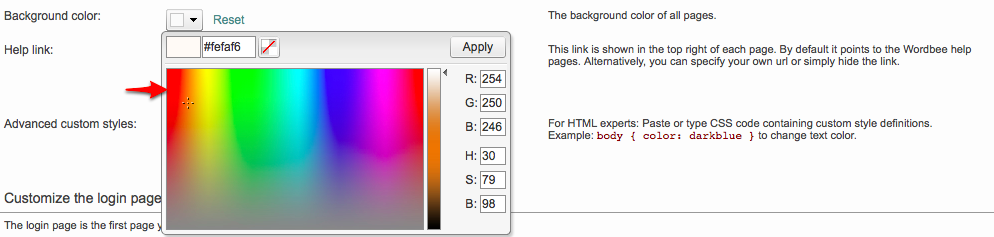
Next, use the Saturation Bar to further alter the colour. The actual display colour will appear in the top left of this window. When finished, click on Apply and then remember to save the change.
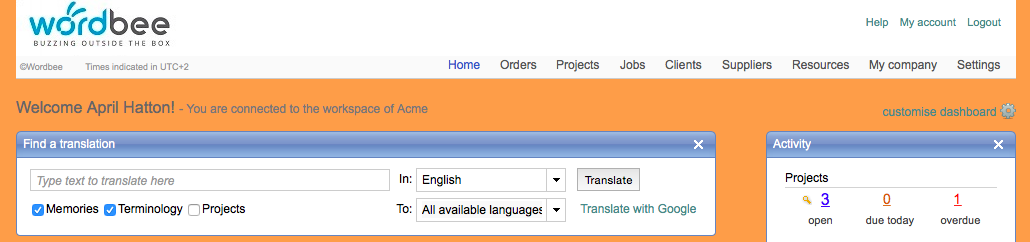
As shown below, the background colour is now orange.
You can choose a different background colour at any time or use the Reset option to revert back to the default Wordbee Translator background colour.
Help Link
The Help Link appears at the top right of the screen and by default directs users to Wordbee Translator help documentation. This link may be hidden or customized to direct users to your own help topics or any other valid URL.

To Hide the help link, simply tick the Hide Help Link option, as shown below. Then save the change for it to take effect.

When the help link is hidden, the top portion of Wordbee Translator will appear as shown below:

To enter a Custom URL for the help link, tick the Custom URL option and then enter the URL you want to be used for this link. Remember to include http:// within the URL.

http:// must be included at the front of the Custom URL in order for the link to work appropriately within the system.
Advanced Custom Styles
The Advanced Custom Styles option may be used to type or paste CSS code for changing the visual attributes of Wordbee Translator. For example, by default the text colour is displayed in black, however, this configuration option may be used to change this or other qualities by entering the appropriate CSS code. In the example below, the body text colour is changed to red within this option.

This change will immediately be visible after you have saved the configuration in Wordbee Translator, as shown below:
Customize the Login Page
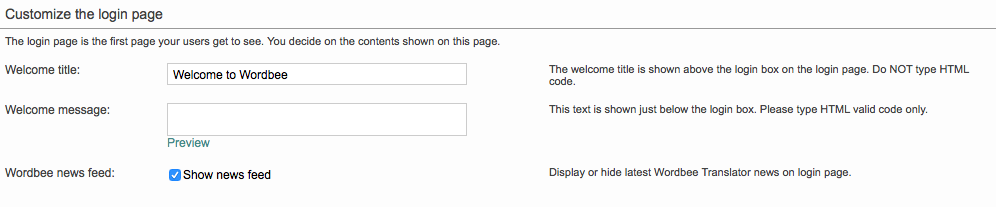
The Login Page options are provided for customizing the welcome title, welcome message, and Wordbee news feed display that are shown on the Login Page for the system.

Welcome Title
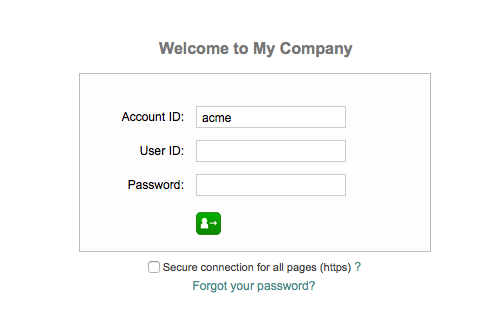
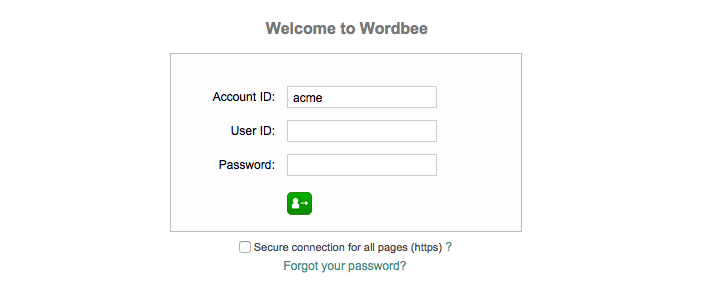
The Welcome Title appears above the login box on the Login Page. By default this message is shown "Welcome to Wordbee". You can change this message to display any desired text to users. For example, you might want to display the name of your company to users logging into the system.
To do so, click on the entry field and type the name of your company.
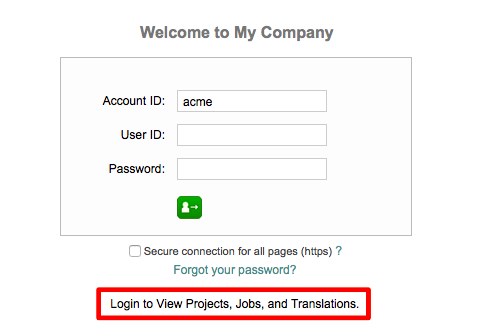
Once the change has been saved, users will see this message at the top of the Login Page, as shown below:
Welcome Message
Besides displaying a Welcome Title, you may also enter a custom Welcome Message, which will appear on the Login Page below the "Forgot your password?" link. By default, no text is entered in this option, so only the title is displayed. However, by clicking on the entry box for this option, you may type any desired text.

You can see message prior to saving this change by clicking on Preview located at the bottom of the text entry box.

The preview screen will appear as shown below:
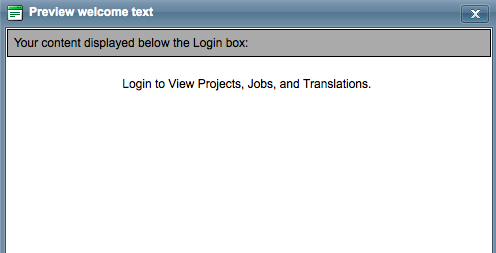
Click on X in the top right corner to close the preview window and remember to save the configuration change. Once the change has been saved, it will immediately be reflected on the login page.
Wordbee News Feed
The Wordbee News Feed appears at the bottom of the login screen by default. However, if you are wanting to customize the Login Page to appear as a platform of your company, this displayed information is not necessary.

To remove the Wordbee News Feed from the Login Page, simply untick this option within the configuration screen and save the change.

Upon saving, the Login Page will appear similar to what is shown below:
Login URL
The Login URL appears at the bottom of the configuration screen within the Login Page settings. This URL provides access to your customized login page for the system and should be provided to users for logging in and/or published on your website.

This URL may not be changed and will actually not be visible when in Edit mode for the configuration settings.