
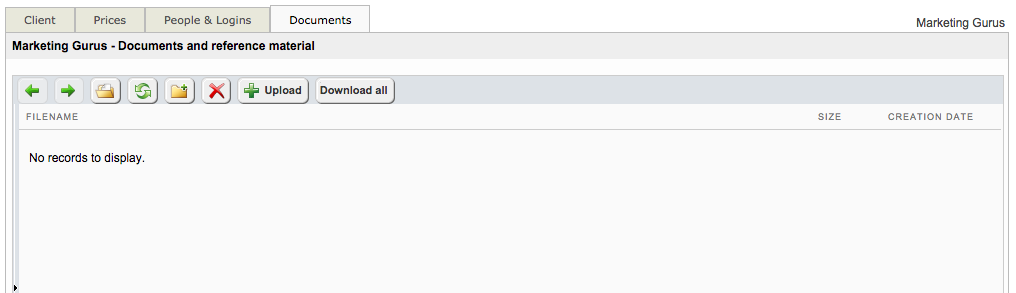
The Documents tab lets you upload, organize, and download files associated with a client, such as reference materials, style guides, or any supporting documents that should be readily accessible in the system.
The following sections have been provided to aid in working with documents for clients:
Adding Documents
To upload one or more documents, click Upload on the Documents tab.

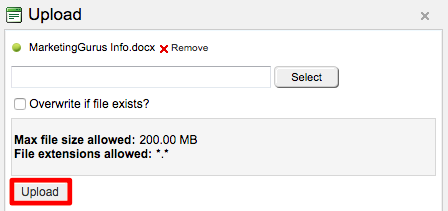
Click Select and choose the file(s) to upload. You can select multiple files at once in the file browser. The selected files will appear at the top of the upload window. When ready, click Upload.
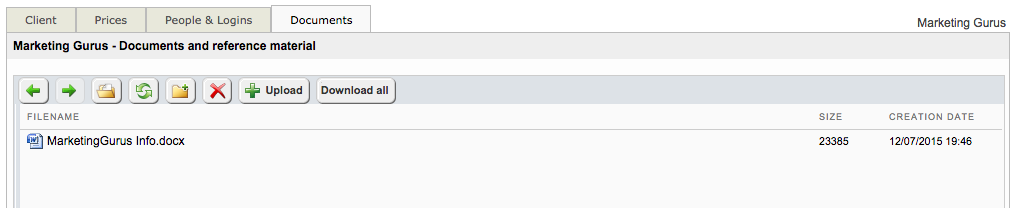
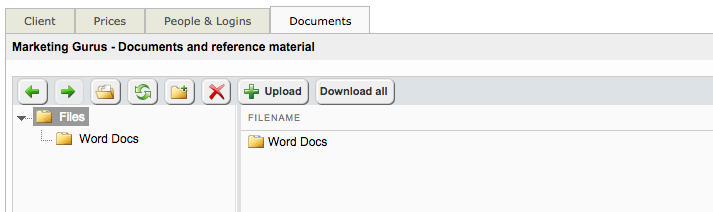
The uploaded documents will appear in the file list below the toolbar.
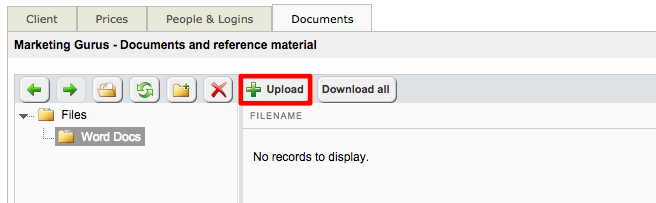
To upload directly into a folder, click the folder name in the file view first, then click Upload and follow the same steps.
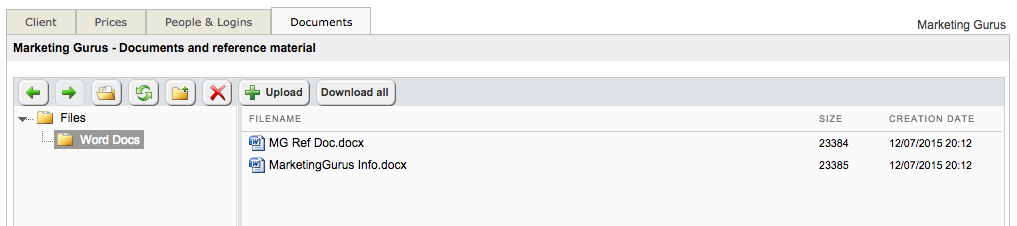
In this example, two Word documents have been uploaded to the Word Files folder:
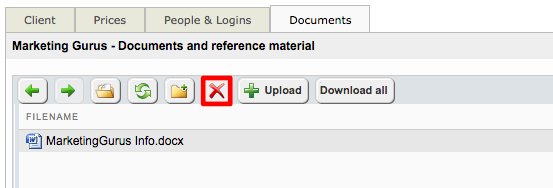
Removing Documents
Select the document you want to remove, then click the Delete (X) button above the file list. Confirm by clicking OK when prompted.
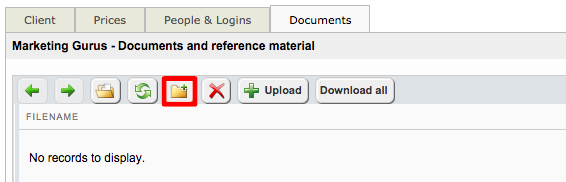
Creating Folders
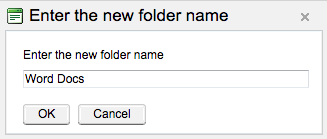
Click New Folder above the file list, enter a name, and click OK.
Then enter a name for the new folder and click on OK.
The folder will appear in the file view on the right-hand side. Select it and click Upload to add documents to it.
Downloading Documents
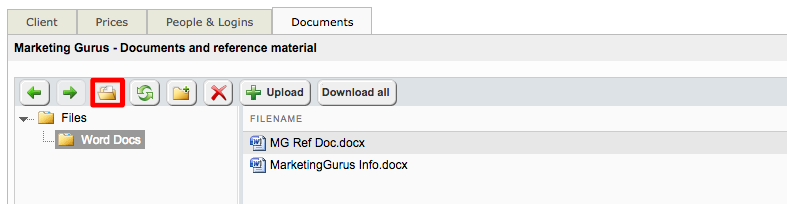
Documents may be downloaded individually by selecting the document and clicking on the Open Button.
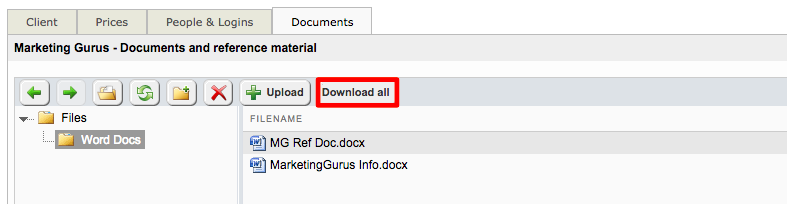
To download all documents at once, click Download All. This creates a ZIP file containing everything currently stored on the tab.
Save time with auto-copy reference materials
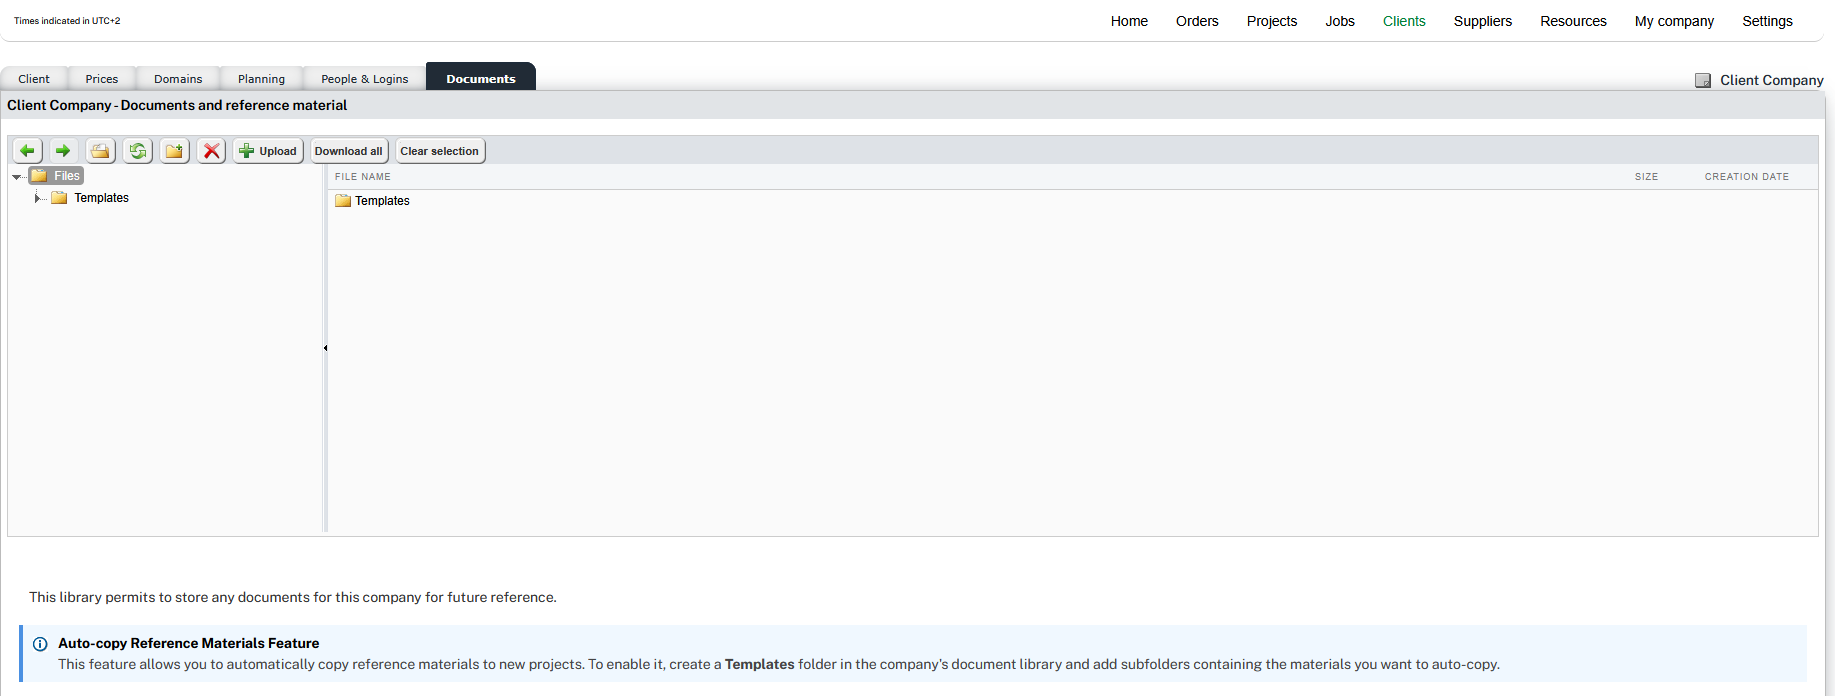
The Documents tab can also be used to automatically populate new projects with reference materials. This is useful when the same files such as client style guides need to be available in every project created.
To enable this feature, a folder named Templates must exist in the client's Documents tab and contain at least one sub-folder. Each sub-folder can hold a different set of reference files.
To set this up:
-
Click on the New Folder Button and create a folder named Templates.
-
Inside the Templates folder, create one or more sub-folders and upload the relevant reference files to each.
-
Refresh the page to see the option to enable the auto copy feature.
-
Enable the option Auto-copy reference material. Select the desired sub-folder from the dropdown menu.
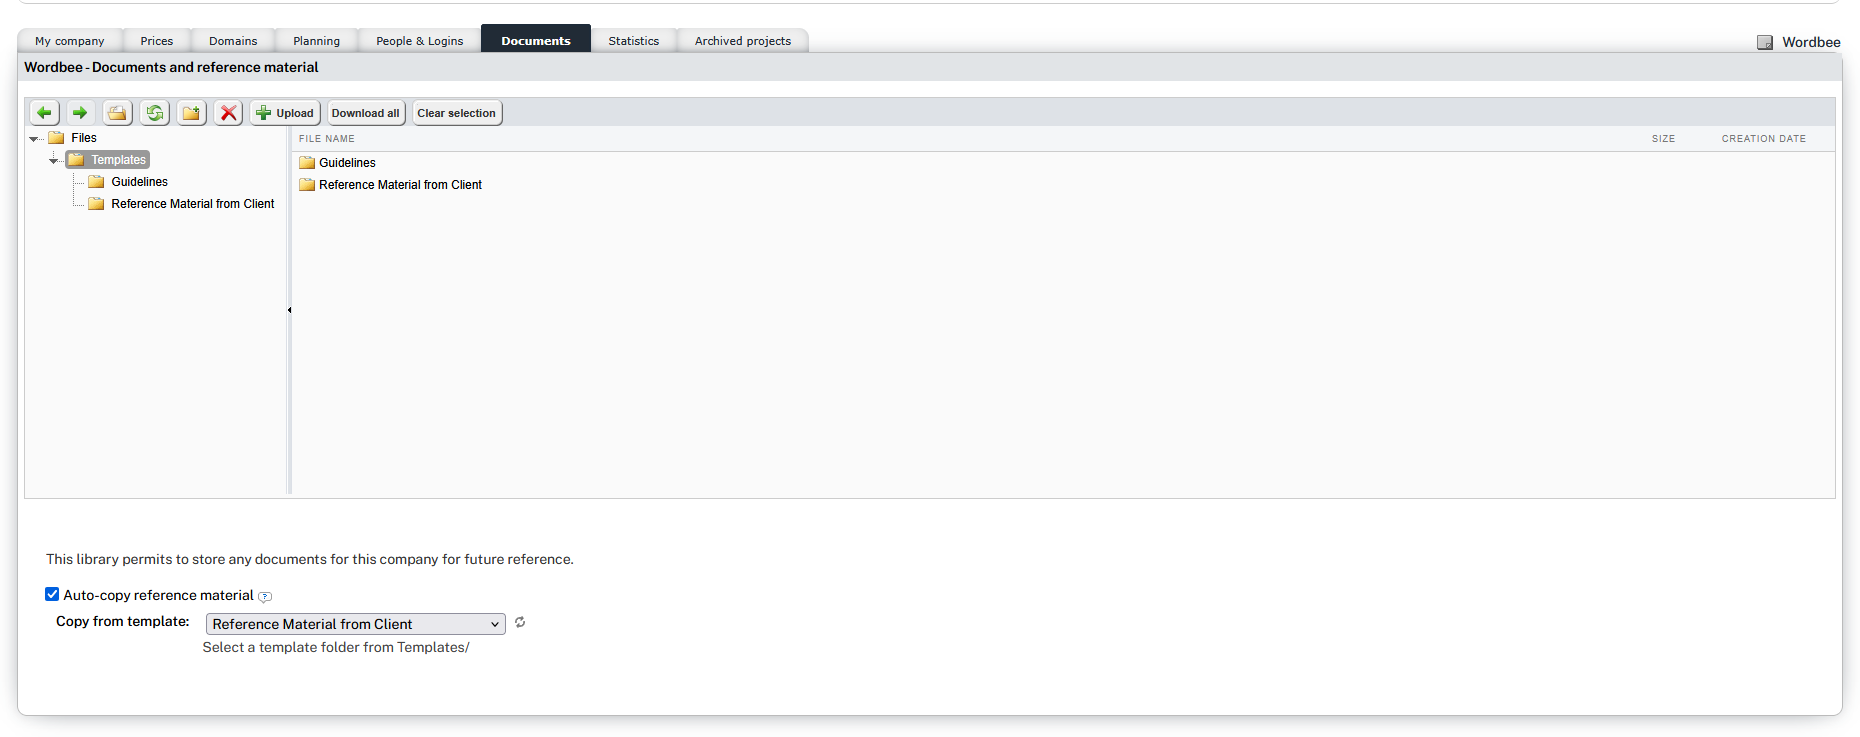
Once active, the files in the selected sub-folder will be automatically copied into the reference material folder of every new project created for that client.
The dropdown only becomes available once the Templates folder with at least one sub-folder has been detected in the Documents tab.