Customize Email notifications
In this section we will show you how to customize your email notifications. We will work with the example of Job notifications, but any other template could be updated with your custom texts:
Customize Job notifications
First click on the View/Edit

Now on the following page you will be able to view and edit your email body and titles content by clicking on the "Edit" link located on the top right of your page.
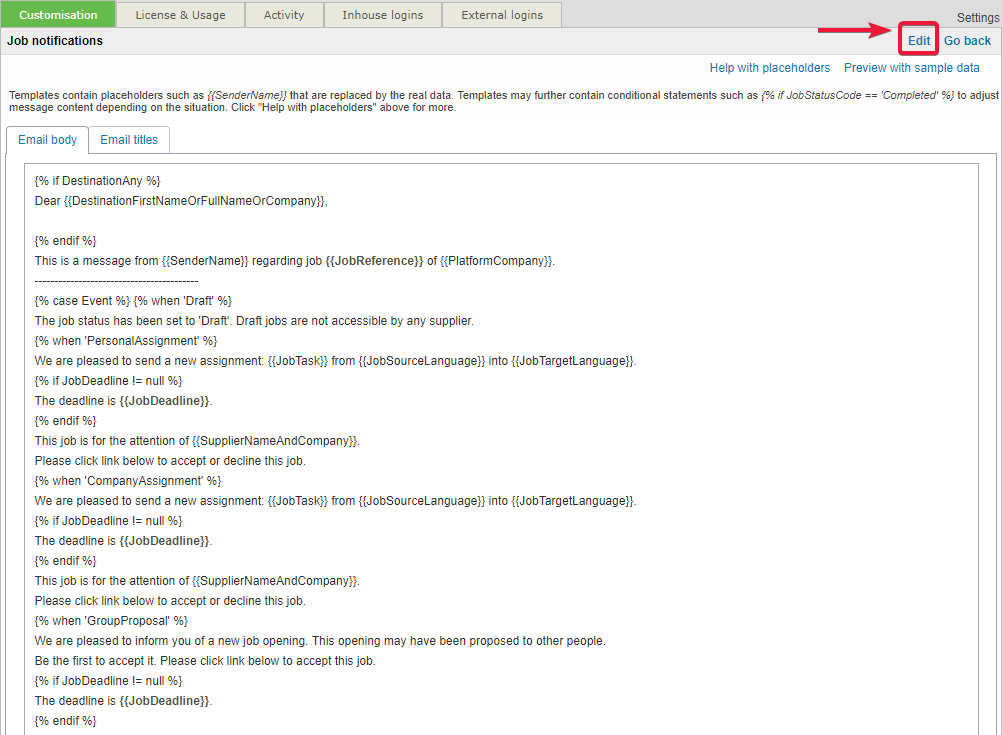
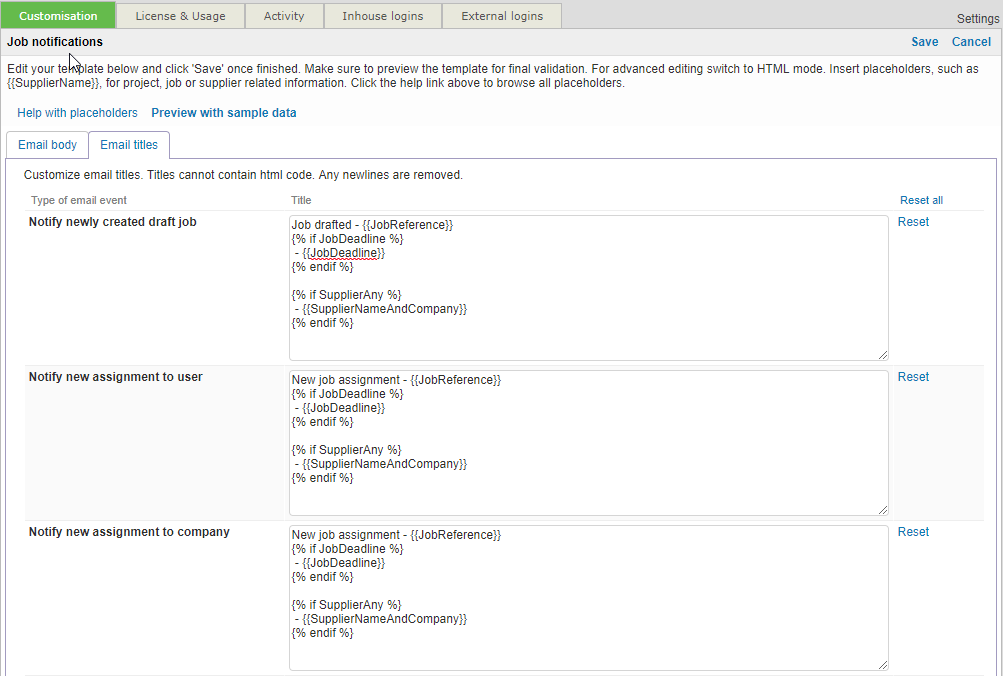
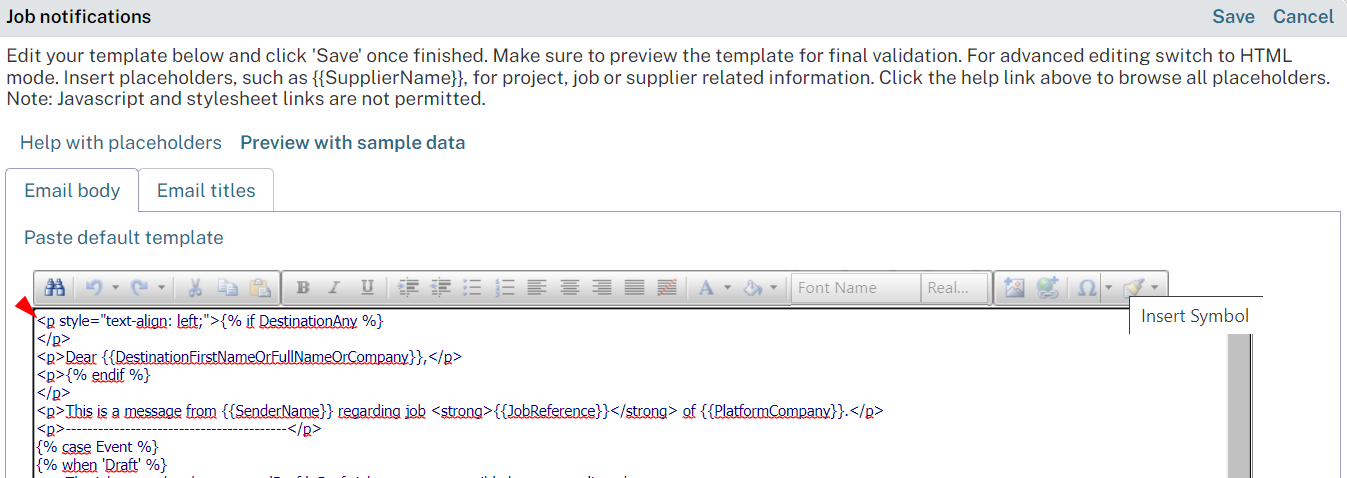
In the "edit" mode of your email notification you will be able to modify the email and the titles content as a normal text based (design) mode or you can also edit the content by clicking the on the html tab as shown below. Edit your template below and click 'Save' once finished.
Make sure to preview the template for final validation. For advanced editing switch to HTML mode. Insert placeholders, such as {{SupplierName}}, for project, job or supplier related information.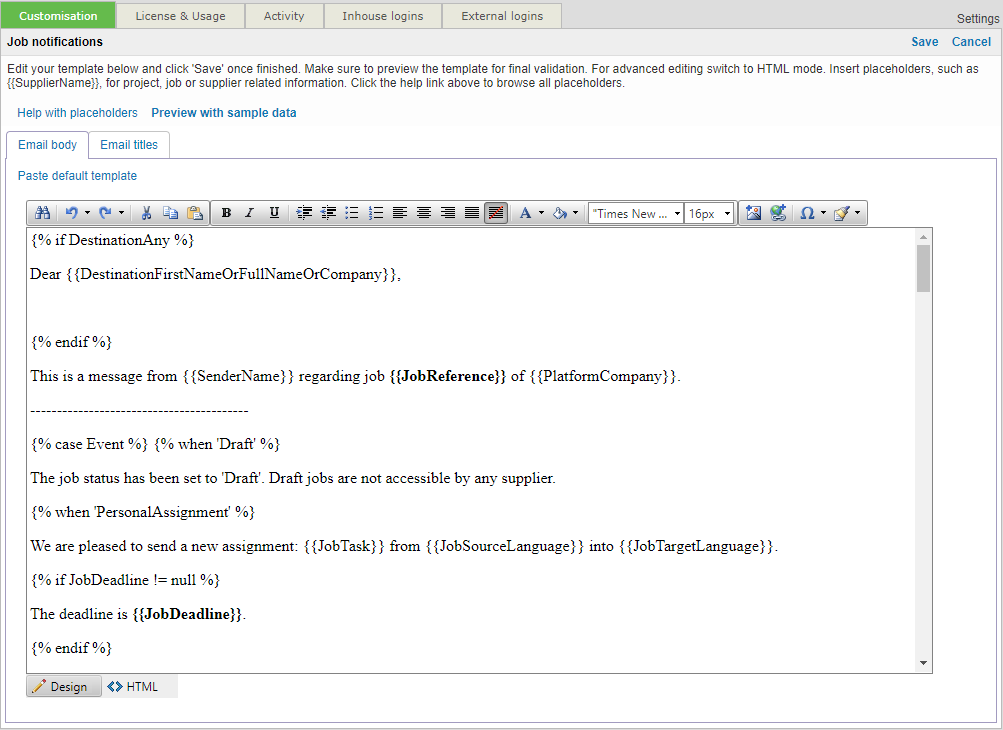
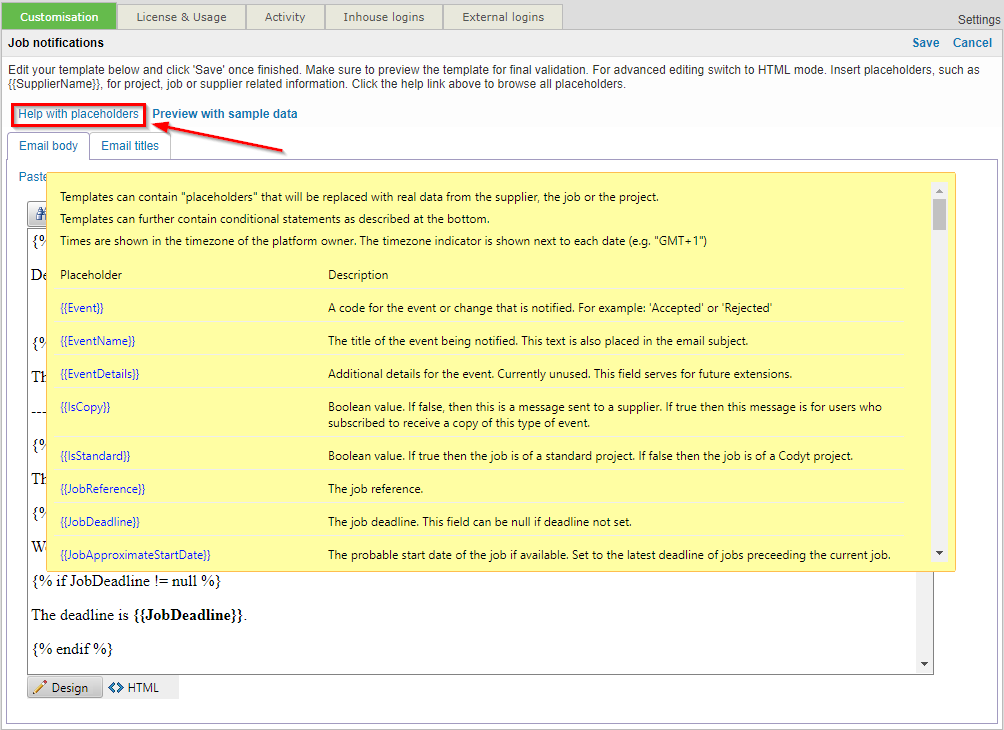
Help with placeholders: To help you with the email template placeholders you can click the "Help with placeholders" link which located above the email customization box. Email templates contain "placeholders" that will be replaced with real data from the supplier, the job or the project.
Customize Email notifications (How to define multilingual templates)
Using conditional statements in the templates will make it possible to include specific information in the email notifications or even select the right language to communicate with your clients and supplier users. See some examples below:
IF - ELSE - ENDIF:
{% if JobStatusCode == 'InProgress' or JobStatusCode == 'Completed' %} In progress! {% else %}Not in progress! {% endif %}CASE - WHEN - WHEN - ELSE - ENDCASE:
{% case JobStatusCode %} {% when 'InProgress' %} In progress! {% when 'Cancelled' %}Cancelled! {% else %}Other status! {% endcase %}
Multilingual example
The example below illustrates how to use conditional statements in the Job Notification events to communicate in the languages configured for the recipient Company.
Define the language of each company in the details section of that company. This can be configured in the supplier/client configuration section.
In the Email templates, follow the example below. You can configure the notifications for as many languages as you want:
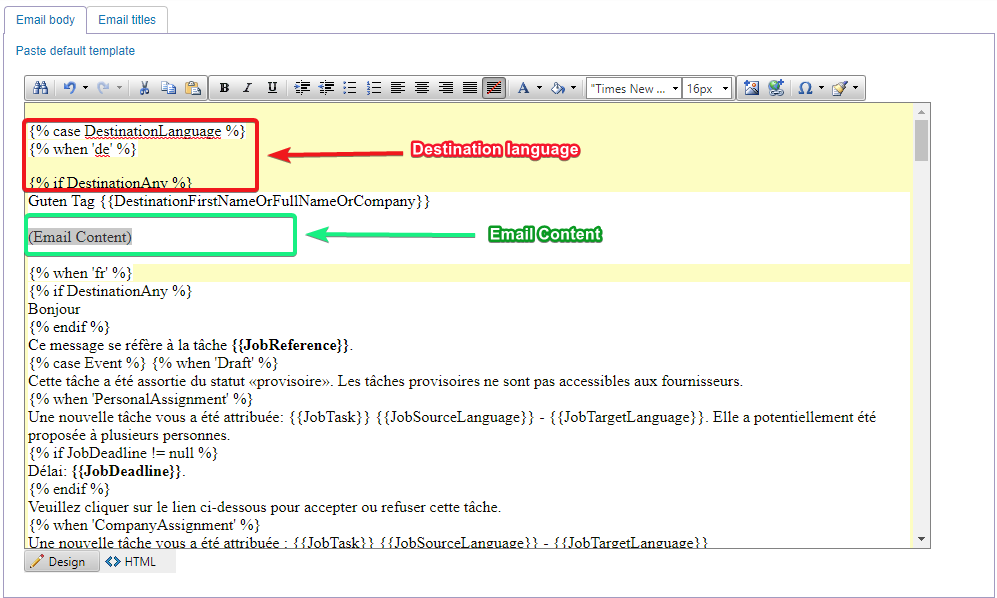
Include the clause '{% case DestinationLanguage %}' in the template, structure to define the text to print in the email based on the destination language set to for the company.
Defining text in several languages :
Prepare the text for companies that have German as communication language:
{% case DestinationLanguage %} → In case the destination language is set to.......
{% when 'de' %} → Language setup to "de"
{% if DestinationAny %} → All events and notifications you want to inform about
Guten Tag
{{DestinationFirstNameOrFullNameOrCompany}} → PlaceholdersPrepare the text for companies that have French as communication language:
{% when 'fr' %} → Language setup to "fr"
{% if DestinationAny %} → All events and notifications you want to inform about
Bonjour
{{DestinationFirstNameOrFullNameOrCompany}} → PlaceholdersPrepare the text that will be shown for companies who use any other communication language (different than the ones previously defined):
{% else %}
{% if DestinationAny %} → All events and notifications you want to inform about
Hello
{{DestinationFirstNameOrFullNameOrCompany}} → Placeholders
{% endcase %}
Think about editing the templates in HTML mode when defining these conditions, since it will make it easier to verify the information for each language is nested correctly:
Preview results and reset template
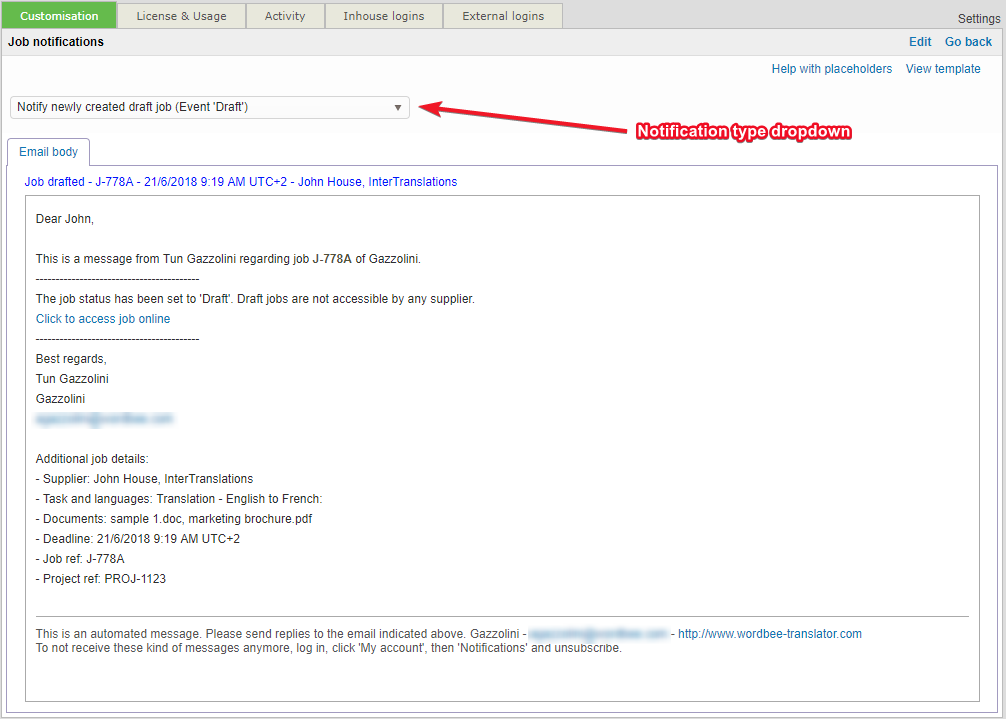
Please make sure you save your changes before clicking on the "Preview with sample data" link.
You can directly view your customization results by clicking on the "Preview with Sample data" link.
You can also reset your customization emails back to they default state by clicking on the "Paste default template".
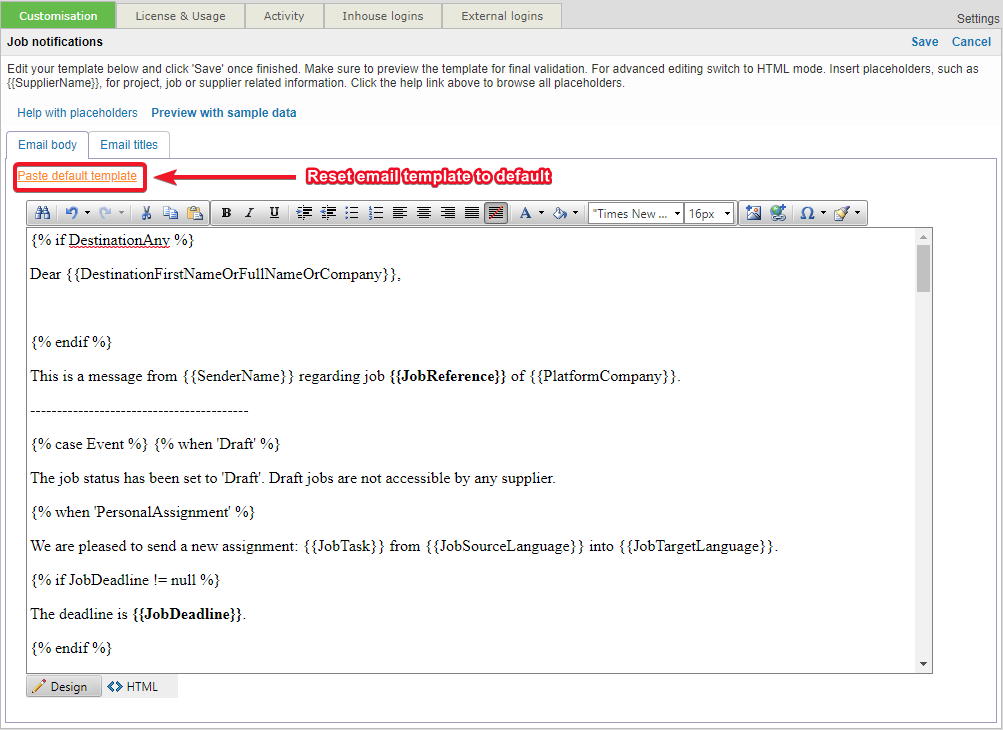
A popup will appear asking you to confirm your email reset.

