
Some tools use certain markers to mark the segmentation boundaries of the source and the translation. To split segments at their segmentation boundaries, you will need to enable the Split segments at Xliff segmentation boundaries configuration option located in the Text Segmentation section at the bottom of the General Tab. This will split the source and the translation on these specific markers.
To do so, go to Settings > Translation Settings > Document Formats and access the desired XLIFF configuration to make changes.
Unless you have already configured a custom configuration for XLIFF files, the best approach is to access these settings in Wordbee Translator and create a new custom configuration from the provided Default Configuration. To do so, please refer to the Create file format configurations page.
Follow the steps below:
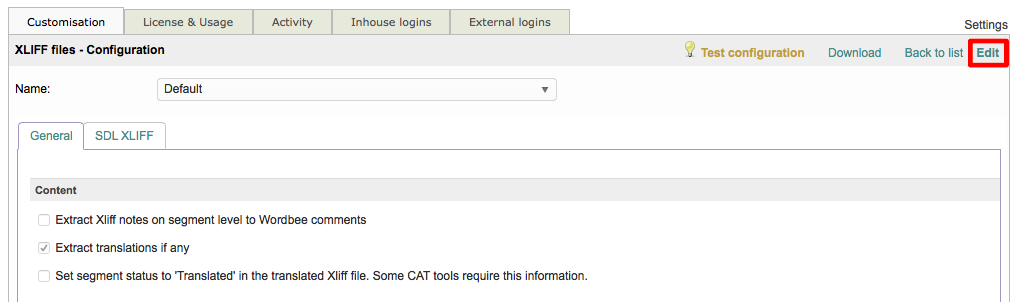
Step 1: You will need to click on Edit to begin making changes to the chosen XLIFF configuration. If only the Default configuration is present for XLIFF files, simply edit it and then Save as New when finished.
Step 2: Scroll down to the Text Segmentation section on the General Tab. Within this section, you will see the Split segments at Xliff segmentation boundaries option. If it is disabled (unchecked), you will need to enable it.

Step 3: To enable this option, click on the checkbox to the left of it's name. Once enabled it will have a checkmark with a blue background, as shown below:

Step 4: You will need to save the change to the chosen XLIFF configuration. If you are editing a configuration other than the Default, simply click on Save. Otherwise, enter a Name and Description for the new configuration and then click on Save as new in the upper right corner of the screen.
