
A multilingual Excel file is one that contains more than one language column such as one column for English, French, and German. When translating these files, a few additional steps must be taken to ensure the pre-translation and workflow is handled appropriately.
To translate a multilingual file, you will need to perform the following tasks:
Find an example on how to translate multilingual Excel files which already contain translations here.
1. Create an Excel Format Configuration
You have to create a format configuration for the pre-translation of the document. This configuration indicates what columns and languages are within the Excel file.
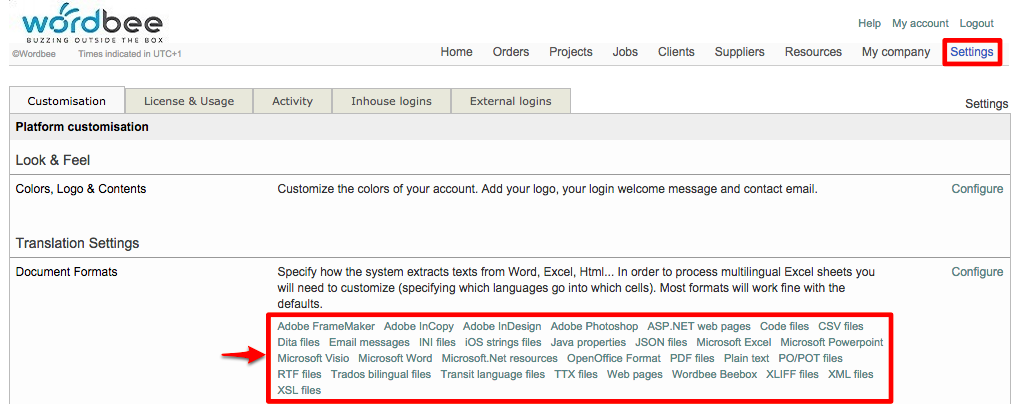
To create a multilingual Excel format configuration, first, click Settings in the Menu Bar and then Microsoft Excel in the Document Formats section.
Click Add New to create a new configuration or Select to edit an existing one.

Give the configuration a name (if new). Next, you will need to configure the columns and languages for the Excel File. First, tick the Multilingual option.

Second, add each column in the document and indicate the language for each one. To add a column and language, select the language in the drop-down menu, and click the Add Button .

Please note this step must be performed for each language and column in the document. You may also configure any columns with comments, etc.
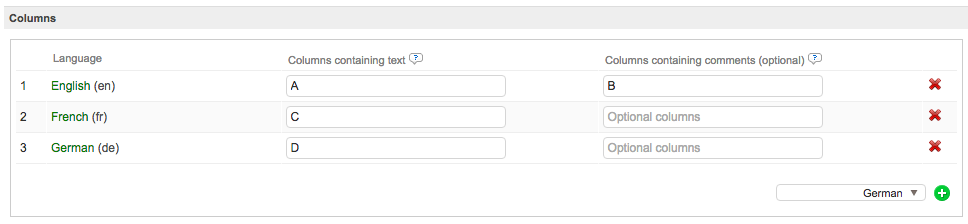
When adding the languages, you must also enter the column for each language in the configuration. Text columns (language columns) are on the left and comment columns are on the right of the column section. Click a field and type in the column value as it appears in the Excel source file.
In the example on the right, the Excel file format configuration contains four columns:
-
English (en) - Column A
-
Comments - Column B
-
French (fr) - Column C
-
German (de) - Column D
Once this information has been configured, you may also configure what is the first row to translate. For example, if row 1 has headers that should not be translated, then the configuration can be changed to start at row 2. Additional options for sheets, HTML content, and text segmentation are provided. When finished with the configuration, click Save in the upper right corner of the page.

For more information about creating and managing Excel file format configurations, please see Microsoft Excel Files in the File Format section.
2. Create a Project (Standard or CoDyt)
Before the configuration can be used to translate the document, you must create a Standard or CoDyt project within Wordbee Translator and upload the document.
To create a project, first, click on Projects in the Menu Bar and click New Project.

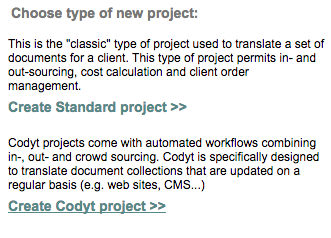
Then click Create Standard Project or Create CoDyt Project.
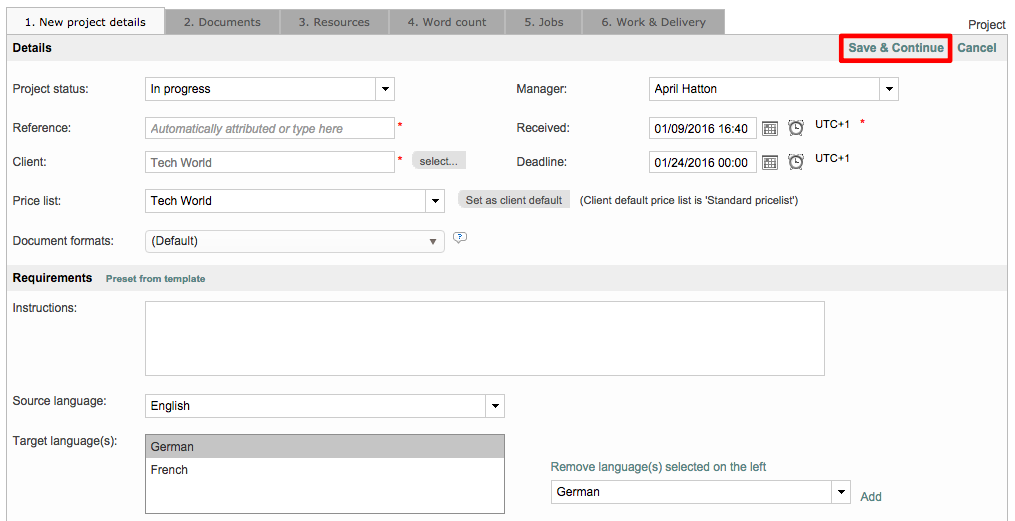
Enter the information for your project and then click Save & Continue in the upper right corner. For a standard project, you will need to choose the client, enter deadline information, choose languages, etc.
The image opposite is for a Standard Project:
Then, upload the document to the project. You will automatically be directed to the Documents tab. To upload a document, perform the following steps:
-
Click Upload Files.
-
Browse to the Excel File and select it.
-
Click Add
-
Click Close.
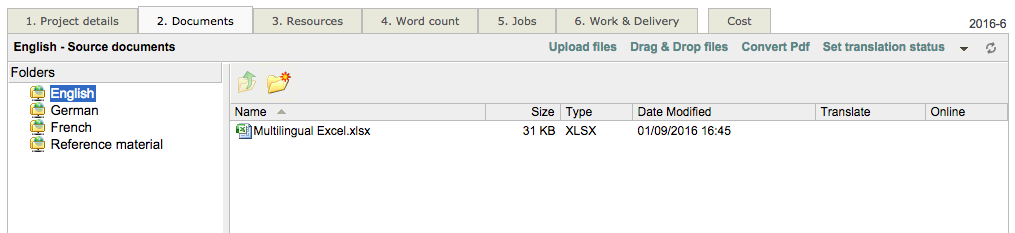
The uploaded document will appear as shown on the right:
For more information about creating projects, please see the following pages in the Getting Started Guide: Creation of Standard Projects, Creation of CoDyt Projects, and Upload Your Documents.
Once the document has been uploaded, you will be able to mark it for online translation and select the created Excel file format configuration.
3. Mark Document for Online Translation
You need to mark the document for online translation. This is done by right-clicking on the document in the Documents Tab, then Translate Yes/No, and Mark for Online Translation.
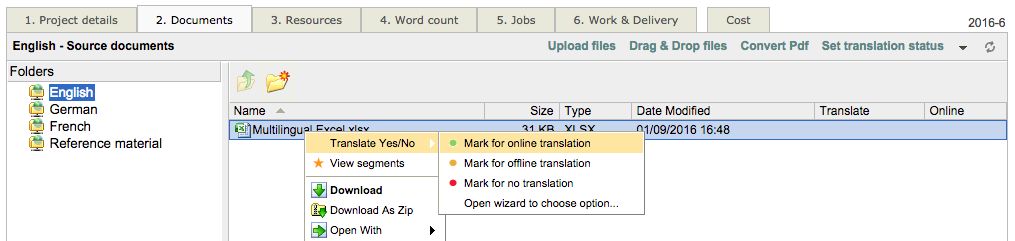
Then, click Next (CoDyt) or Confirm (Standard) in the provided pop-up window:

4. Select Excel Format Configuration within Project
The process for selecting the Excel file configuration is the same for both Standard and CoDyt projects and occurs when marking the document for online translation.
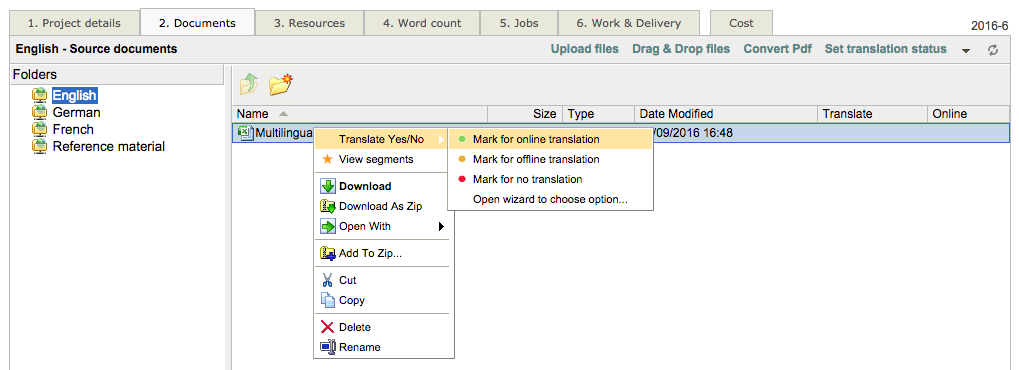
First, click the Documents tab when viewing the project and then perform the following for the relevant document:
-
Right-click on the document.
-
Choose Translate Yes/No.
-
Choose Mark for Online Translation.
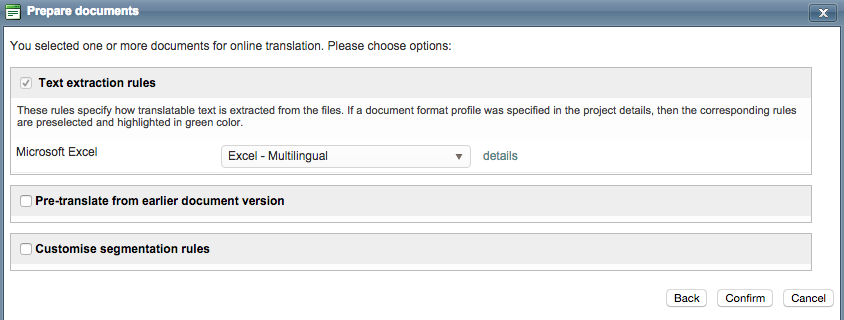
Click Next (CoDyt) or Confirm (Standard) in the provided pop-up window to choose your configuration. You will see a section titled Text Extraction Rules, this is where you can choose the Excel Format Configuration.
Click the drop-down menu and choose the format configuration you created in the first step of this page. When finished, click Confirm (Standard) or OK (CoDyt).
5. Bonus - Video Tutorial
To see how to create a Multilingual Excel configuration, you can watch the video tutorial provided opposite: