
Step 1: Aggregate the Invoices
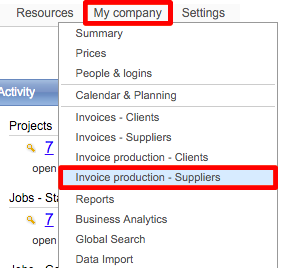
Hover your mouse over My Company in the Menu Bar and then click on Invoice Production - Suppliers in the provided menu.
Enter an Effective Date Range or Financial Period and click on Ok. This can be done by clicking on the Calendar Icons or by clicking on the Pick Period drop-down menu and choosing an option.

Any invoices with an Effective Date in the entered range or selected period will appear as shown below. Here you will see the current status of each invoice, the cost, effective date, and additional information.
Note that only invoices which have an Effective Date and status Invoice Draft will be eligible for the aggregation process.
Next, you will need to click on Aggregate now... This will produce a single document for each supplier invoice displayed for the configured time period.

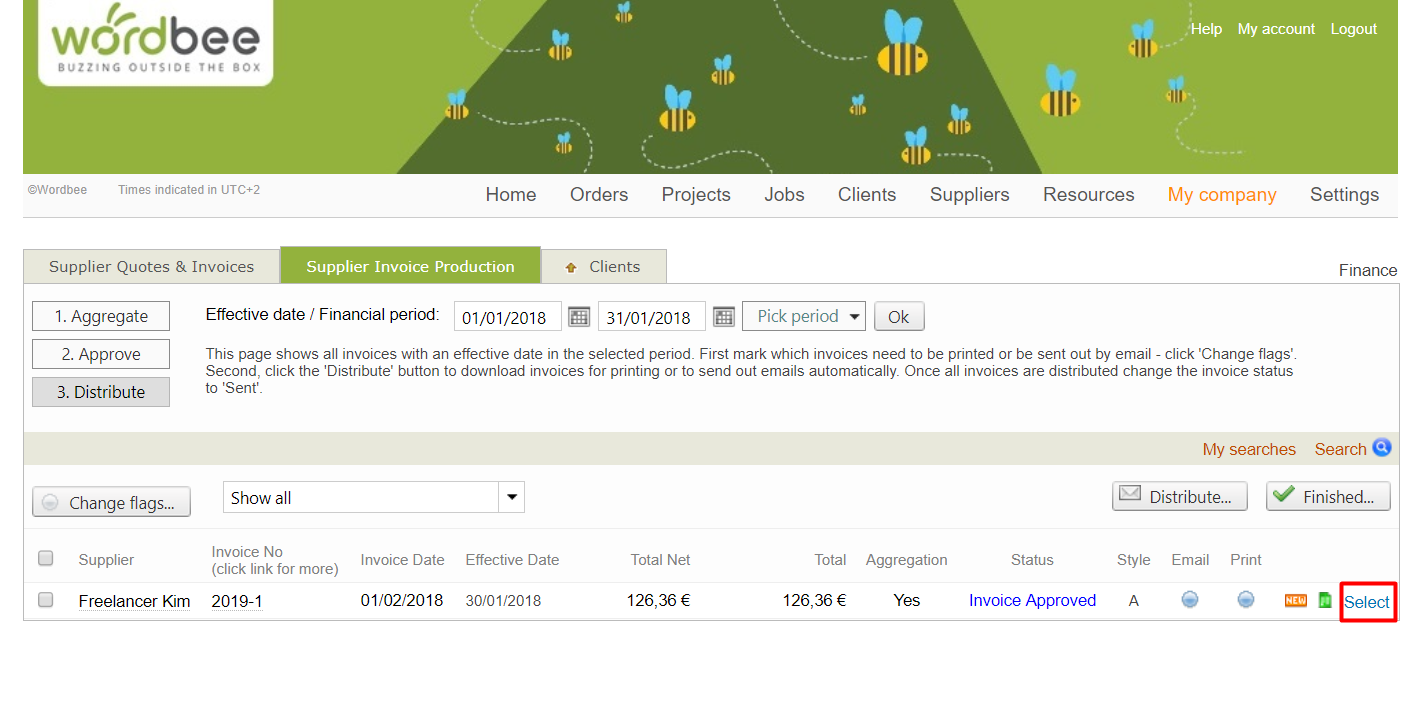
If you need to review a document prior to completing any of these steps, simply click on Select next to the appropriate one in the list.
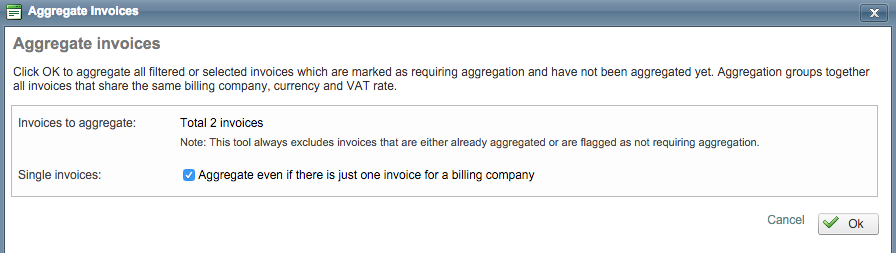
The following pop-up window will appear. This will show the total number of invoices to be aggregated, which does not include any already aggregated invoices or any that have been flagged as not required.
If single invoices are present in the displayed time period, you have the option to aggregate them as well. To do so, click on the checkbox next to Aggregate even if there is just one invoice for a billing company. When finished, click on Ok.
Once the invoices have been aggregated, the screen will appear as shown below. As you can see, now only one invoice exists for the supplier (Tim Starks in this example). In the Agg. Column, it now displays Aggregation and the dollar amount of the two invoices has been combined.

Step 2: Approve the Invoices
After the invoices have been aggregated for one or more supplier within the configured date range, you will need to continue to Step 2 - Approving the Invoices. To do so, click on Approve at the top of the screen.

The Aggregation Column will now show Yes. If previous invoices have been approved, they will appear here as well. To only see the ones that need approval, use the Filter Menu located above the Supplier Column. Use the checkboxes to select specific documents for approval or simply click on Approve to approve all invoice documents.

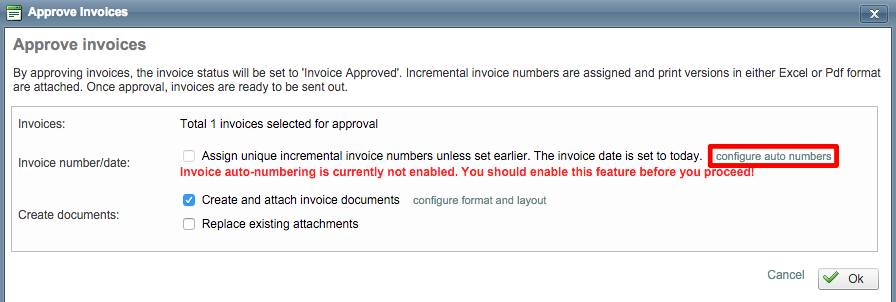
If the settings have not been enabled for invoice auto numbering, you will see the message below next to the Invoice number/date. It is recommended to configure these settings prior to approving invoices.
This can be done by clicking on Configure Auto Numbers, which will open a new tab in your browser for viewing and changing these settings.
You must have the appropriate permissions to make these changes. If you do not, contact your Administrator.
Next, click on Edit and then scroll down to the Supplier Invoices section.

Here, you will need to enable Auto-assign invoice number/date upon user click and Auto-assign supplier invoice number/date upon status change, as shown below. To do so, click on the drop-down menu and choose the appropriate selections for these options.
Then type in a format for the automatic invoice numbering. If you need ideas for how this is done, click on Info next to the Number Format drop-down menu. Once finished, scroll back to the top and click on Save.

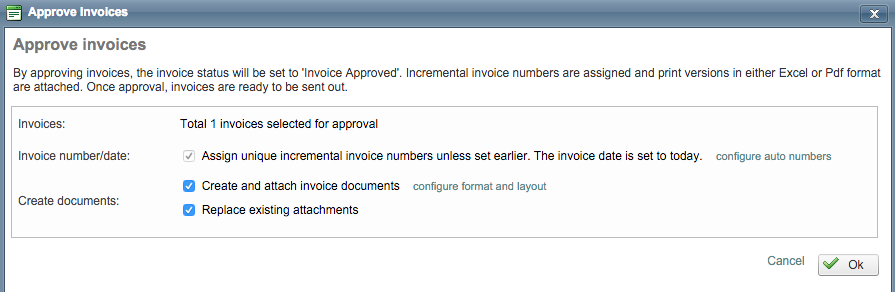
You may need to click on Cancel in the pop-up window below and then click on Approve again for the change to appear as shown below. If Create and attach invoice documents is chosen, a new document will automatically be created and attached for each invoice.
You may also check the box next to Replace existing attachments and the system will automatically overwrite any existing attachments. Click on Ok to finish.
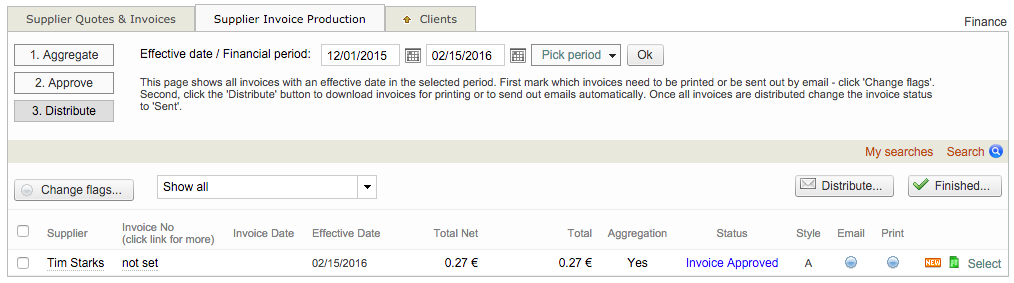
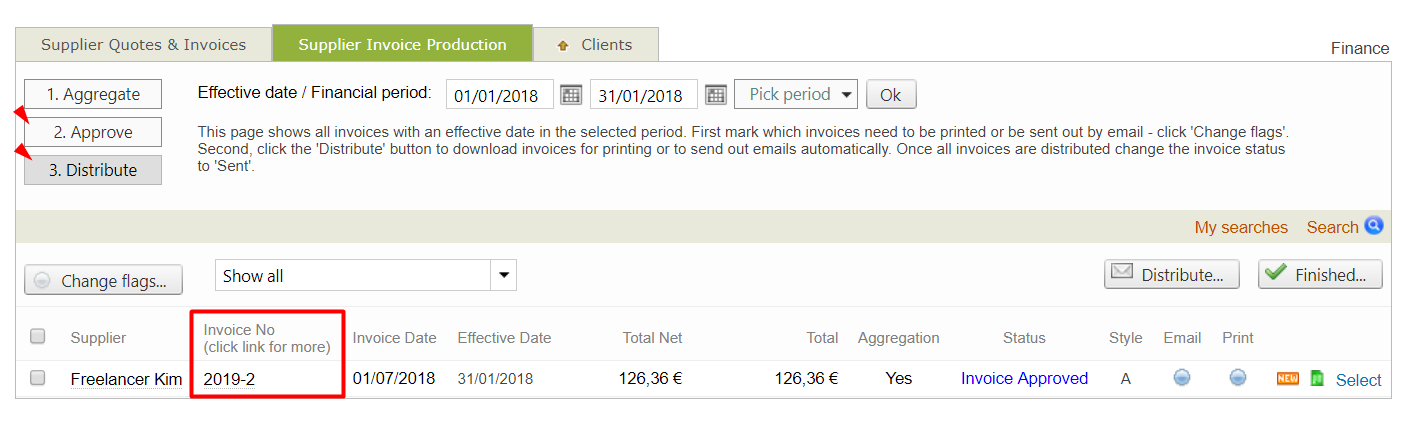
Now the Status Column will show Invoice Approved. New icons will also appear to show that it is a new invoice document and for viewing the approved document.

Step 3: Distribute the Invoices
The final step involves distributing any approved invoices to the supplier(s). This can be done by clicking on Distribute on the Supplier Invoice Production Tab.

Several options are provided for distributing your invoice documents. They may be downloaded and printed, emailed to the supplier, etc. Currently, this invoice is configured to be emailed and printed as noted by the Blue Circles under the appropriate columns.
Changing Flags
If you want to change these settings, click on Change Flags... above the Supplier Column. Here you can change the content style by ticking one of the provided radials. The Send by Email and Print out options may also be changed to one of the following:
-
Required - The email and/or print out must be completed for the invoice to be considered finished in the system.
-
Not Required - One or both are not required to finish the invoice.
-
Mark as Sent (Email) - Mark the email for the invoice as being sent. This is done automatically when the distribution is completed.
-
Mark as Printed (Print Out) - Mark the print out for the invoice as being printed. This is done automatically when the distribution is completed.
-
Leave Unchanged - Use default settings for invoice distribution.
Click on the radials to make or change the current selection. Then click on Ok in the pop-up window.
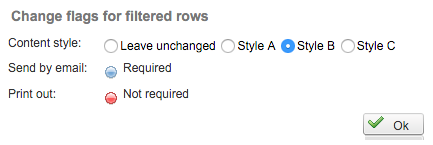
The information will immediately be reflected in the invoice document. In the example below, Style B will be used and only an email is required:

Distributing Documents
You may also click on the Supplier or Invoice Number column for the appropriate document to see additional information and view or modify the invoice. Once finished, click on Distribute... (or Distribute, selected... when specific selections have been made) to distribute your invoice documents.

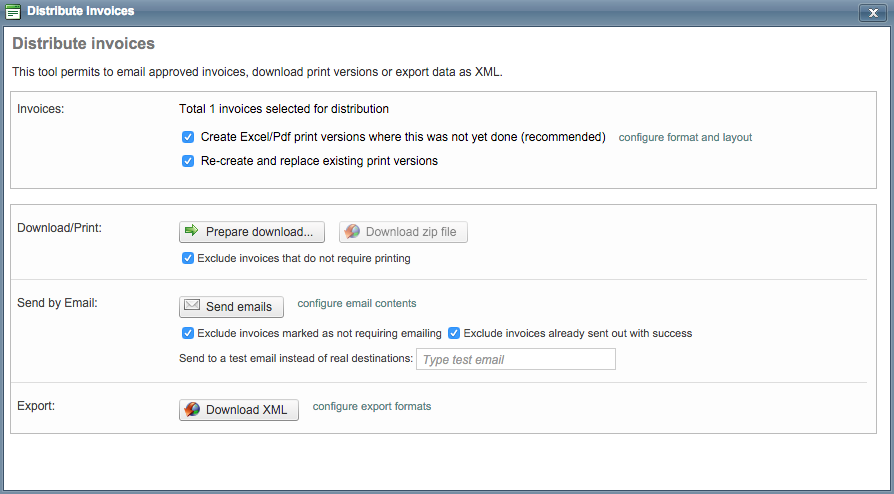
A pop-up window will appear. Here you may perform many actions for distributing the documents including email, printing, and exporting the selected invoices. We recommend leaving the Create Excel/PDF print versions option enabled.
An option is also provided for re-creating and replacing any existing print versions. This is disabled by default and you will need to check the box next to the option to enable it.
When finished, click on the X in the upper right corner to close this window. The following options are provided for distributing invoices to your suppliers.
-
Prepare Download - This option can be used to download and print the invoice. Click on Prepare Download and then Finish in the prompt window. Then click on Download Zip File. An option is provided and automatically enabled for excluding any invoices that do not require printing. To disable this option, tick the checkbox.
-
Send Emails - This option can be used to send emails to the supplier(s) for each selected invoice. Click on Send Emails and then Finish in the prompt window. Options are provided for excluding any invoices that are not marked for email and any that have already been successfully sent. You can also enter a test email and have the documents sent prior to distributing them to the supplier.
-
Download XML - This option can be used to export the documents in XML format for use within another application or for other purposes. Just click on Download XML or Configure Export Formats to make changes prior to downloading the file.
Status Changes
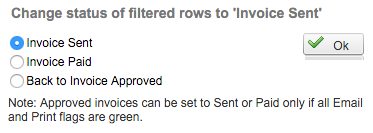
Another option resides next to the distribute button and can be used to change the status of the document. Click on Finished... to view these options.

Then tick the radial for the desired option in the provided pop-up window and click on Ok when finished. An invoice can be marked as sent, paid, or switched back to approved in this window.
Sent invoices will have an Invoice Sent status, as shown below:

Paid invoices will have an Invoice Paid status, as shown below:

Undo aggregation
In case you need to modify the invoices aggregated for the processed period, you will need to undo the aggregation in order to access the individual files.
Aggregated invoices may have ref IDs assigned once their status changes to approved or approved/paid or checked. If you undo the aggregation before these numbers are assigned, you will be able to respect the sequence defined for such elements. Read more on how to define Invoice ref numbers in the settings section,
Otherwise, you can always leave reference numbers to be manually editable. If the sequence is truncated by deletion of an invoice, you will be able to amend the ID, if needed.
Undoing the aggregation is as simple as:
-
deleting the aggregated invoice
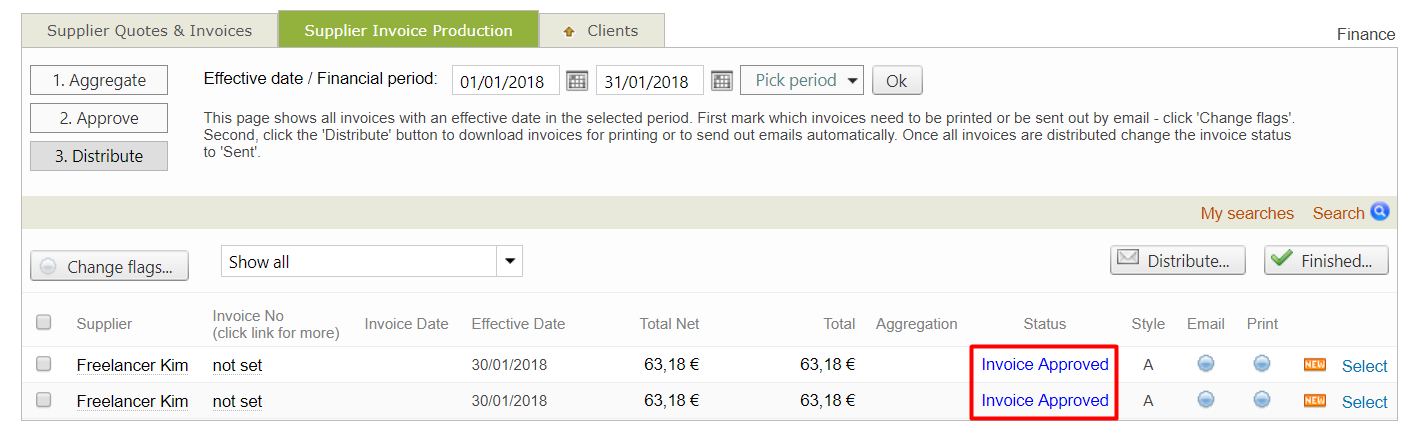
-
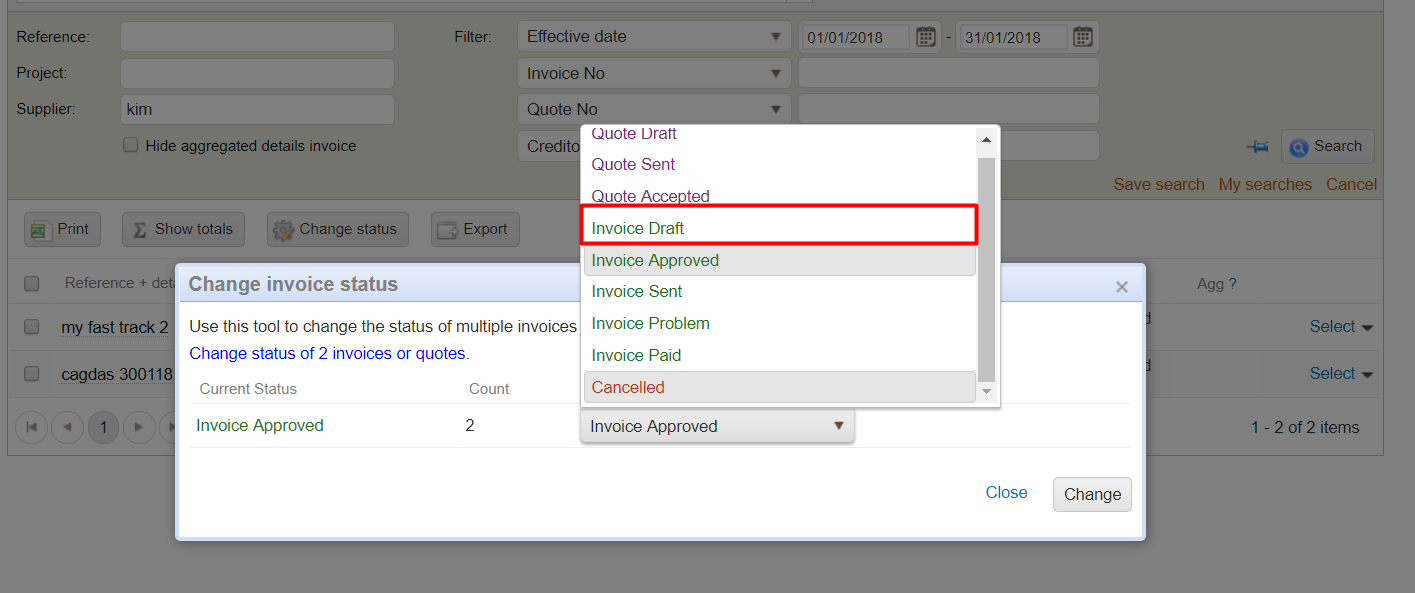
change the status of the individual invoices back to "Invoice draft". If the list is not too long, you can do that directly from the same screen.
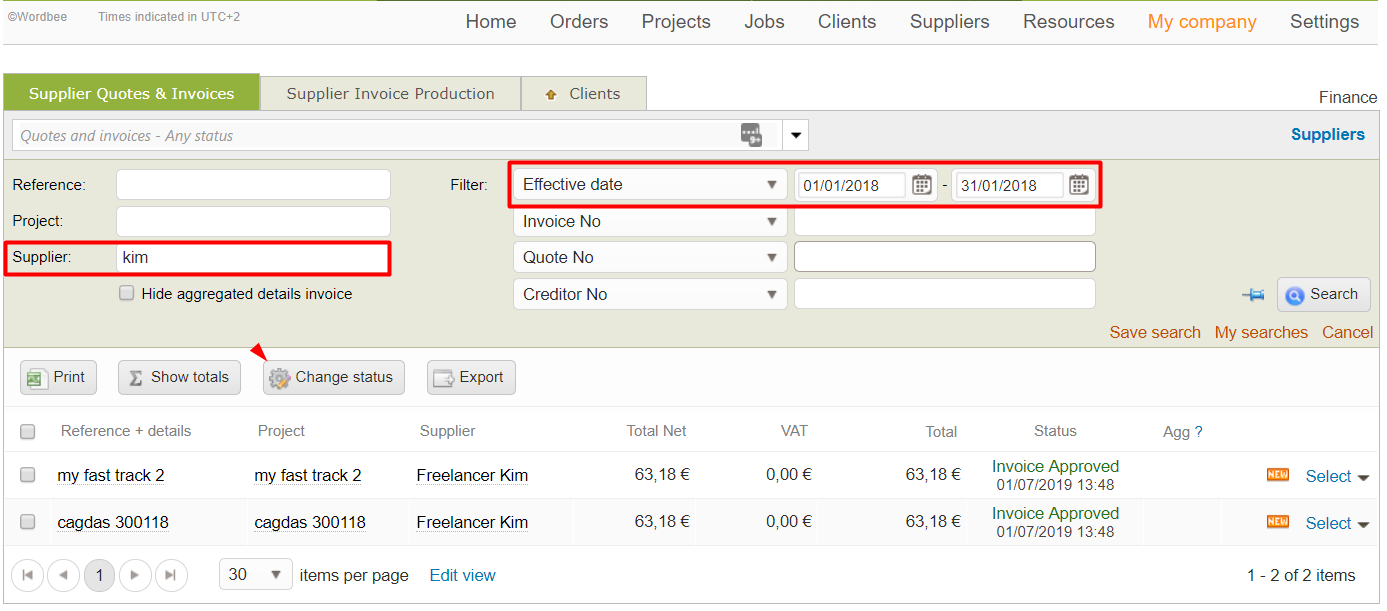
Otherwise, you can switch to the 1st tab of the tool, where the Supplier Invoices are shown to apply further filters.
The aggregation period is defined by the effective date of the invoices.
You will also note that the most recent invoices are highlighted with a "NEW" label
The batch action to change status will allow you to handle all invoices at once.
-
Once individual invoices are back in status "Invoice draft" you can run the aggregation again.