The default configuration for CSV file translations is set up to translate all columns within the file; however, this is not beneficial when certain columns have already been translated within your CSV file. To avoid having already translated content be translated again, you will need to change an existing file format configuration or Create a Custom Format Configuration that defines which columns should be extracted from the source file.
To do this, you will need to go to Settings > Translation Settings > Document Formats, choose the CSV format type, and then either modify an existing one or create a new one from the Default Configuration for these scenarios. Then follow the steps below:
Step 1: You will need to click on Edit to begin making changes to the chosen CSV configuration. If only the Default configuration is present for CSV files, simply edit it and then Save as New when finished.
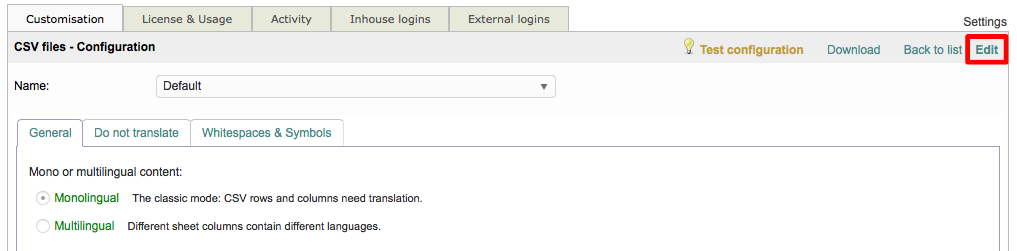
Step 2: Then, on the General Tab, scroll down to the section titled Columns. Within this section, you will see an option titled Translate Columns with the current text showing "All columns".

Please note that this process will be different for CSV files with multilingual content. In these instances, please see the following Q&A page: I need to translate a CSV file that contains multilingual content. How can this be done within the system?
Step 3: Enter the indvidual columns (A, B, BA, etc.) or a range of columns (A-Z, etc.) that you want to be extracted from the source file for translation. In the example below, only these columns will be extracted: A, B, C, D, G-J. You may also change the column seperator if needed (tab, comma, or semicolon). The default separator selection is a comma.

Step 4: When finished, you have two options for saving the change. If you are making the change for an existing configuration (other than the Default) or creating a new configuration from scratch, simply click on Save. However, if you are using the Default Configuration to make these changes, you will need to enter a Name, enter a Description (Optional), and then click on Save as new at the top right of the screen.

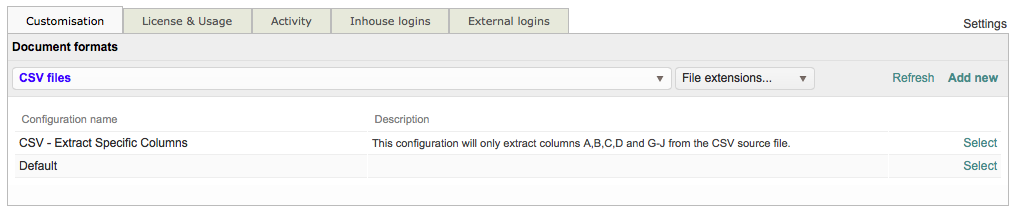
Step 5: To view the list of CSV configurations, click on Back to list in the top right of the screen.

New configurations will appear in the list when the CSV format has been selected. In the example below, a new configuration was created from the Default Configuration to extract only the specified columns.