While UTF-8 is the standard for many CSV files, it is also common to have a CSV file that uses a different type of encoding. The default configuration for CSV files is set up to translate CSV files using UTF-8 encoding. If your CSV file uses another form of encoding, the best way to handle this requirement is to Create a Custom Format Configuration with the required encoding setting.
To do this, you will need to go to Settings > Translation Settings > Document Formats, choose the CSV format type, and then either modify an existing one or create a new one from the Default Configuration for these scenarios. Then follow the steps below:
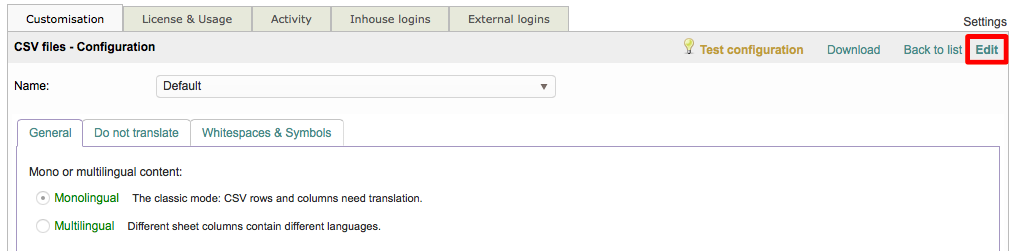
Step 1: You will need to click on Edit to begin making changes to the chosen CSV configuration. If only the Default configuration is present for CSV files, simply edit it and then Save as New when finished.
Step 2: Underneath the General Tab, you will see a section titled Encoding that contains an option for changing the default character encoding:
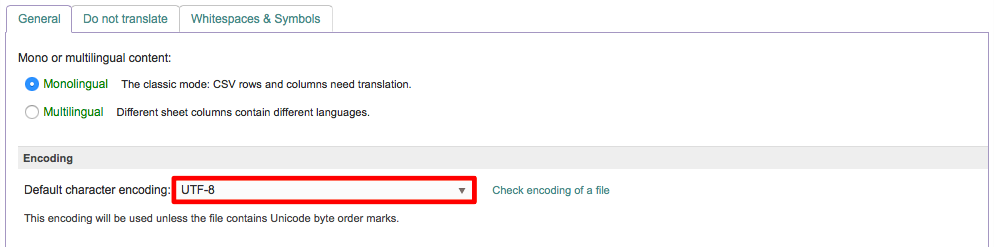
Step 3: Choose the type of encoding that the CSV file uses from the provided drop-down menu.

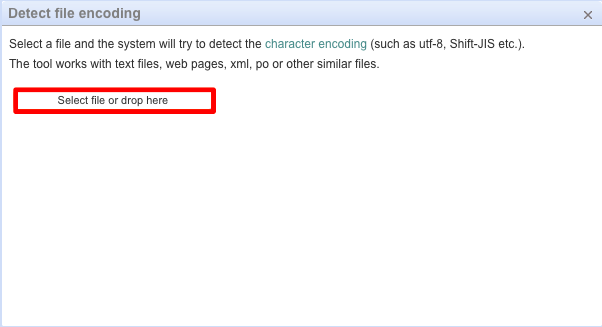
Step 4: If you are uncertain about what type of encoding is being used, click on Check Encoding of a File to determine what type of encoding is being used.

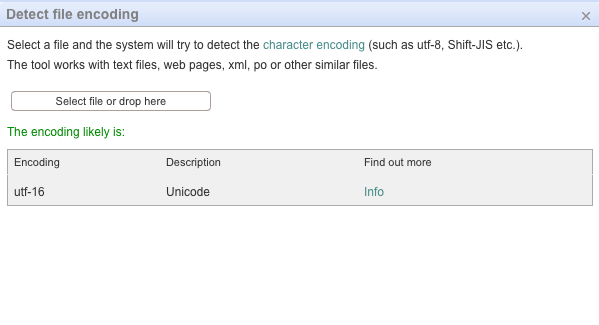
In the provided pop-up window, choose the file you want to check by clicking on Select file or drop here. Or, simply drag and drop the CSV file to this location.
This will not always be able to detect the character encoding type, but can provide in most cases the type of encoding used for your CSV file. The information will appear as shown below. If you click on the Info link, it will take you to a web page with more information about that specific type of character encoding.
Step 5: When finished, you have two options for saving the change. If you are making the change for an existing configuration (other than the Default) or creating a new configuration from scratch, simply click on Save. However, if you are using the Default Configuration to make these changes, you will need to enter a Name, enter a Description (Optional), and then click on Save as new at the top right of the screen.

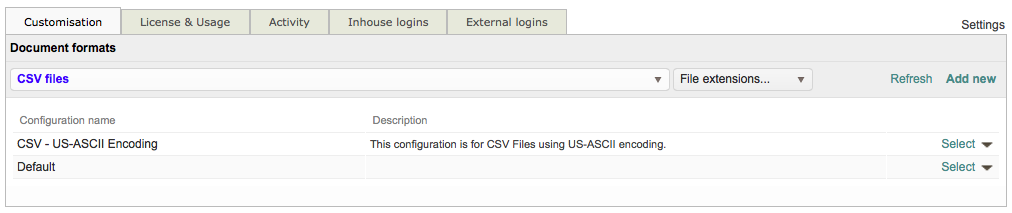
Step 6: To view the list of CSV configurations, click on Back to list in the top right of the screen.

New configurations will appear in the list when the CSV format has been selected. In the example below, a new configuration was created from the Default Configuration to translate CSV files using US-ASCII Encoding.