
In the Translation Editor, you have the possibility to run extensive Quality Assurance checks based on predefined profiles (created by the admin(s) or project managers) in the Wordbee. The QA Issue Resolver is embedded with the QA checks feature on the New Editor. Before using the new add-on you will need to setup and run a QA check on your document.
1- How to run QA checks using the QA Issue Resolver
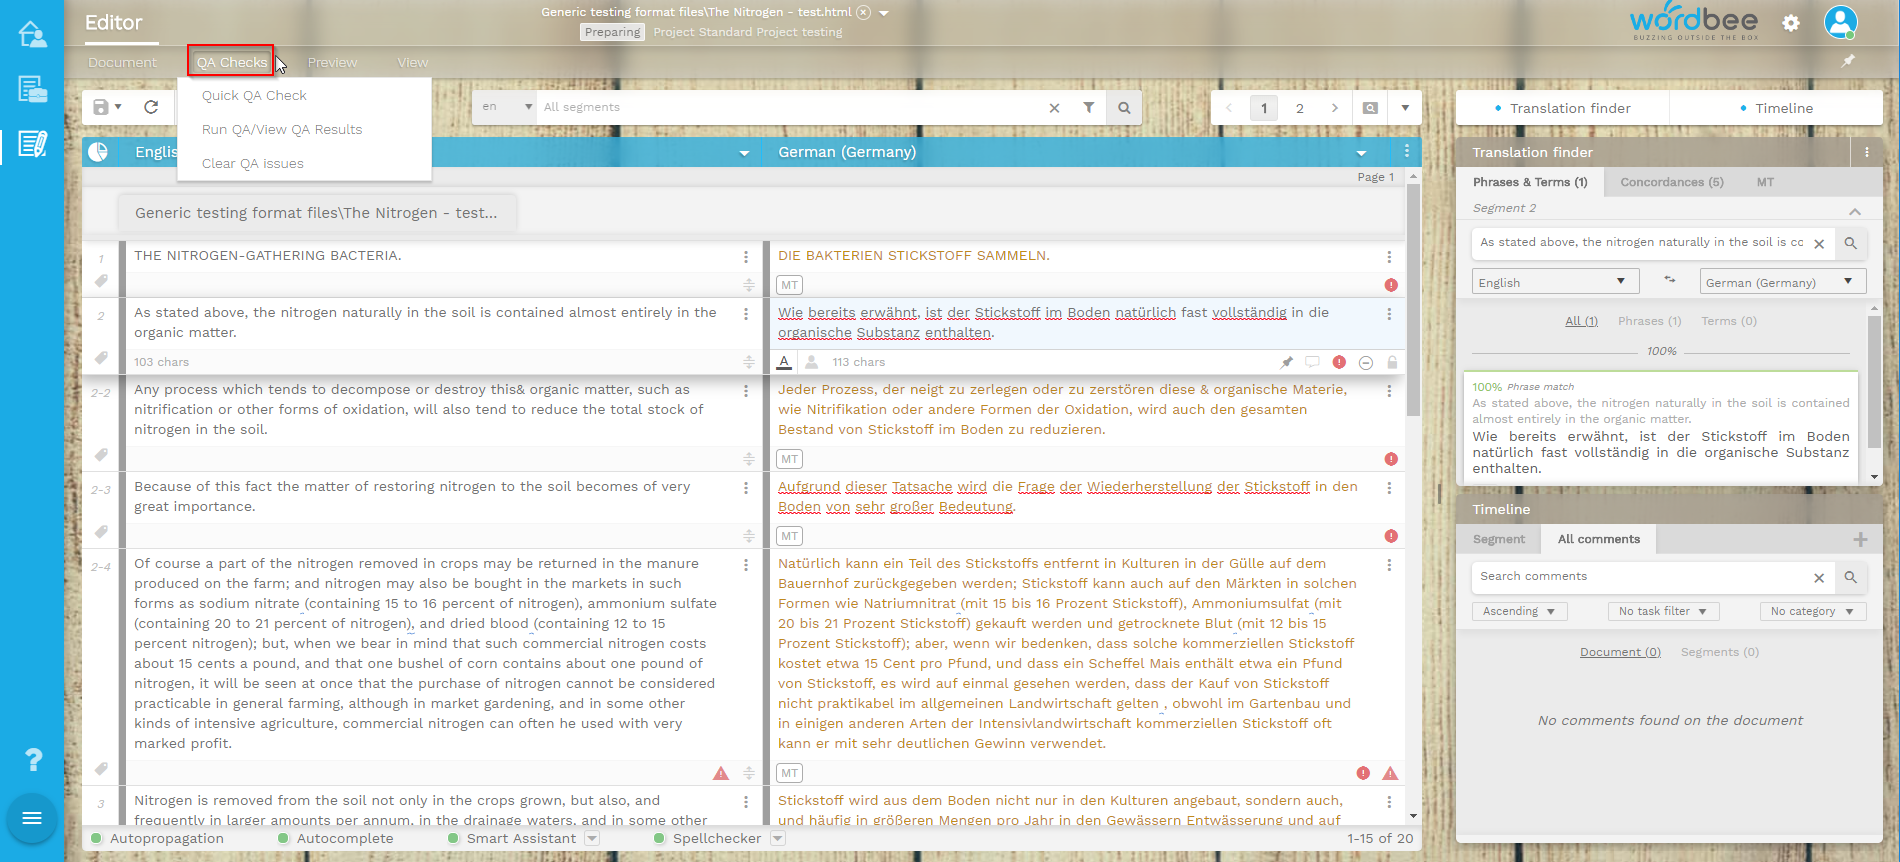
Clicking on the ‘Run QA/QA Results’ link will open a pop-up window that will allow you to configure some parameters before starting the QA process. You have the possibility now to display your results directly in the classic QA results list or in the new “Issue Resolver” screen.
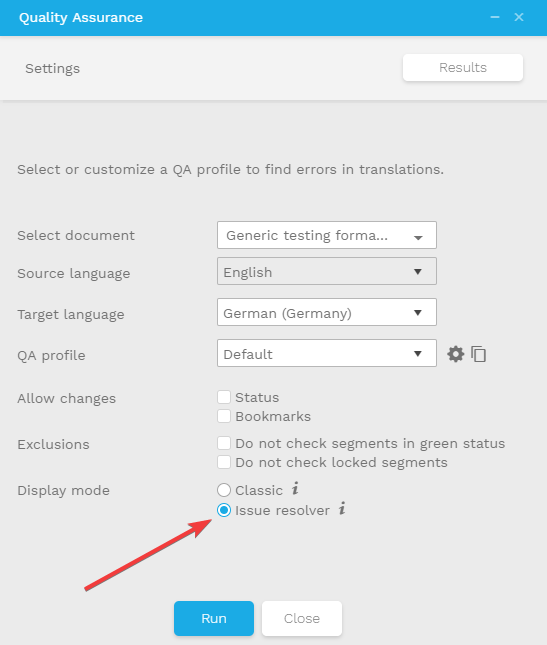
Please make sure the "Issue resolver" radio button is selected to use the QA issue resolver feature. Then click on the "Run" button to start your QA check process.
-
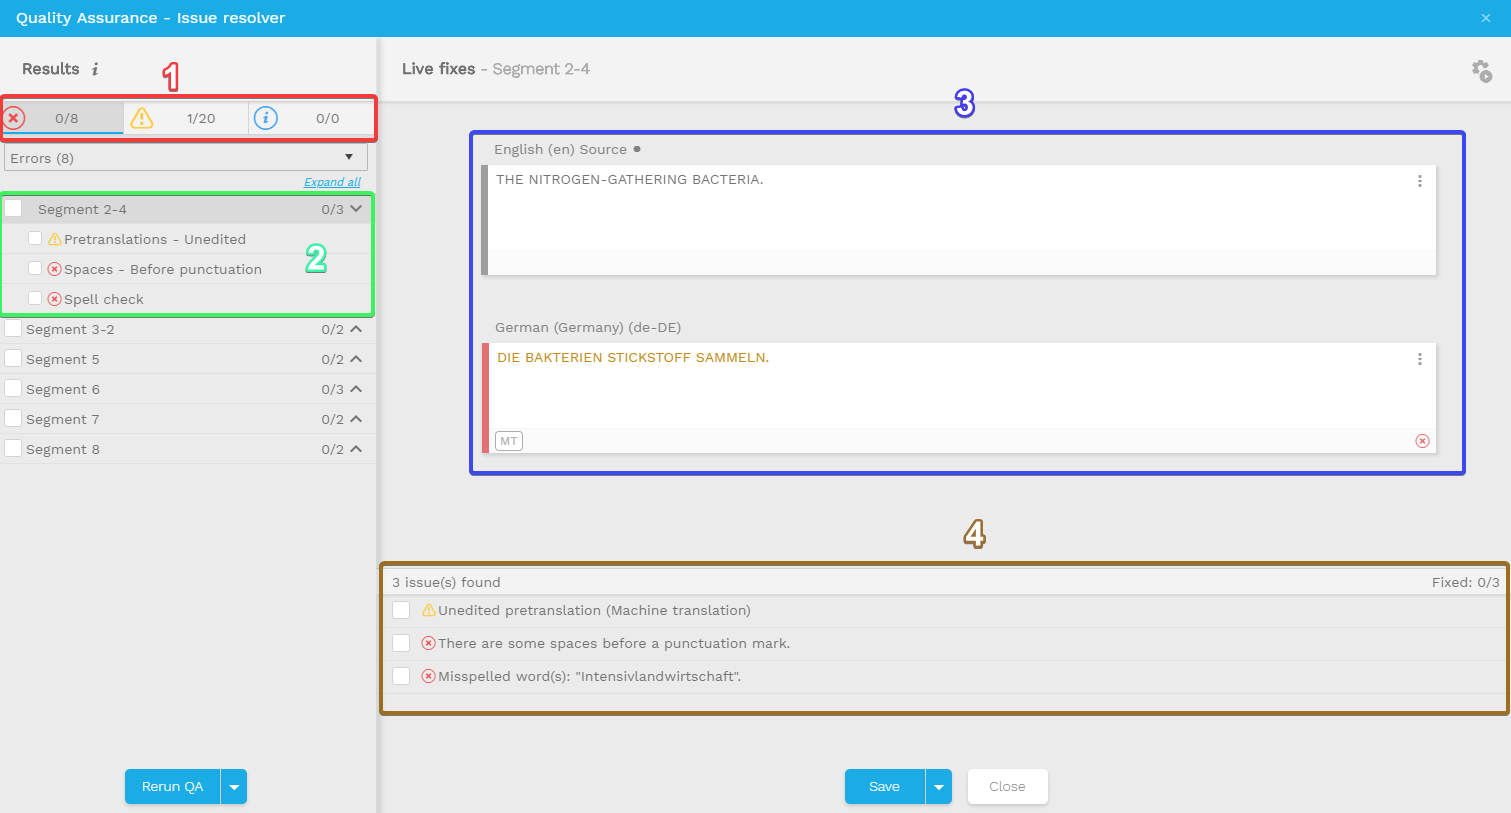
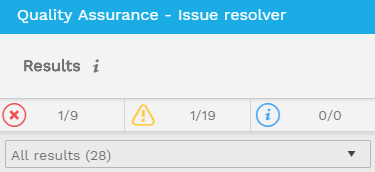
Once you run your QA checks, a new report window will be generated with 3 different types of information depending on the 'severity' of the mistake found:
-
Errors: need for corrections.
-
Warnings: need for review/corrections.
-
Information: The result is likely to be a false positive, but needs to be checked.
-
-
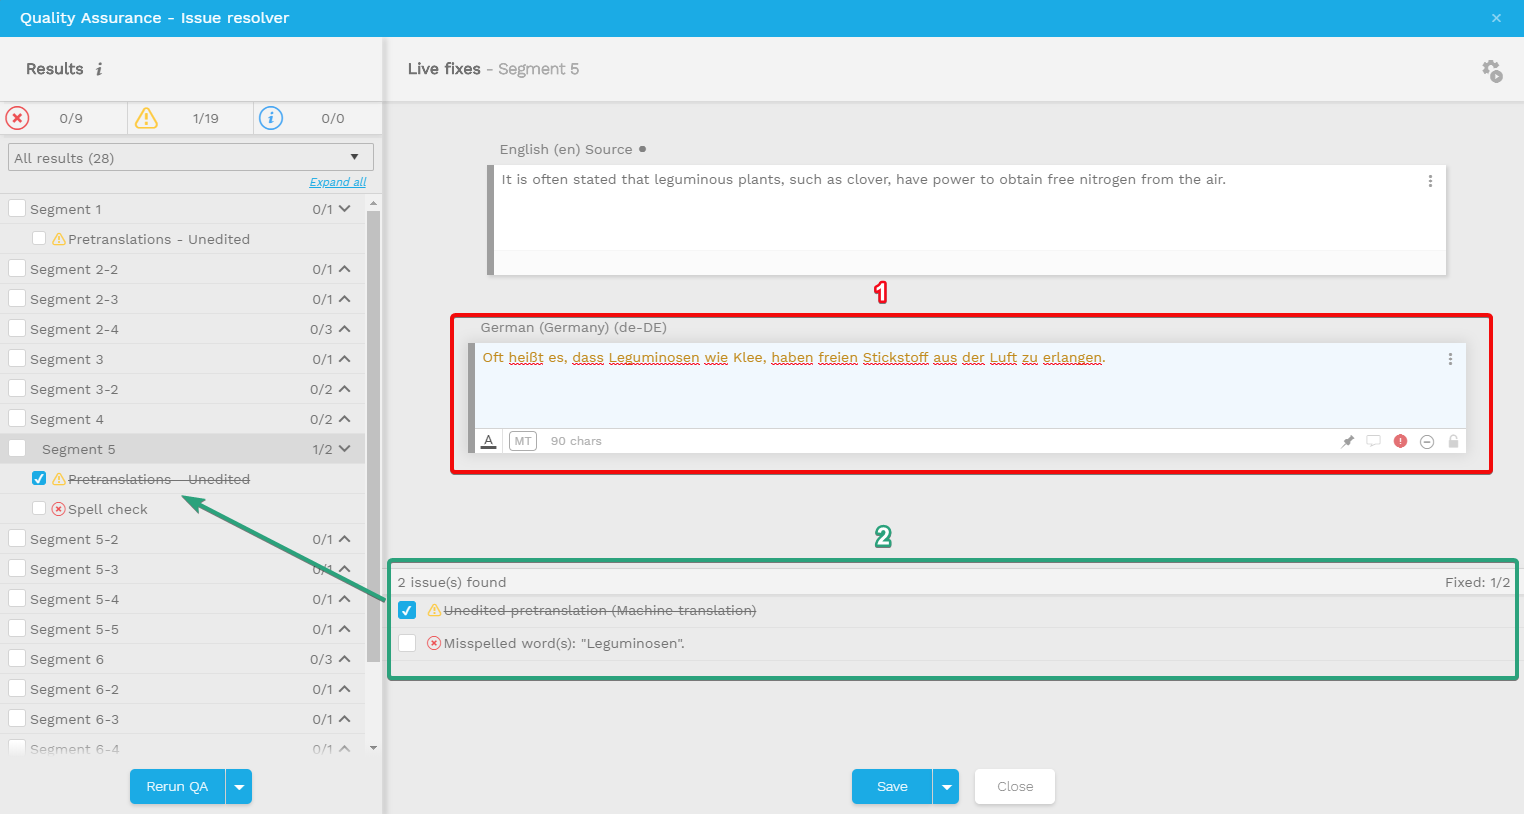
Shows you the QA rule for each segment. Please note you either have the option to click on each segment arrow to expand the warning details or you can also directly expand each segment with only one click by choosing the "Expand all" option.
-
Shows the source and translated content where the issues are found. Now you can quickly correct segments that contain issues without navigating the whole document and clicking in each segment.
-
Shows you a detailed list of issues in a segment.
This gives you the advantage to display results in one dedicated interface, allowing advanced issue resolving. If at any point you need to toggle from the classic view to the advanced one, you will be able to do it with the arrow next to Rerun QA.
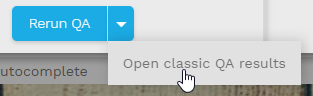
Please note you have the possibility to do "Rerun" QA checks by clicking on the "Rerun QA" button. You also have the option to open your QA results in the classic mode by clicking on the arrow beside the "Rerun QA" button.
2- How to fix issues using the QA Issue Resolver
-
Issues can directly be fixed manually in the target language box.
-
Segment issues can be simply checked off the segment issue list by clicking on the corresponding checkbox.
Once you have fixed all issues in a segment, it is possible to trigger additional actions to validate the status of your segment or apply a bookmark for future reference.(show on the below screenshot)
Segment status:
-
Neutral
-
Success
-
Error
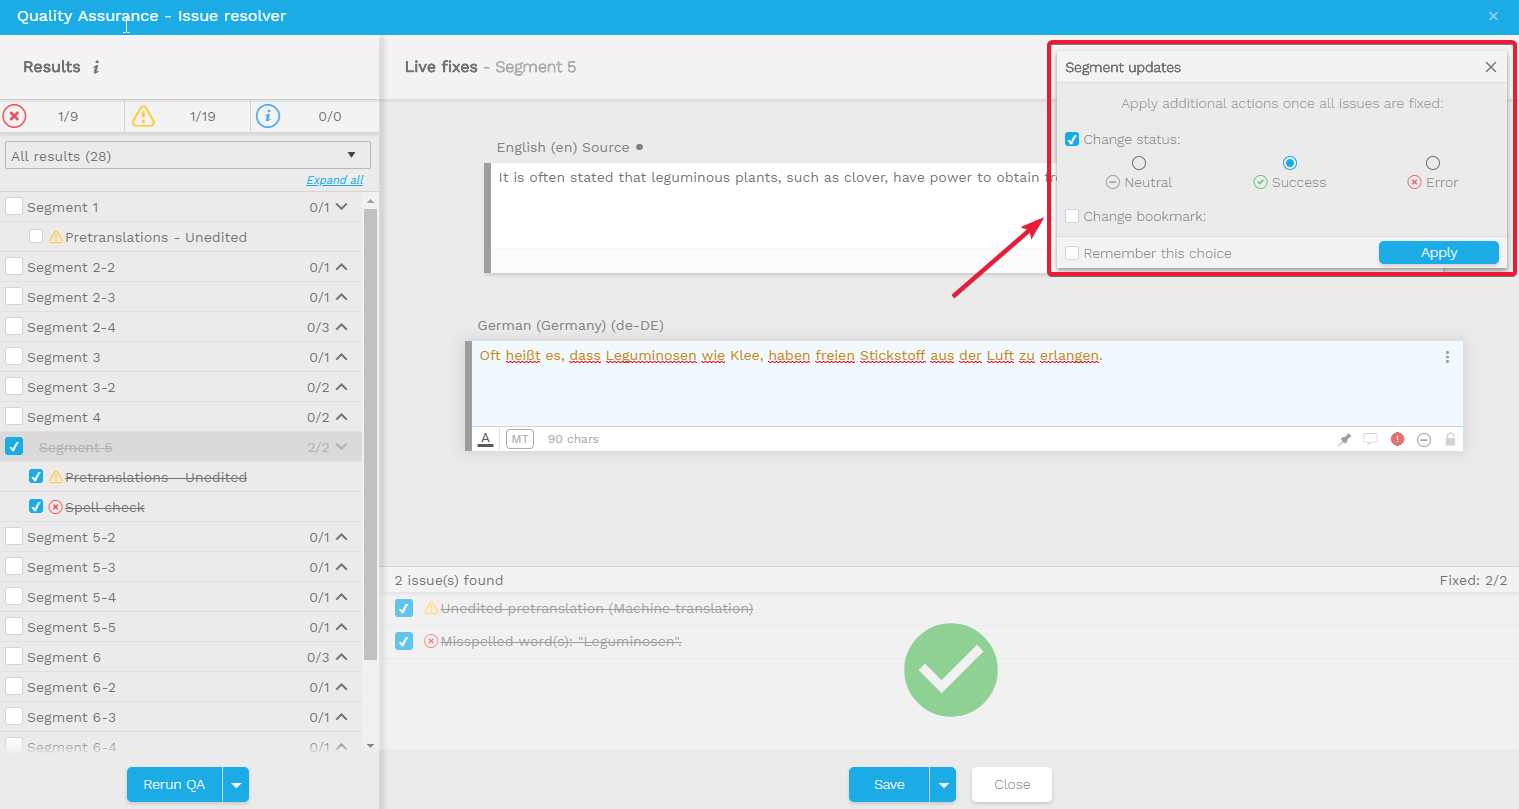
The report will be automatically updated after you click on the "Apply" button as showed on the below picture:
Please note the system will ask you to save the document after you switch to another segment.