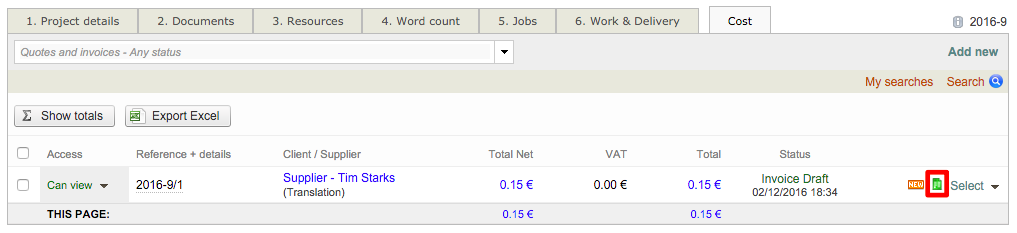
First, access the Costs Tab for the project. If no invoices exist for the standard project, the screen will appear as shown below. To create an invoice for a supplier, first click on Add New in the upper right corner of the screen.

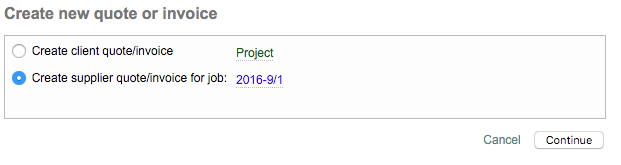
A pop-up window will appear. Choose Create supplier quote/invoice for job and then click on Continue.
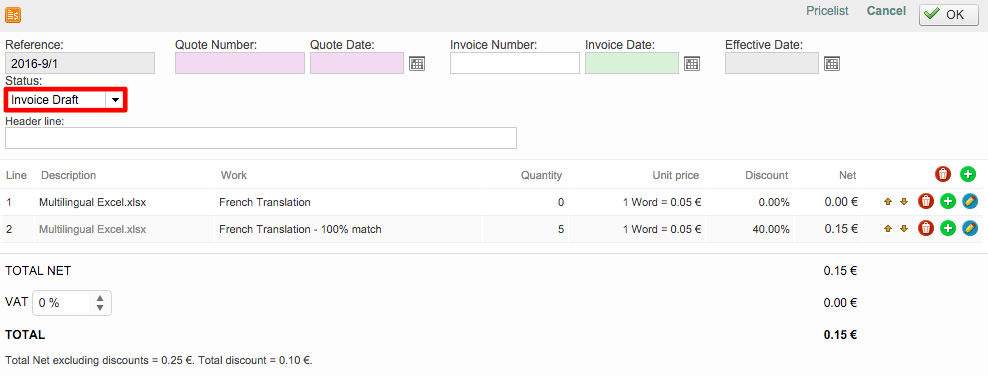
The invoice information will appear as shown below. First, change the Status to Invoice Draft by clicking on the drop-down menu and making a selection. Then review the pricing information to ensure it is correct.
The drafted invoice will show each completed task along with any applied discounts for translation fuzzy matches. The total cost is displayed at the bottom of the invoice.
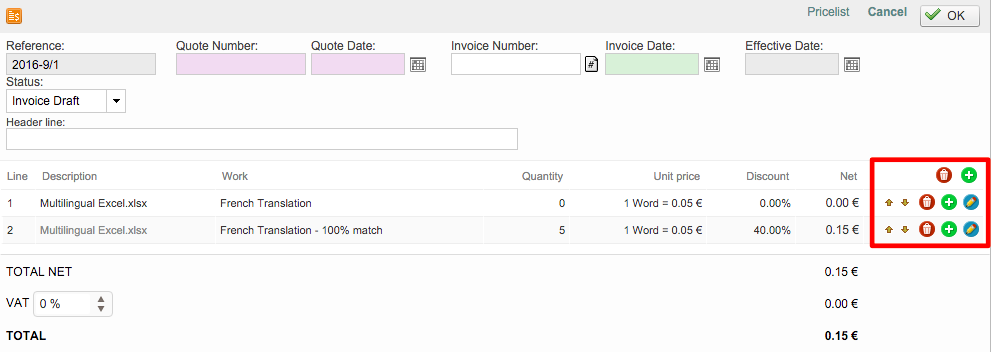
To the right of each displayed line, additional options are provided for managing each line in the invoice. Click on the Trash Can to remove the line or the Add ![]()
You may also enter an Invoice Number, select an Invoice Date, and configure an Effective Date for the drafted invoice. If an effective date is not configured, then the current date will be used.
A section is provided for entering an optional Header Line as well. When finished with any needed changes, click on OK in the upper right corner of the pop-up window.

If everything is correct, click on Attach next to Invoice.

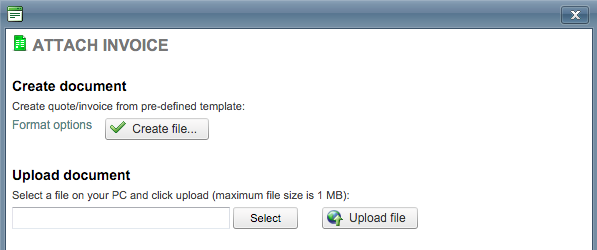
An invoice may either be created using the template provided by Wordbee or from one that is specific to your company. In the pop-up window, you can either:
-
Create File... - This option will populate the draft information into a pre-configured invoice template provided by Wordbee. (The example below will show this option.)
-
Upload A Company Template - This option can be used to browse to and select a company template for the invoice. Click on Upload File and the invoice draft information will be populated into the template automatically.
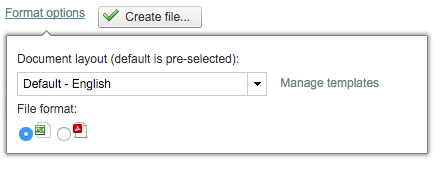
To the left of the Create File... option, you can click on Format Options for the new invoice being generated by the system. Here you may choose the document layout (language) and file format (Excel or PDF) for the invoice. Click on Create File... to continue.
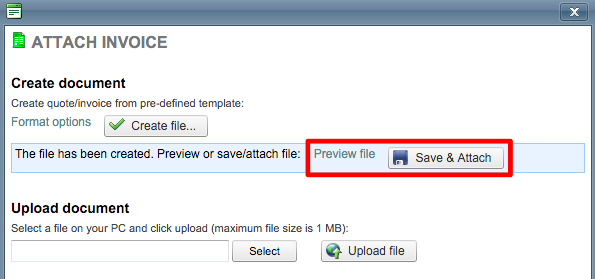
After the invoice has been created with either the default Wordbee template or one that has been uploaded, you will be able to preview the invoice prior to attaching it by clicking on Preview File. The file will be downloaded to the computer for viewing. Click on Save & Attach to save the invoice and attach it to the project.
Once this is finished, you will see a download option appear next to Invoice in the pop-up window. This option may be used at any time to download the new invoice for the project. Click on Close to exit the pop-up window.

The Invoice will appear as shown below when viewing the Cost Tab for the project. Use the Green Document Icon to download the invoice.