Use Workflow Webhooks
Webhooks instantly alert you upon workflow completion, allowing you to promptly download and use the translated file, saving time.
Alternatively, you might choose to periodically check for finished workflows, a less efficient method. For this, see the API method: projects/{pid}/workflows/list/completed
Webhook event
When a workflow completes your URL will be called.
Make sure to configure the web hook to transmit below properties either in the URL or the HTTP BODY:
Project ID: Use placeholder:
{{projectId}}Document IDs: Use
{{documentIds}}(an array of documents). With Standard projects, a workflow may include more than 1 document.The former placeholder
{{documentId}}is still available but is superseded with a plural version to cater to multi-document workflows, see bullet point above.
Target Locale: Use placeholder:
{{branchLocale}}- Preferred over{{targetLocale}}
With these properties you have all that is needed to download the file.
Configure webhooks
Enable webhooks in the project
Navigate to your project and go to the “Workflow & Suppliers” tab.

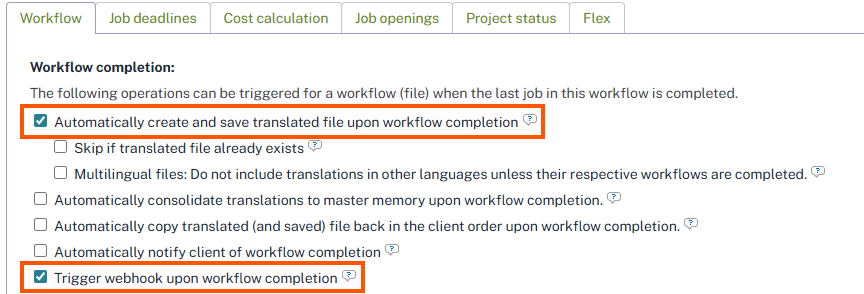
Select the options to automatically generate translated files and to activate webhooks:

Configure the webhook
Next, register the URL that your web service will call upon workflow completion. Log in as an administrator, click on "Settings," and then choose "Developer API Webhooks" on the page.

To set up a new webhook:
Click on "Add new webhook" at the top right and select "Document workflow - Finished" from the dropdown menu. This prepares the new webhook for configuration.
Enter the URL, incorporating URL parameters with placeholders like the document ID and branch language as needed.
Customize the HTTP BODY, if necessary, to include specific data for your service.
Add HTTP HEADERS, such as those required for Basic Authentication, to ensure secure communication.
Implement “Conditions” to limit the webhook to a particular project by applying a condition to {{projectReference}}.
Test webhook
To test your webhook effectively:
Utilize the “Preview and test” link available on the configuration page for an initial check.
For a real-world test, create a Codyt project, upload a document, and complete all jobs (for a target language) to trigger the webhook.
Reopening and completing jobs once more will indeed reactivate the webhook.
Use webhook.site for your tests
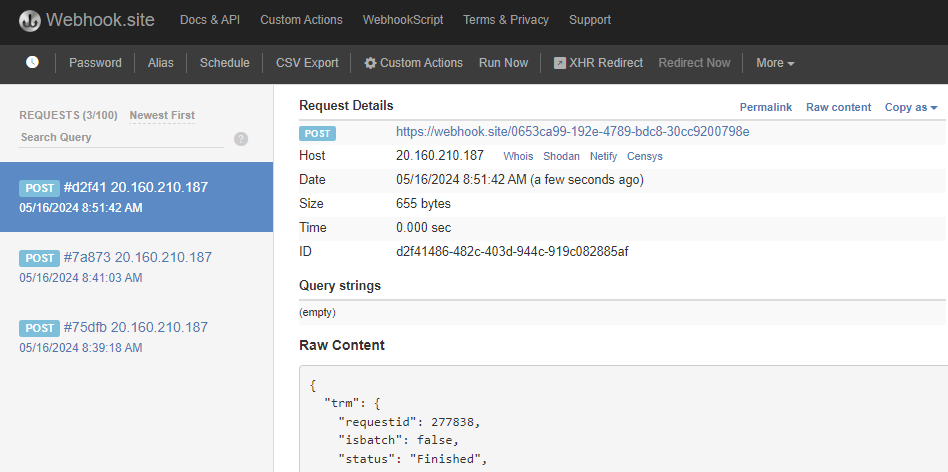
The free online tool https://webhook.site/ instantly gives you a public URL that you can use as a test webhook endpoint. Whenever, the URL is called by Wordbee, the web page of webhook.site will show the call and all its parameters:

