Handle client costs in Standard projects
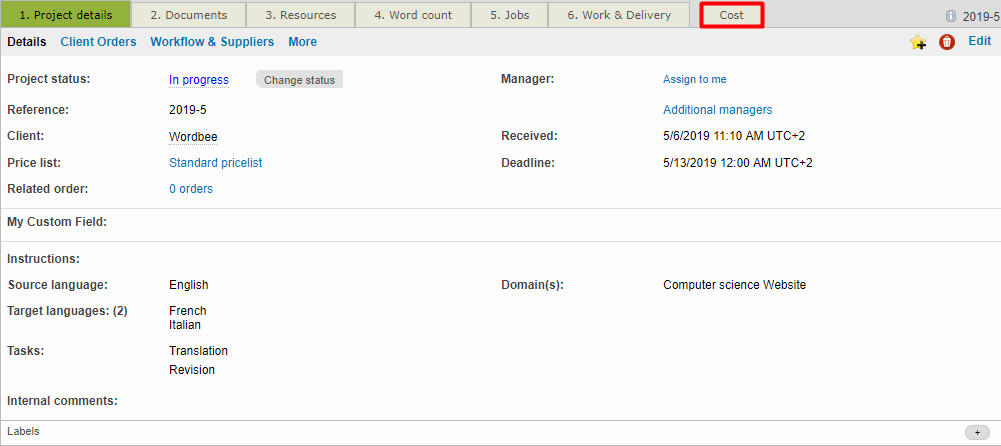
1. Create an invoice
Creating the document with all summary of costs requires configuring the services in the pricelist attached to the project. By default, a sample pricelist is linked to all projects, so you can retrieve some costs for the tasks to be invoiced. You can learn more about the pricing possibilities in the Client price list section.
Generate document with cost details
Select the price-list of your choice in the drop-down and also the languages you would like to cost based on the word count figures generated in step 4

You can decide to include all languages in a single invoice/quote or generate individual invoices per language.
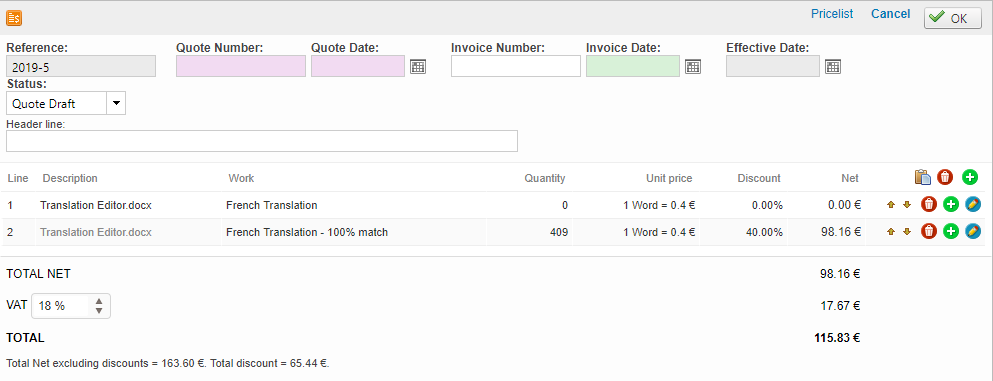
In this example we show with the data of the sample project, how these invoices could look like.
Example with one language:
Example with 2 languages, with different pricing details:
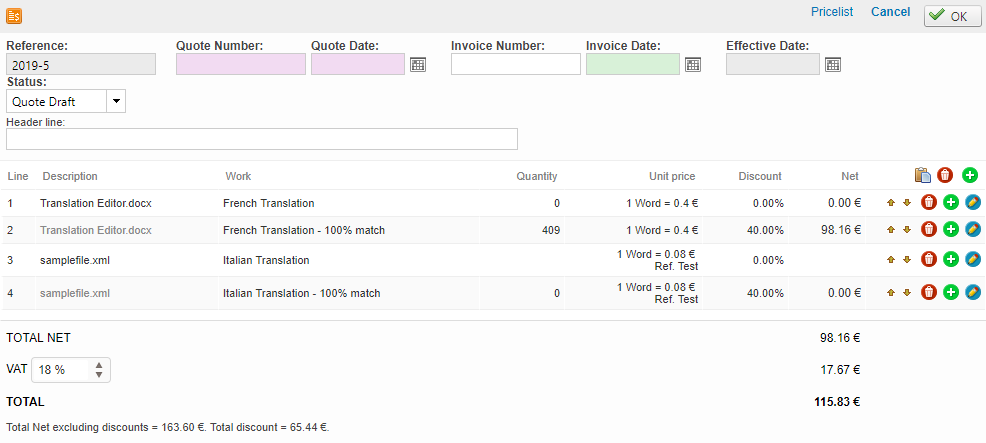
The header of the costs popup will allow you to introduce some general information for your invoicing system (reference numbers, dates and project name).
The Effective date field relates to the date when the project was delivered to your client.
2. Preview and validate the layout of the quote/invoice
You can arrange the order of the columns, delete details or add new costs by using the icons next to each line. Once you find all details are fine, you can confirm the creation of the costs document by clicking Ok in the top right corner.
The current date and time will be printed and you will be able to further update it by editing the contents or the status of the costs file:
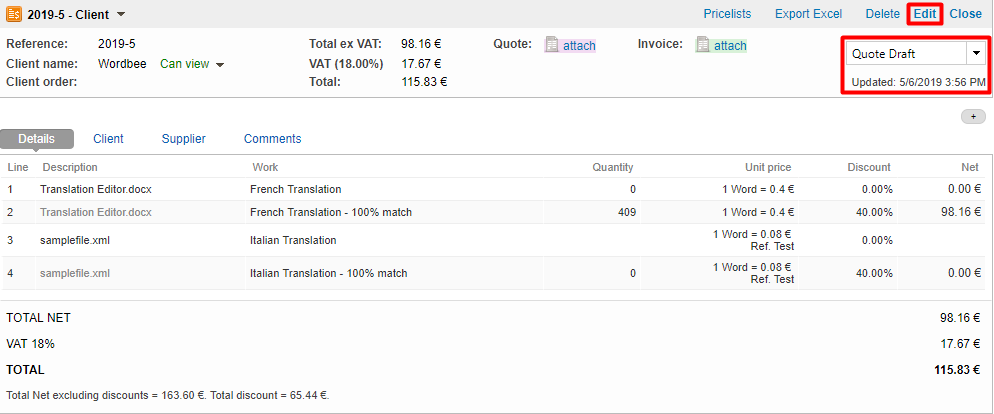
Attach pint-out copy
You can use the Invoice templates available in Excel and PDF formats so you can easily share with your client the printout of the costs or even attach your own custom version.
Click on the "attach" link next to "quote" or "invoice" and select the right language and file format you would like to use, then click on "create file" to generate the document.
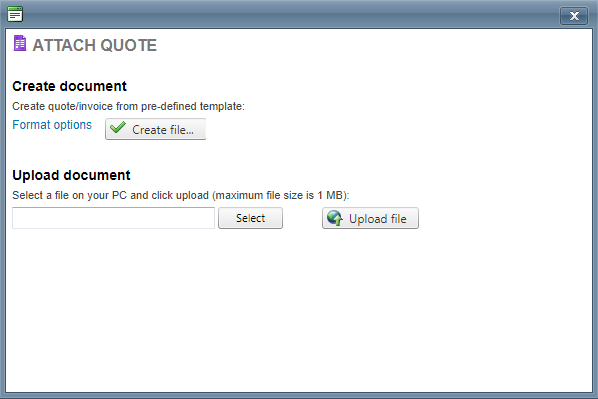
Use the preview function if you want to run some tests before validating the document and attach it to the costs popup. Learn all about the layout and customisation possibilities in the Invoice print layout section under settings.

Once you confirm the document with the Save & Attach option, you will see that the file is available under the right area of the costs popup. You can update the file at any time by reattaching the file again or even by replacing it by your own custom version
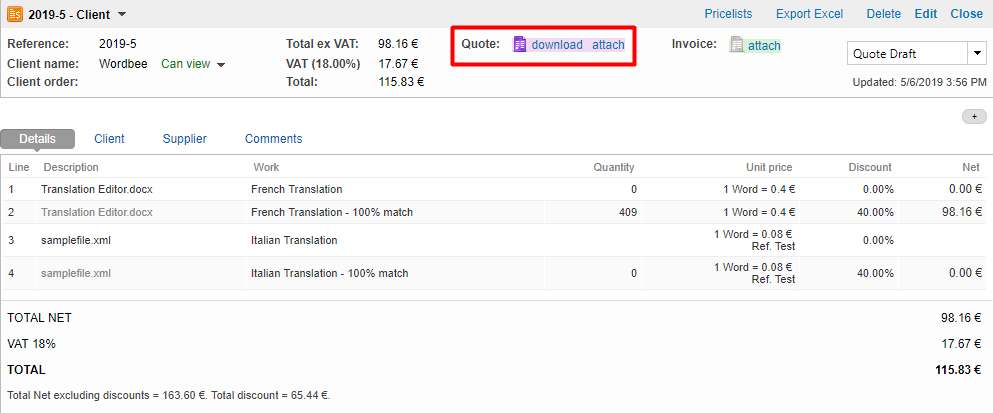
Update the costs document
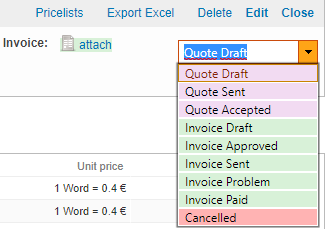
You can decide if there is a need to create a quote or an invoice at any time. The same if you need to update the status or the print-out of this costs document.
Just use the status drop down or the attach options to keep all information organised based on the client feedback you receive.

