
When you mark a file for online translation, Wordbee Translator will automatically recognize the file format and propose the most suitable configuration to parse the text.
A new option is available in the Configuration of all Document Formats, called File conditions. This feature will enable you to create custom filters that can match a specific file extension, file name, or file content. For example, you can set a regular expression on the file name and/or file content to reach higher automation when processing files in a project. When you mark a file for online translation, Wordbee Translator will now sort the filters by file conditions. See the examples in this article to learn how the new feature works in practice.
Example 1
You have two plain text files called Sample.wordbee and Sample.jaws. Since the plain text filter currently supports only the .txt, .utxt, .utf8, .text file extensions, Wordbee Translator will not be able to process your files. Since you do not want to rename the files either, you could use the new configuration option to customize the file extensions of the plain text filter to match the extension and names of your files. Follow the steps below:
-
Go to Settings > Customisation > Translation Settings > Document Formats.
-
Click on the Plain text document format. The Default configuration will appear.
-
Click on Add New to create a new configuration.
-
Add a suitable name and description.
Note that you have five main configuration options for the Plain text filter:
-
General
-
Do not translate
-
HTML
-
QA
-
File conditions (new)
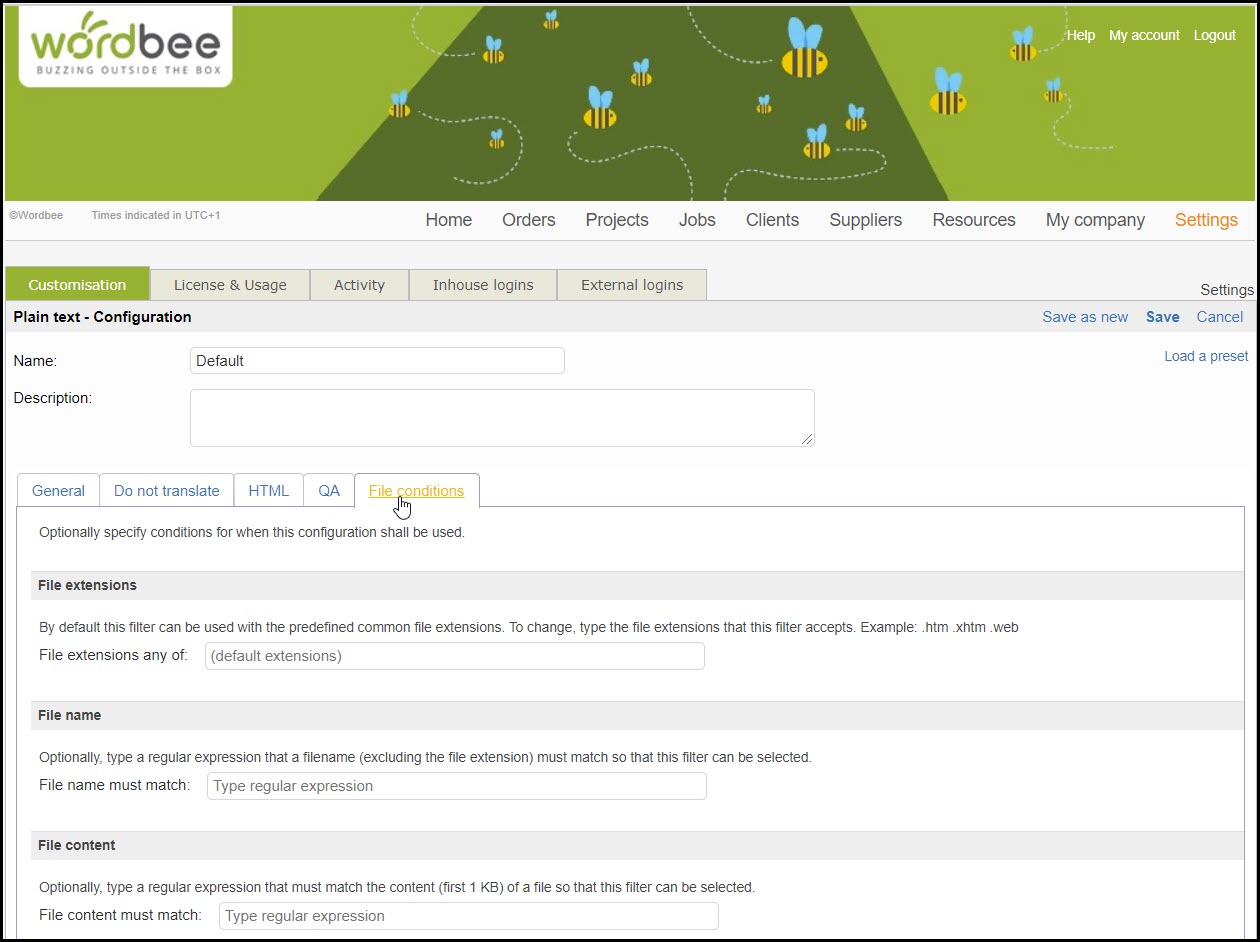
Open the File conditions option to add custom file extensions and a regular expression that matches the names of your files.
-
Go to File extensions and add .wordbee .jaws in the box. If not set, the default extensions for plain text will be used.
-
Go to Filename and add the word sample in the regular expression box. Wordbee will apply this filter only if the regex matches the name of the file.
When you finish, click on Save to create the custom filter for the Plain text document format.
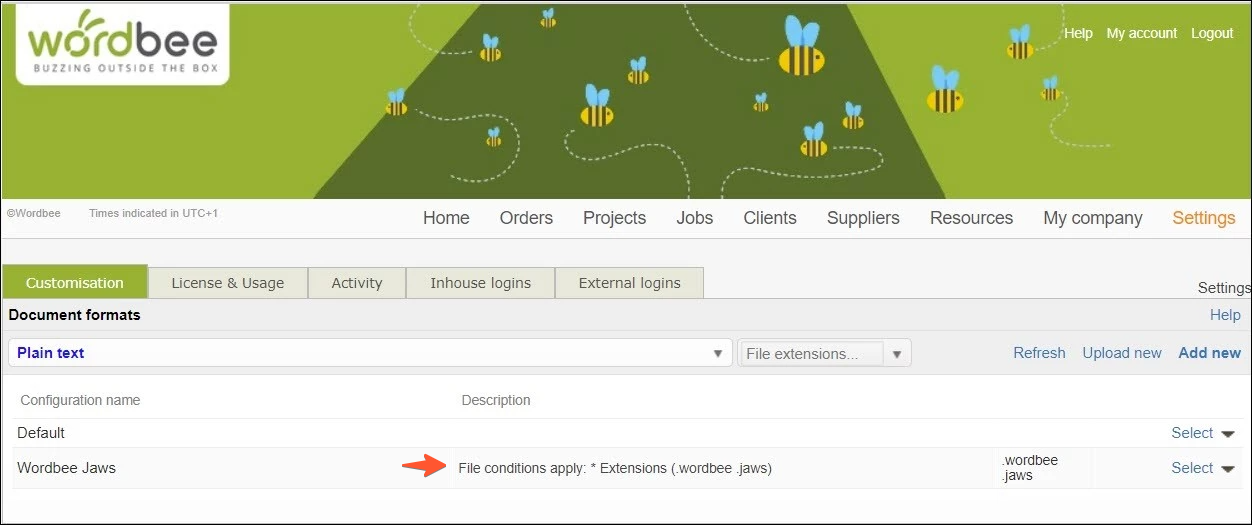
When you mark the file for online translation (either in Codyt or Standard projects), the filters will now be sorted by file conditions. If a filter has matching conditions, it will show further up in the list of the filter options.

Example 2
The new configuration option can be useful when translating XML files where a custom filter could be created to match the namespace or the XML elements.
Let us assume that you have an XML file that contains the <records> node in the content. To create a custom auto-select filter to match the content in this file:
-
Go to Translation Settings > Document Formats and select the XML file format to access the Default configuration.
-
Click on Add New to create a new configuration.
-
Add a suitable name and description.
-
Access the File conditions tab to specify the conditions for when the new configurations shall be used
-
Go to File content and type a regular expression to match the content (first 1 KB) of the file you want to process. In our example, the regex would be \<records\>.
-
Save the configuration.
When you mark the file for online translation, this filter will be shown at the top of the list before the other XML filters.
Example 3
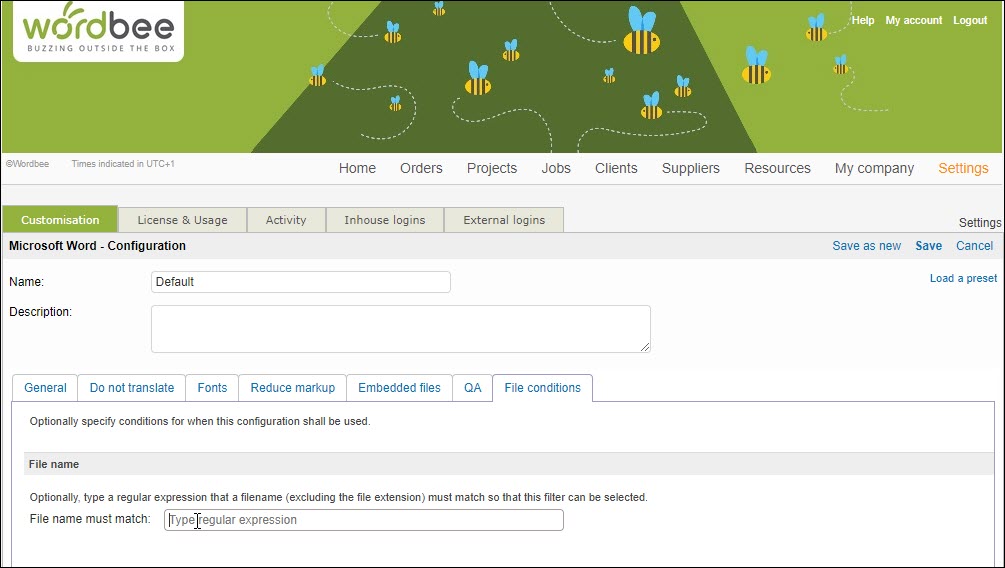
You want to create a special Word filter if the file name starts with the word Sample.
Open the configuration of the Microsoft Word file and access the File conditions tab. Add the word sample in the regular expression box. When you mark the file for online translation, Wordbee will propose this filter at the top of the list to process the file.
For binary filters, such as Flex and Beebox, you can set conditions only for the filenames.
Learn more