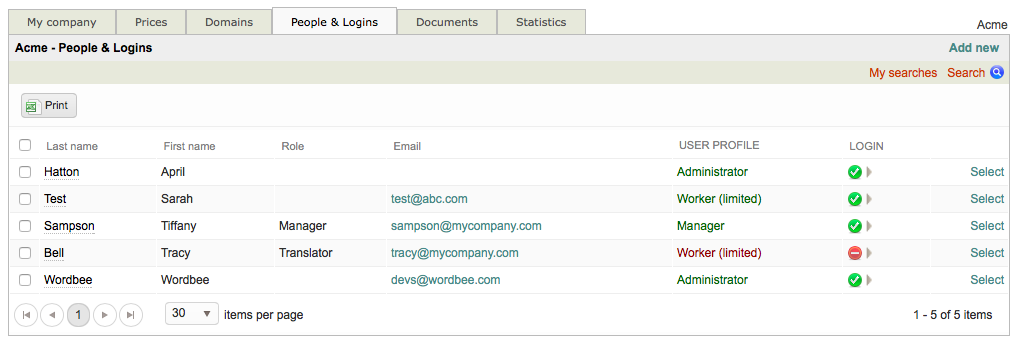
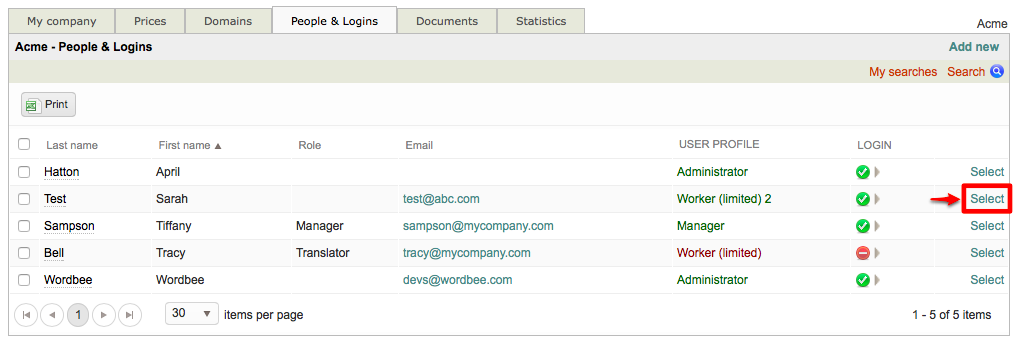
An inhouse login can be modified at any time by going to Settings > Accounts and Security > Inhouse Logins, clicking on Configure, and then clicking on Select to the right of the desired login. In the example below, Sarah Test is chosen.
The following sections may be used to make changes to a users basic, login, and services information:
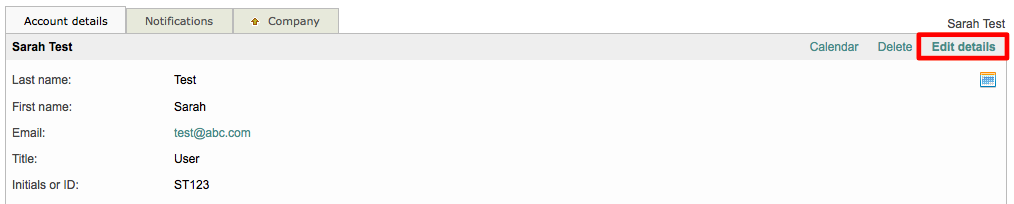
Basic Information
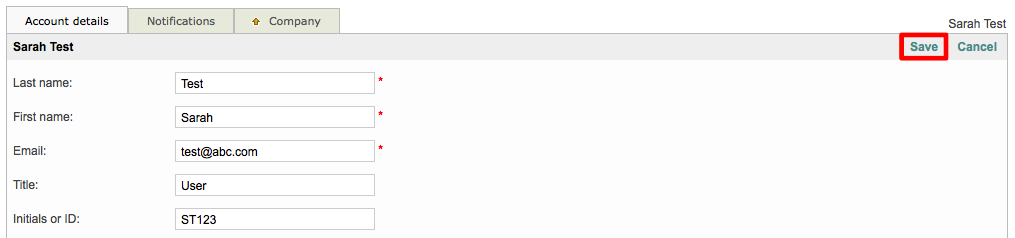
If you need to make changes to a user's name, email, etc., simply click on Edit Details in the top right corner of the screen.
Then remember to click on Save in the upper right corner when finished.
Login Information
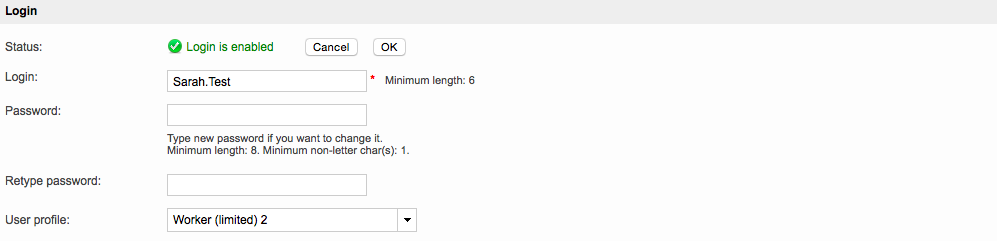
To change their login information (ID, Password, and User Profile), scroll down to the Login Section and then click on Edit Login/Profile to the right of the login's current status.

The screen will appear as shown below. Please note that the Password information is automatically removed and will need to be entered again before finishing the change.
Once all changes have been made, click on OK to save them for the chosen inhouse user. In this example, the Password has been entered and the user's profile has been changed to Worker (limited).
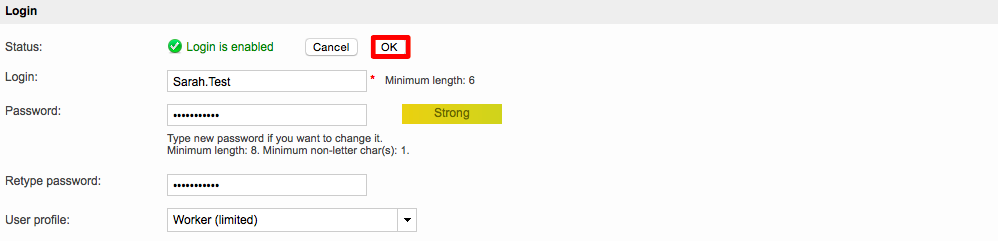
Once saved, the Login Section will appear as shown below.

Services Information
The Services Section contains information about the domains a user works within and the languages they use for project tasks. If no Domains or Languages have been configured, this section will appear as shown below:

For more information about configuring Domains in Wordbee Tanslator, please see the Translation Domains section.
Domains
To configure one or more domains for an inhouse login, click on Edit to the right of the Domain(s) option.

This section of the screen will expand as shown below:
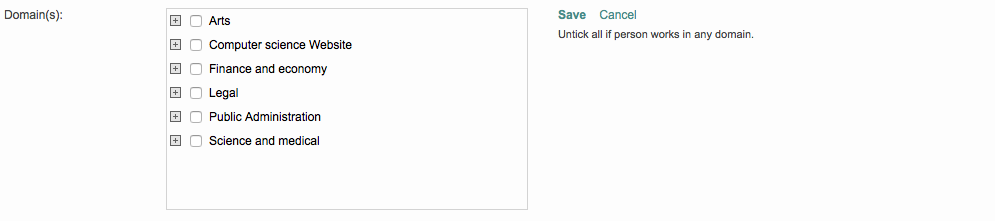
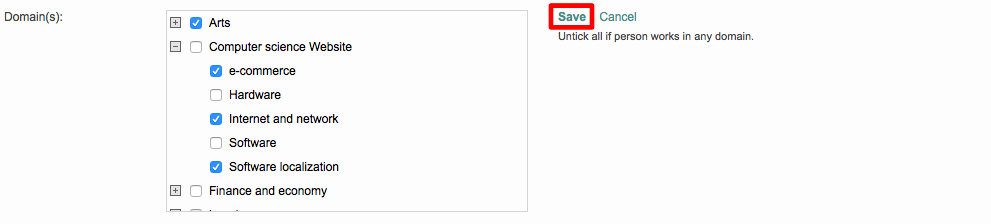
Tick the checkbox next to each domain you want the user to be part of. Use the plus next to a domain to expand it and view available subdomains.
This may include an entire set of domains and subdomains (Arts for example) or only certain subdomains like e-commerce or software localization. When finished choosing the domains, click on Save.
The Services Section will appear as below after a few domains have been configured for the inhouse login.

Languages
To add specific source and target languages for tasks that the user will perform in the system, click on Edit to the right of the Languages option.

Then choose a Source Language, Target Languages, Task, Price, and Capacity within the provided screen. When finished, click on OK in the bottom right corner of this screen.

The languages section will appear as shown below once at least one language pairing has been added for a task.
These may be deleted or edited at any time by using the Delete Button (Trash Can) and the Edit Button (Pencil) to the right of the listed language pairing.

You may also add as many pairings as needed for an inhouse login, by clicking on the icon.
Return to Inhouse Login List
To view the inhouse login list again, click on the Company Tab at the top of the window.
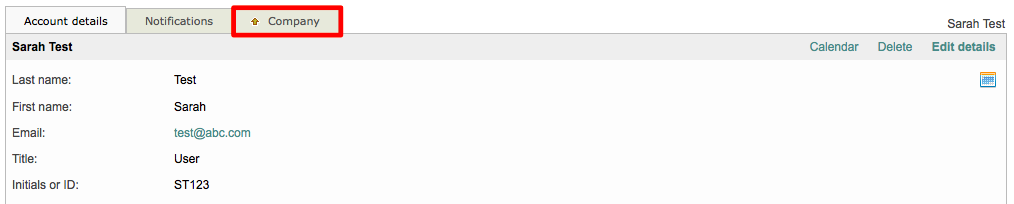
As displayed in the list, Sarah Test now has the Worker (limited) user profile. Not every change is displayed in this list and to see further details, you will need to select a specific inhouse login.