
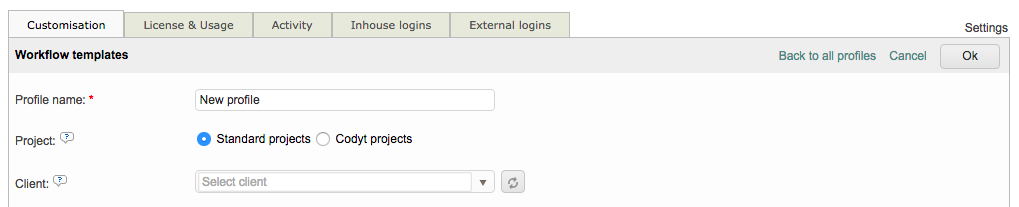
The screen for creating your workflow template will appear as shown below:
The following sections have been provided to help you complete the workflow template creation:
Profile Name
Each template you create within the system must have a Profile Name. The name will be easier to identify if you use some sort of text to reflect what work is being done.
To make an entry, click on the text field, remove the current text, and then type in any desired name for the profile. In the example below, the template is for a Codyt Project where the required work is Translation, Revision, and Proofreading.

Project type
Next, you will need to select a project. You can chose between Standard or Codyt Projects, as shown below:

Please note that if you have chosen Codyt as the project type, then the template will not be an available selection for standard projects and vice versa.
Client
Wordbee Translator provides the option to restrict the use of the template for a specific client for the workflow template. It is an optional choice and if no client is selected, then the template will be an available selection for any client in the system.

To choose a specific client, click on the drop-down menu and click on the client you want to assign to the workflow template. In the example below, Tech World has been chosen:

This setting is completely optional. If you assign the template to a client in the settings, it will only be selectable for that client and no others in the system.
Read the next chapter to complete the configurations available for each task to be performed within the project: