Besides having the ability to sort or view the details of task categories, you may also add new categories to Wordbee Translator for selection within projects. The following sections explain the steps for completing a category addition:
Add a New Task
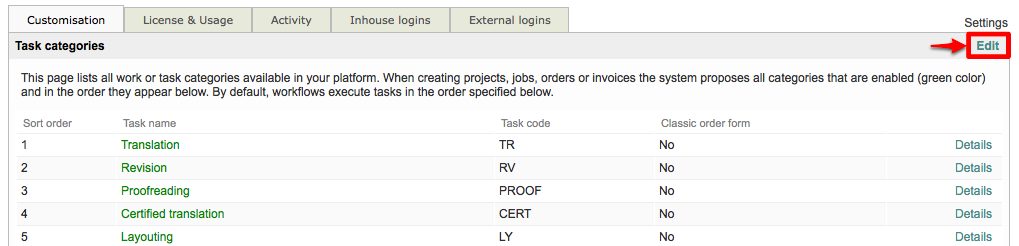
First go to Settings > Translation Settings > Task Categories, click on Configure, and then click on Edit in the top right of the screen:
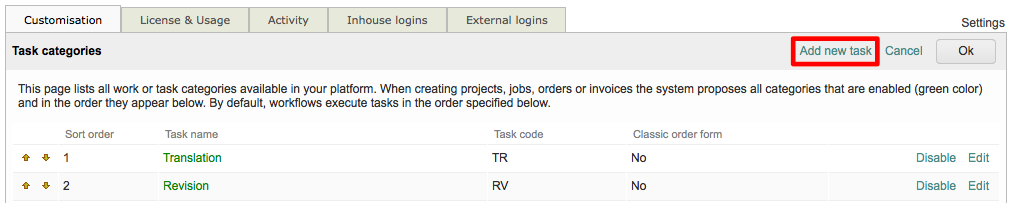
Then click on Add New Task to begin creating a task category in Wordbee Translator:
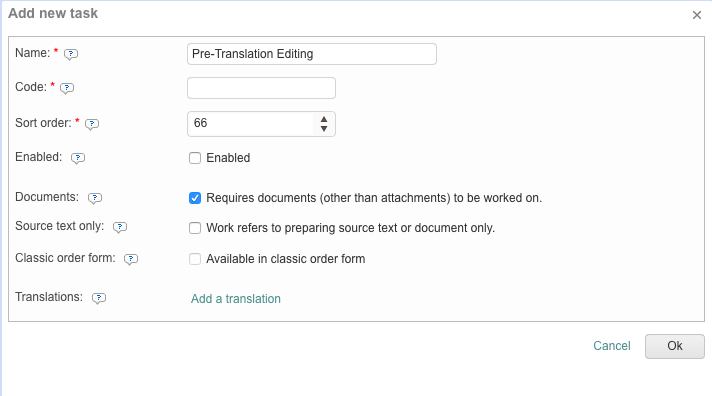
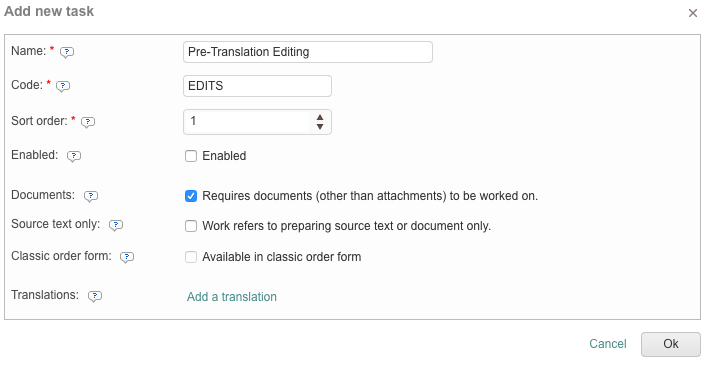
This will open a screen for creating the task category, as shown below. In order to create a new task category, you must at least enter a Name, Code, and Sort Order.

Enter a Name
First, enter a Name for the task category. This can be anything you desire and should best reflect the task to make this portion of project configuration easy. In the example below, Pre-Translation Editing has been entered as the name.
Enter Code & Set Sort Order
Task categories must have a code as it is needed by the system to create invoices. The code cannot be longer than 5 letters and must be entered in all caps. In this example the code is EDITS.
The value you enter in the sort order field determines where this task will appear when adding a new task within a project.
In the following example, the sort order has been set to 1, so that when you will add this task in your project workflow it will be at the top of the selection list.
Enable Category & Additional Options
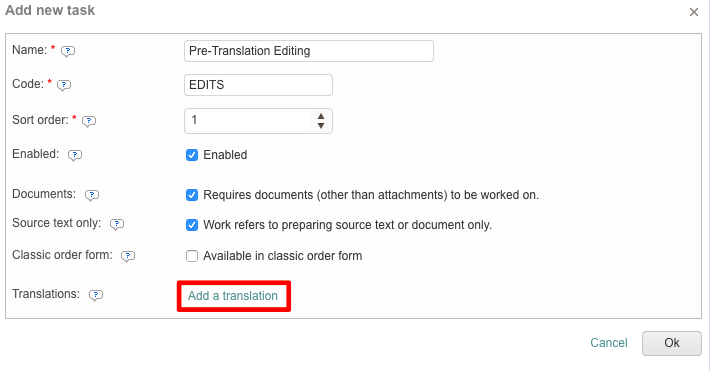
Additional options are provided at the bottom of these required fields on the form for creating task categories. By default, the new task category will be disabled unless you check the box next to the Enabled option, as shown below:

If a task category is disabled, it will not be an available selection in the tasks list for a project. Additional options include:
-
Requires Documents To Be Worked On - In some instances a task does not require any documents to be worked on (i.e. interpretation work, etc.) and these jobs are created without documents. This option is enabled by default; however, it may be disabled if the task does not require documents to be worked on. Please note that you can still attach reference materials, notes or files to any job.
-
Work Refers to Preparing Source Texts or Document Only - Codyt Projects Only. This option should be enabled in instances where the workflow includes a step for preparing the source text or document before the translation is performed. The work is target language independent. Workers assigned such a task can edit the source texts or the original document. Upon completion the workflow then proceeds with the target language specific work steps: translation, revision, etc.
Note that If you place such a task after translation related steps it only will be started when all such target language specific steps are completed for all target languages.
-
Available in Classic Order Form - Specify if the task is available in the classic order form. This does not apply to the standard order form.
Add Translations
By default the task name will be displayed non-withstanding the user interface language. You can optionally translate the name here for languages you or your users work with. This is useful when printing invoices in specific languages or when switching the Wordbee user interface language. To add a translation for the name, click on Add a Translation.
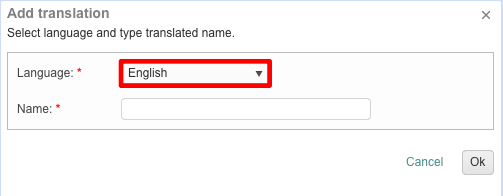
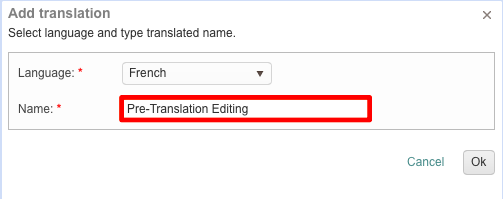
Then select a language for translating the task name from the Language drop-down menu. In this example the original selection was English and we will be choosing French.
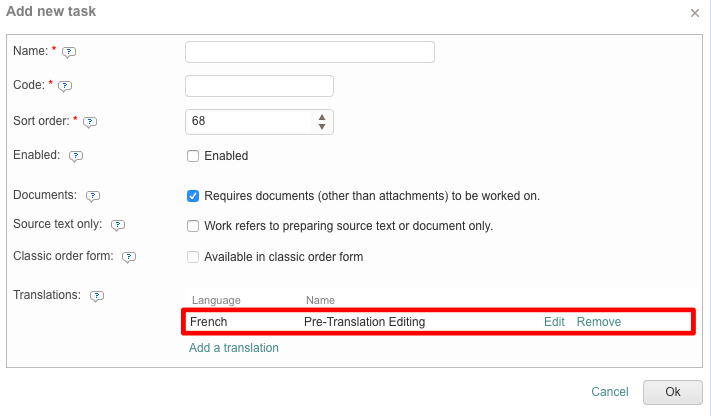
Then enter a name for the translation. This can simply be the name of the task or a different name when needed. For this example, the task category name has been entered: pre-translation editing. Then click on OK to finish or Cancel to exit without adding the translation. Translations may be added for as many languages as needed.
Once one has been added, you will be able to view the language and name within the screen for adding new tasks. An option is provided to edit the translation or remove it. You may also add another translation if needed.
Finish Adding the Category
After everything has been configured for the task category, click on OK to add it to Wordbee Translator.

You will receive a confirmation message to ensure the task category should be added. Click on OK to finish adding the new task category or Cancel to return to the "Add new task" screen.
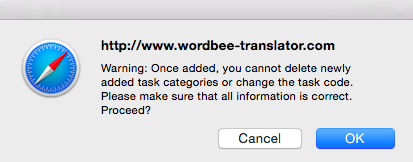
Please note that once added, you will not be able to remove it from the system and it is best to ensure it is accurate before clicking on OK in this message.
The new task will appear within the list at the specified position. In this example, it has been added as 1 for the sorting order. You may also change the sorting order, disable or enable the task, and make changes from here.

Next, click on OK at the top right of the screen to save all changes made in the task categories configuration.

How It Looks In a Project
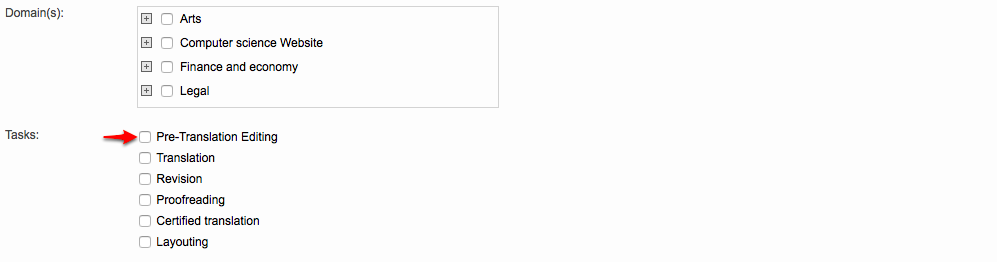
These changes are reflected within the details of a project. For new projects, this will be the New Project Details Tab (as shown below) and for existing projects the information will be found on the Project Details Tab. Simply scroll down to view this information.
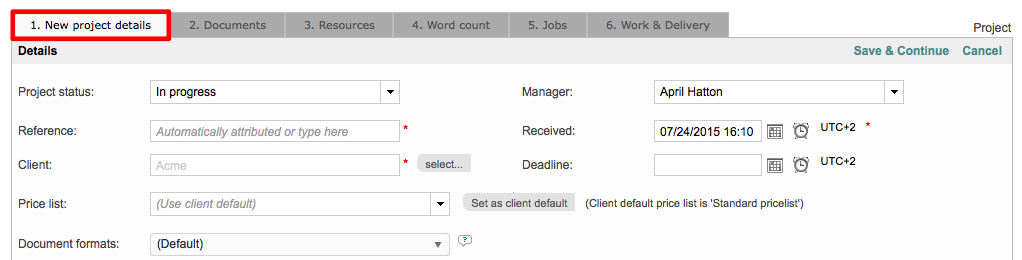
The new task category wll appear within Requirements > Tasks. As shown below, Pre-Translation Editing is now an available selection in the list and resides in position 1.