
In this section you will learn how to make the most out of your work in the Translation Editor.
We will be covering the following topics:
Document menu
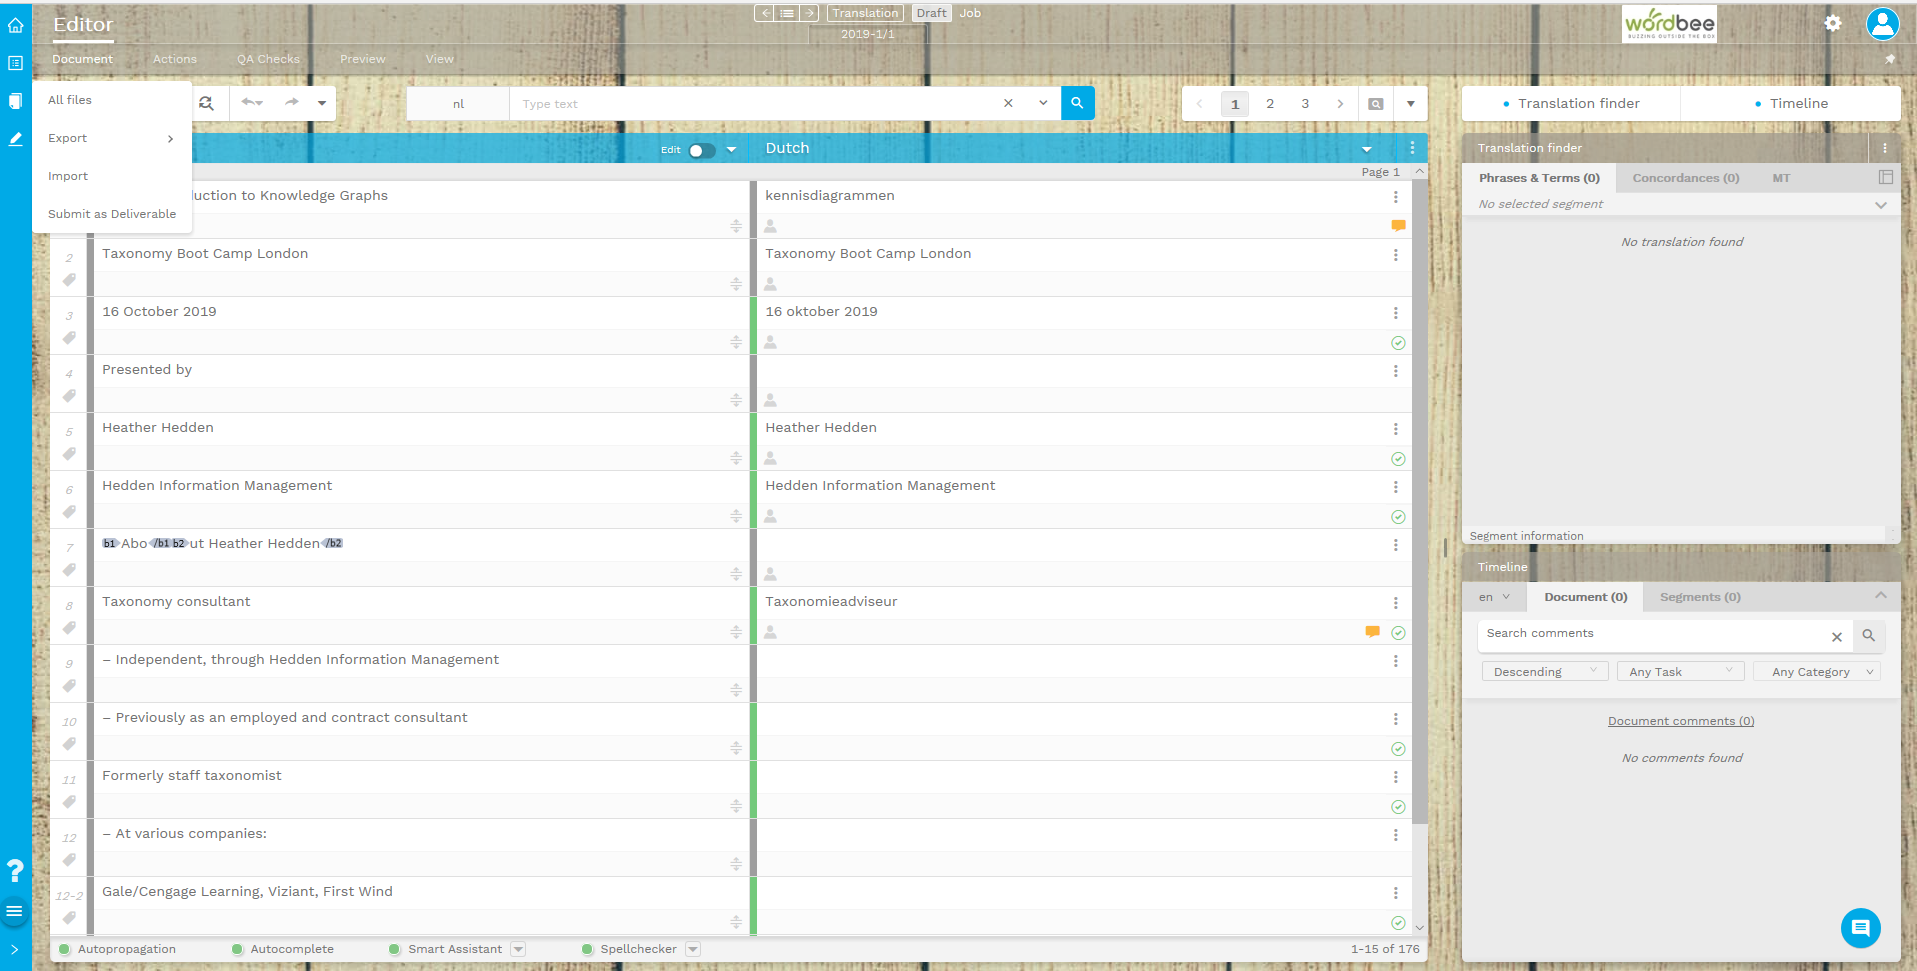
To access project files (source, reference materials) and add external files to support your work or to communicate with the PM, proceed as follows.
-
Open your job in the Editor
-
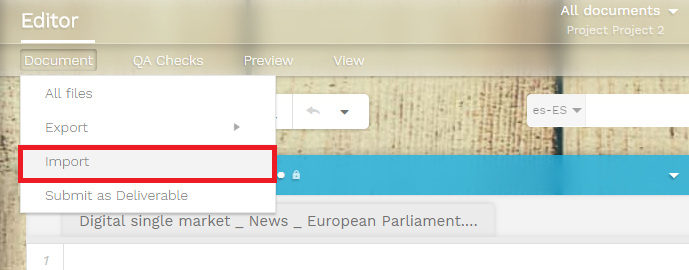
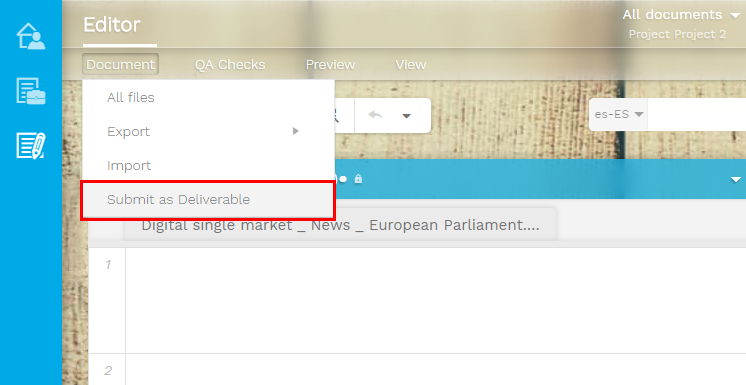
Click on the Document menu on top of your Editor toolbar to view the available options:
-
All files
-
Export
-
Import
-
Submit as Deliverable
-
All files
Click on Documents > All files to view, preview or download the documents available in your project.
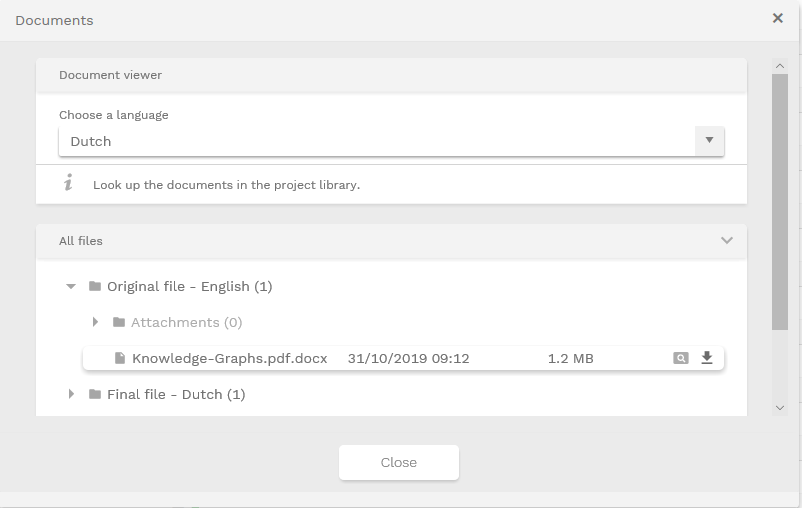
In this section you can find your source files as well as the reference materials that have been provided for your job.
You can also include attachments (invoice, external documents) to support your work.
Working offline
To continue your work offline, you will need to configure an export with the relevant information for your task. Then, you will be able to import the file again and all the information will be loaded in the Editor.
Note that as a user you might have some restrictions to work offline. If you have any doubts, check with your project manager or administrator the details of your user rights.
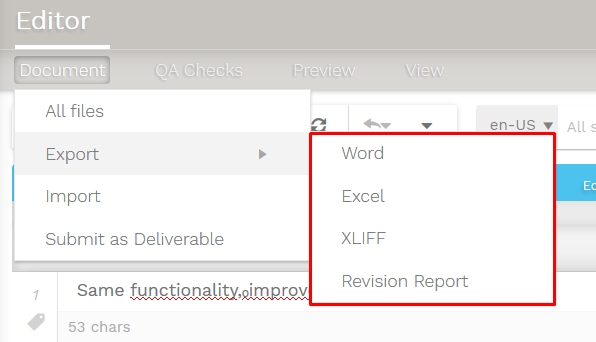
Export (Word and Excel)
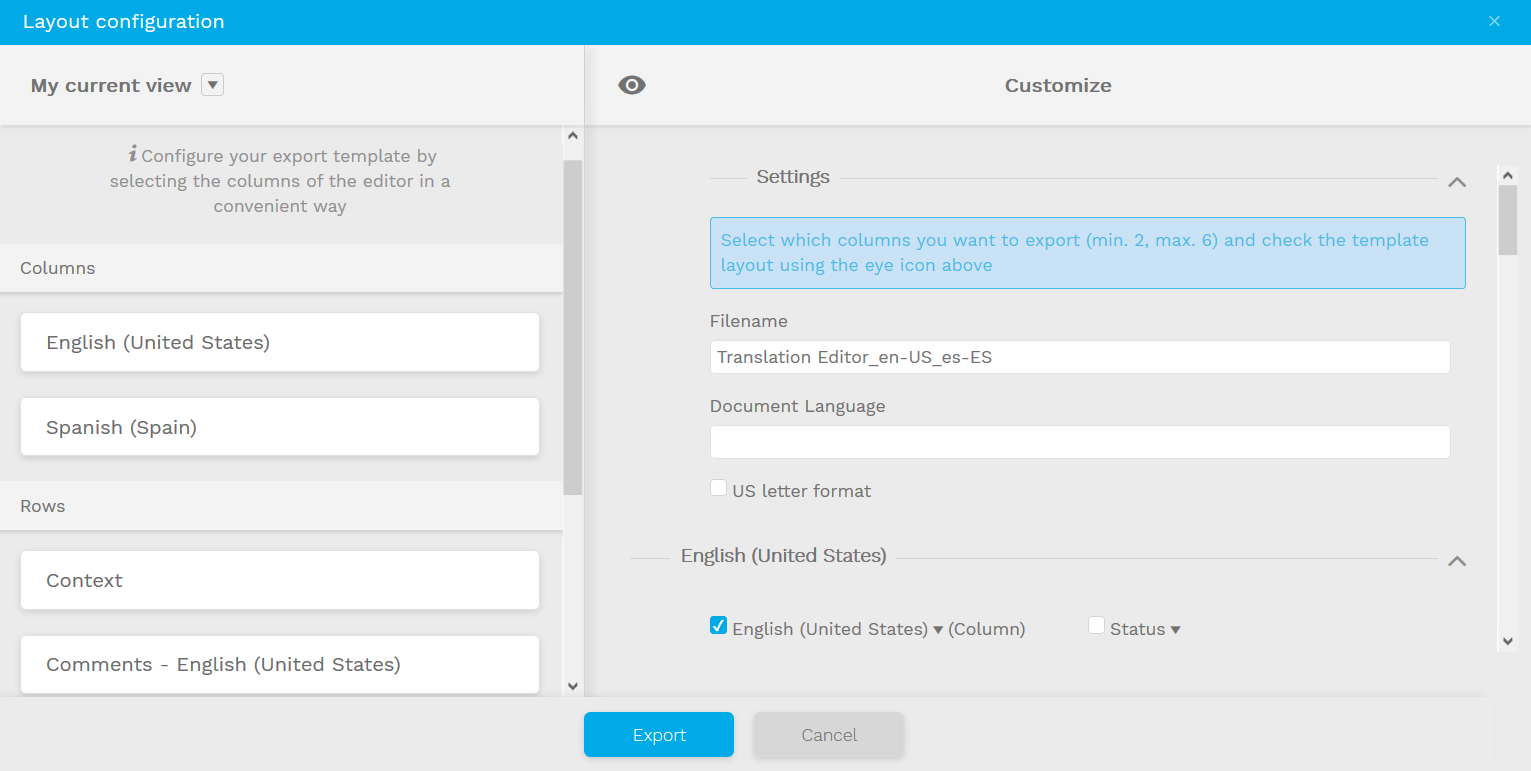
Before you perform the export, you can preview the structure you have created
by clicking on the eye icon 
Export (XLIFF)

Other Export options
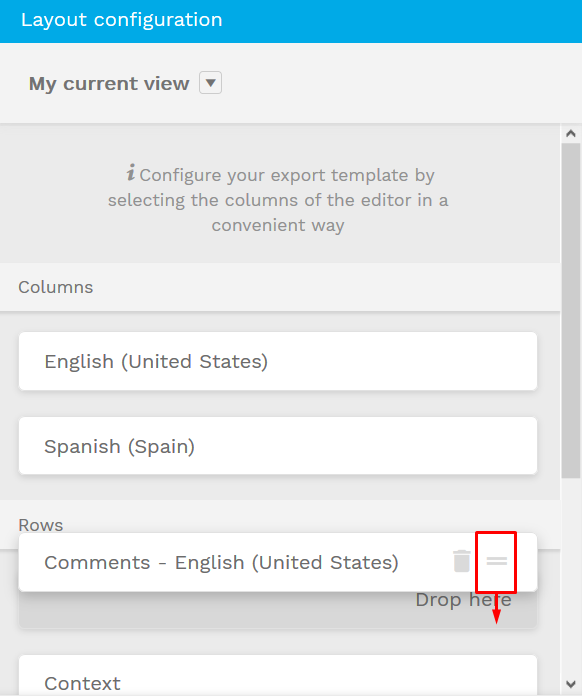
Export (left-hand side of the window)
By default, the system will always load the current view of your Editor. You can see these elements already loaded in the left side of the popup window.
There are also some preloaded export templates available (revisions report, offline translation and offline revision).
|
Some file formats may give you the possibility to change the way the information is displayed in the document.
Never modify the structure of the file once it has been exported. Any modifications in the structure of the file will cause errors when importing the project back to the editor.
|
Export (right-hand side of the window)
Here you can fully customize your export template according to your needs. Just select which fields you want to include in your export (they will all appear on the left hand side of the window).
-
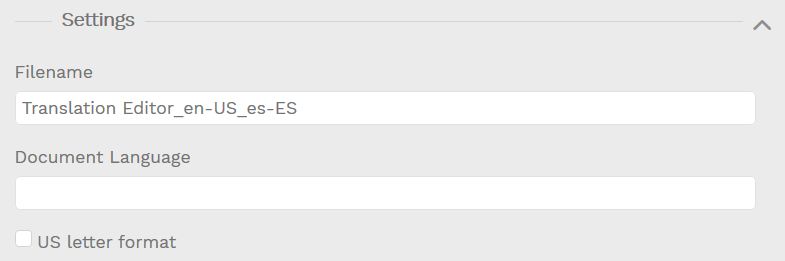
In the Settings area you will be able to name your file and set some relevant information about formatting.
-
The languages of the project will be displayed, not only your working languages but other possible target languages of the project.
-
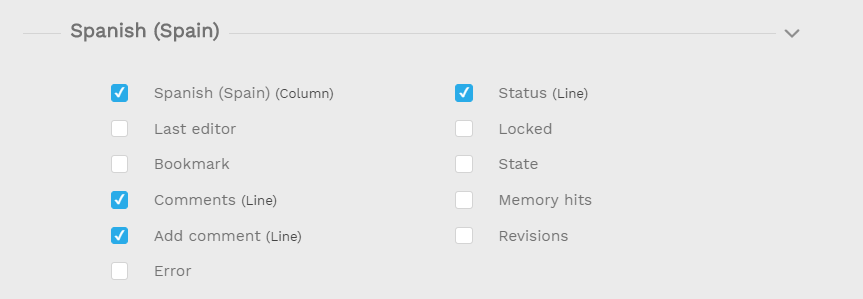
Finally, you can include general information about the segments thanks to the Segment area (which is usually displayed in the first column).
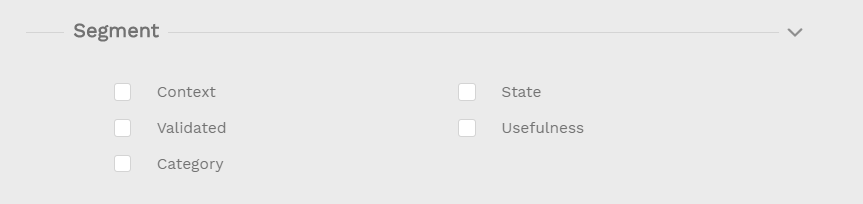
Keep in mind that some of the categories only include existing information. This means that:
-
if you want to be able to import comments to the system, you will need to include the field add comments, otherwise, it will not be possible to retrieve that information during the import.
-
if you are exporting the hits of your project resources, they will all be displayed in a static way.
You are now ready to start your work out of the CAT Editor! You will find all relevant information about how to fill any specific fields of your file under the page <WORKING Outside the CAT Editor>.
Import
If your Project Manager has set you specific rights to work offline, you will be able to upload a file and send it to complete your assignment.
Either way, once you have submitted your file, you will need to go back to your job dashboard and set the job as complete.
To successfully import your project, you need to recover your previously exported file (filled with all the work you performed offline).
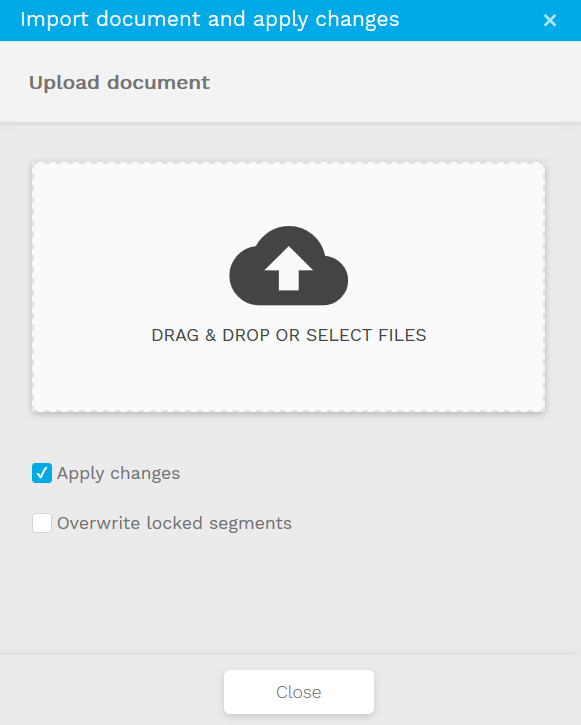
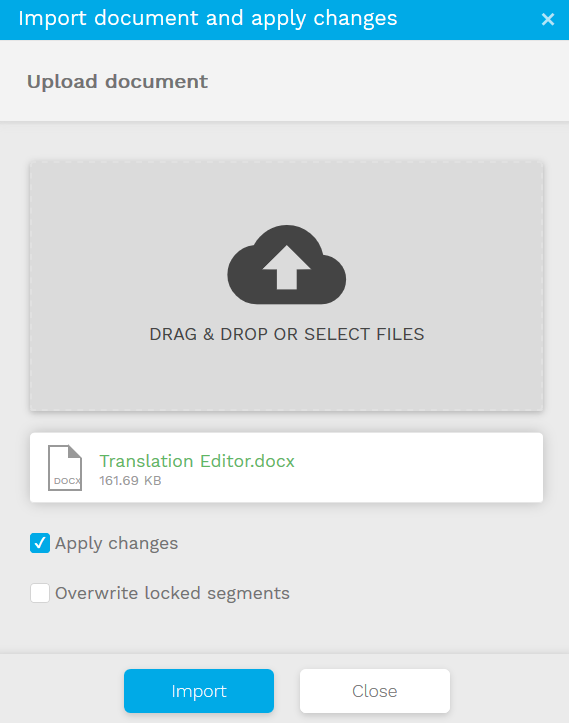
Once you click on Import, a popup window will appear allowing you to browse or drag and drop your desired file. Remember to select a valid file in order to avoid problems.
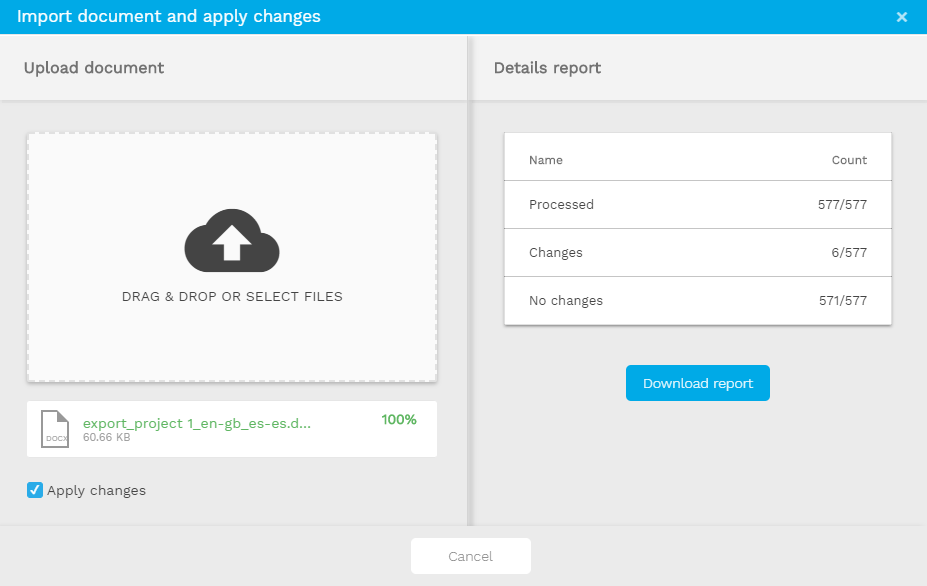
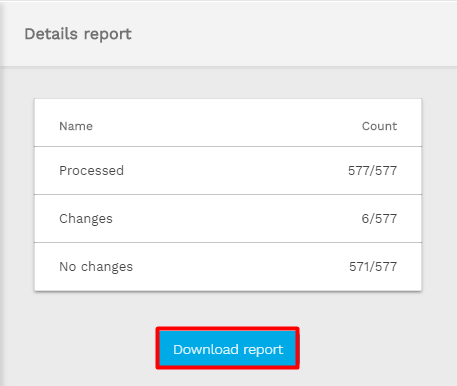
Once the system has processed the files, a report with the changes will be generated. You may want to keep that information for later use.
If not, you can just go on and accept the changes. The editor will be loaded with your offline work.
You can always decide to download your report afterwards. The report of your last import will always be available for download in the Import popup window.
Submit as Deliverable
Choose this option when you will be ready to deliver your work and complete your job.
If you were performing a linguistic job, it is very likely that you don't need to deliver any file, you will just need to change the status of your job in theJob Dashboard of the Wordbee Translator Platform.
DTP and layouting jobs
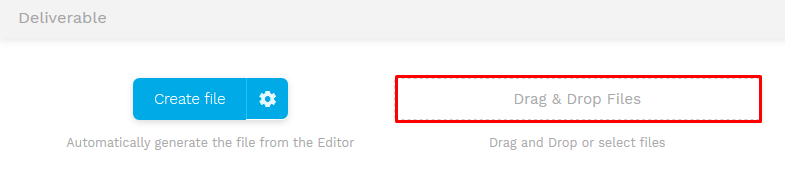
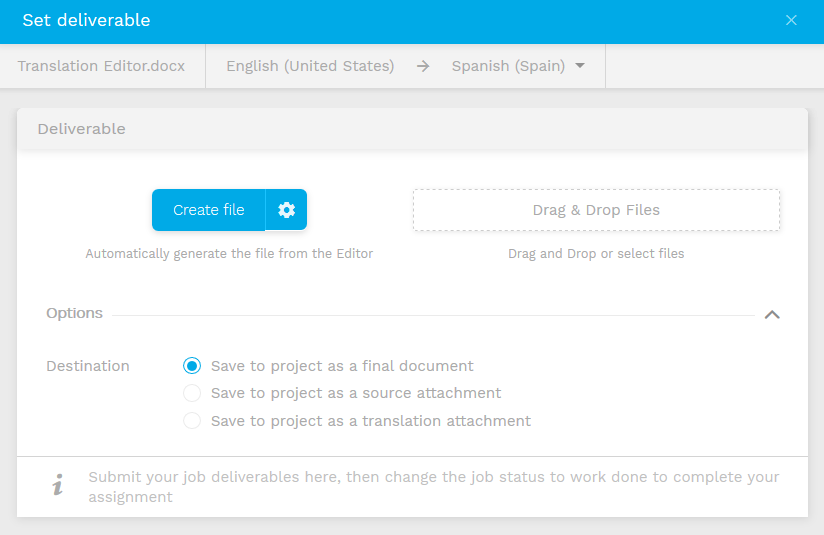
Users performing tasks that require to work on the file out of the translation interface will need to deliver their files first via the Set document as a deliverable option. This popup window will allow you to submit the work available in the CAT Editor to your Project Manager.
Job Dashboard of the Wordbee Translator Platform
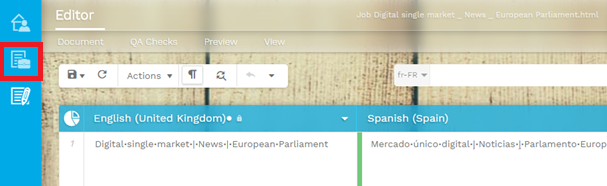
Once you have submitted your file, you will need to go to your job dashboard and set the job as complete. You can reach your Job Dashboard from the Sidebar bar, by clicking the by clicking the 
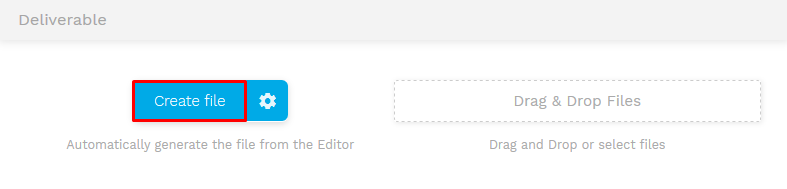
Final step in the workflow. Create the file
After completing the last job of the workflow you will create your deliverable. This is the final file that will be retrieved from the translations available in the translation interface.
Once the file has been created and the job is set to complete, the document will be locked for editing. If you wish to make any modifications, you must change the status back to in progress in the Job Dashboard.
QA Checks
--- SCREENSHOT
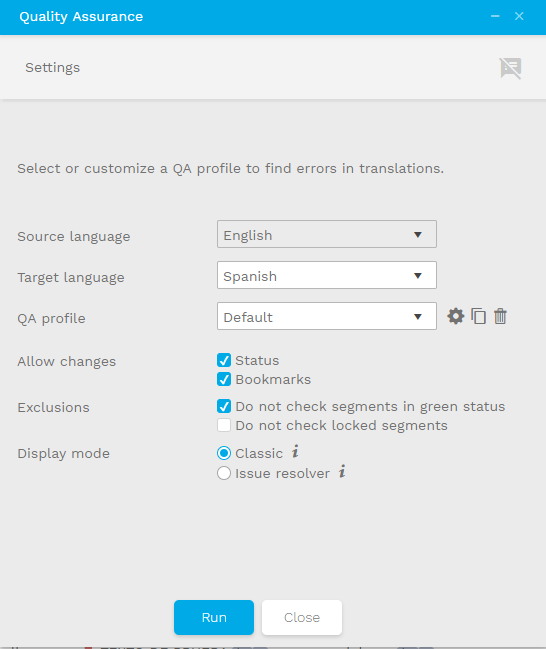
In the Translation Editor, you only have the possibility to run extensive Quality Assurance checks based on the profiles you have configured in the Word Bee platform. For more information about how to set them, go to the QA profiles page).
Clicking in the QA tab will open a popup window that will allow you to include some additional checks to the selected QA profile:
|
|
|

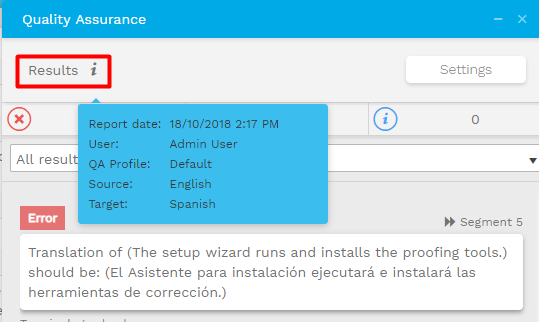
Once you run your QA checks, a report will be generated with different kinds of information:
|
|
|
|
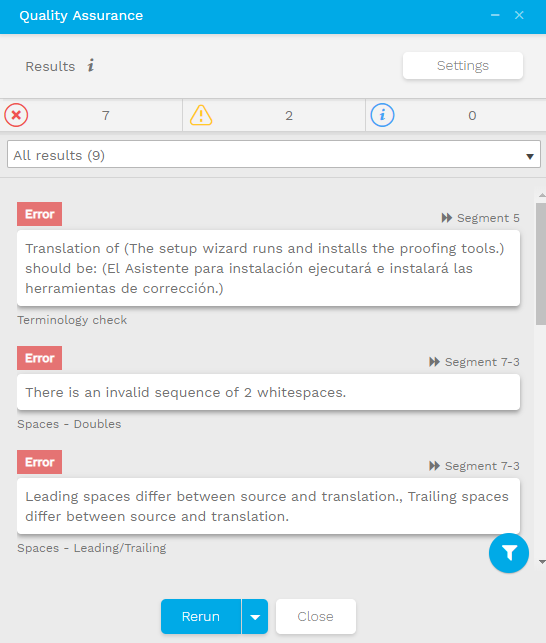
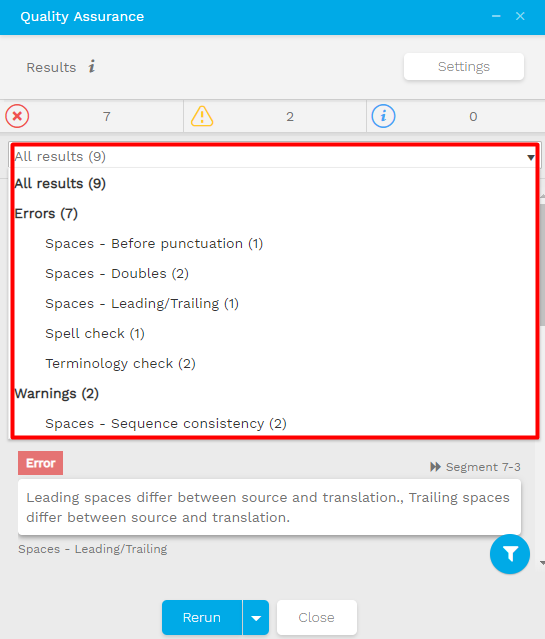
Moreover, you can switch to the QA issue resolver interface to solve all issues spotted
Preview

This option will allow you to see how the document you are translating looks like.
You have dedicated buttons to launch a preview of the source or the target file.
The Quick task bar

This bar gathers the most common functions you may use during your translation work.
|
Icon |
Action |
Description |
||||
|---|---|---|---|---|---|---|

|
Save |
Save your work manually or access the Autosave function by clicking the little arrow next to the save icon
|
||||

|
Refresh |
Refresh without saving. This will allow you to see the work of your colleagues when in a collaborative scenario. |
||||

|
Batch Actions |
Apply changes to your working segments. Learn more about its possibilities in the actions page. |
||||

|
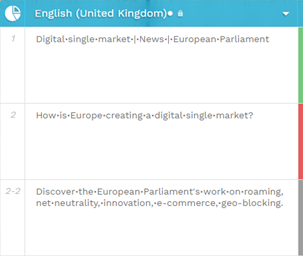
Show/Hide formatting marks |
Displays/Hides all font attributes and markup tags. |
||||

|
Search and Replace |
Quick access to the text-based search and replace function. |
||||

|
Undo |
Return to a previous version of your active segment. |
||||

|
Undo (history) |
List of the recent actions that have been performed in the active segment. |


Working segments relate to different scenarios. They can refer to:
-The active segment: segment you are currently editing.
-The result of a filter: segments currently displayed. To know the scope of your filter, check the number of elements that are affected by your search query on the bottom right corner of the Editor.
-Your full document: if no filters are applied, then the action triggered will affect all the segments of your document.
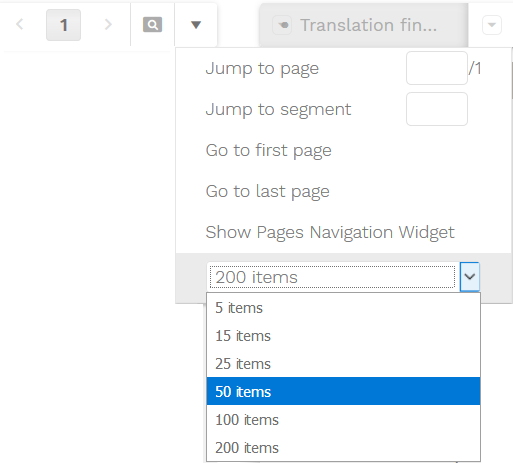
Page Navigation

This bar will allow you to navigate throughout your document in a direct way.
By clicking on the 
|
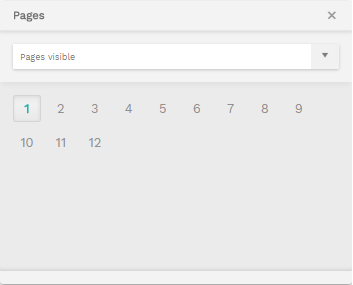
When performing segment validation, you might want to navigate the pages in a faster way. You can then release the page navigation widget and have it always available on your screen, displaying the full list of pages at any time. Click on the |
|

The Widgets
To learn more about how this interactive panes contribute to your work, go to the Widgets page.
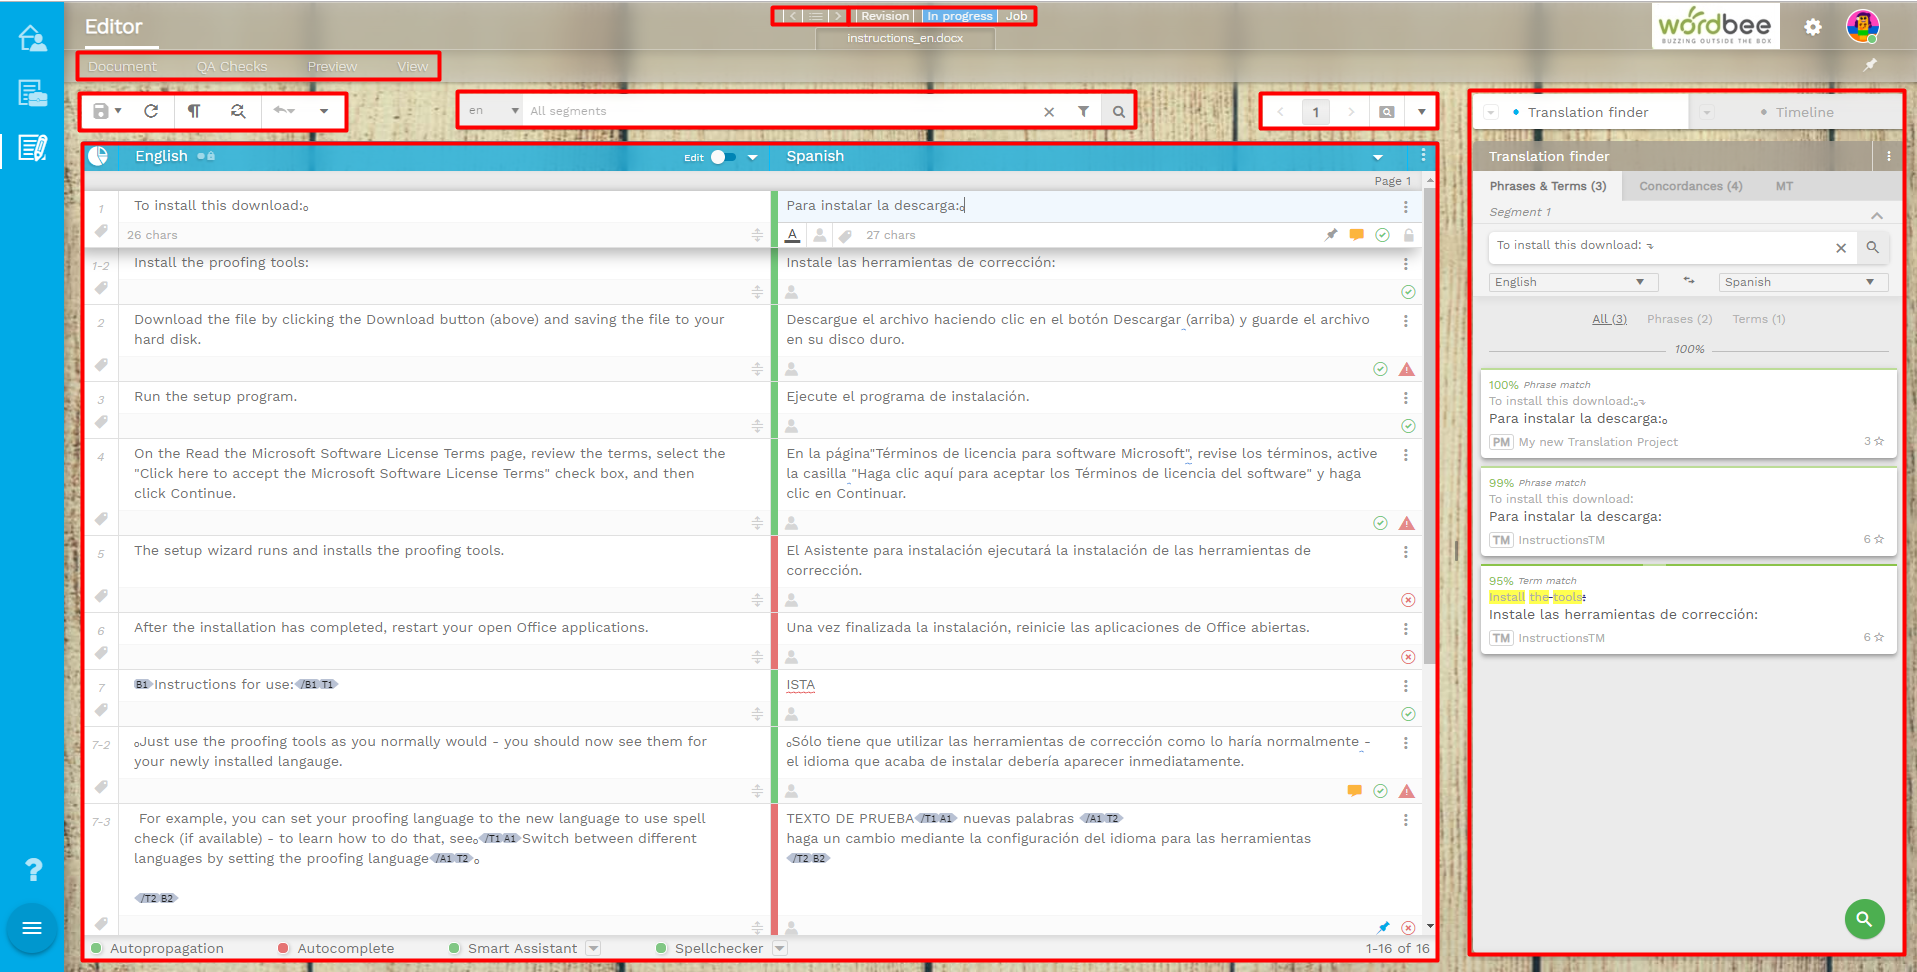
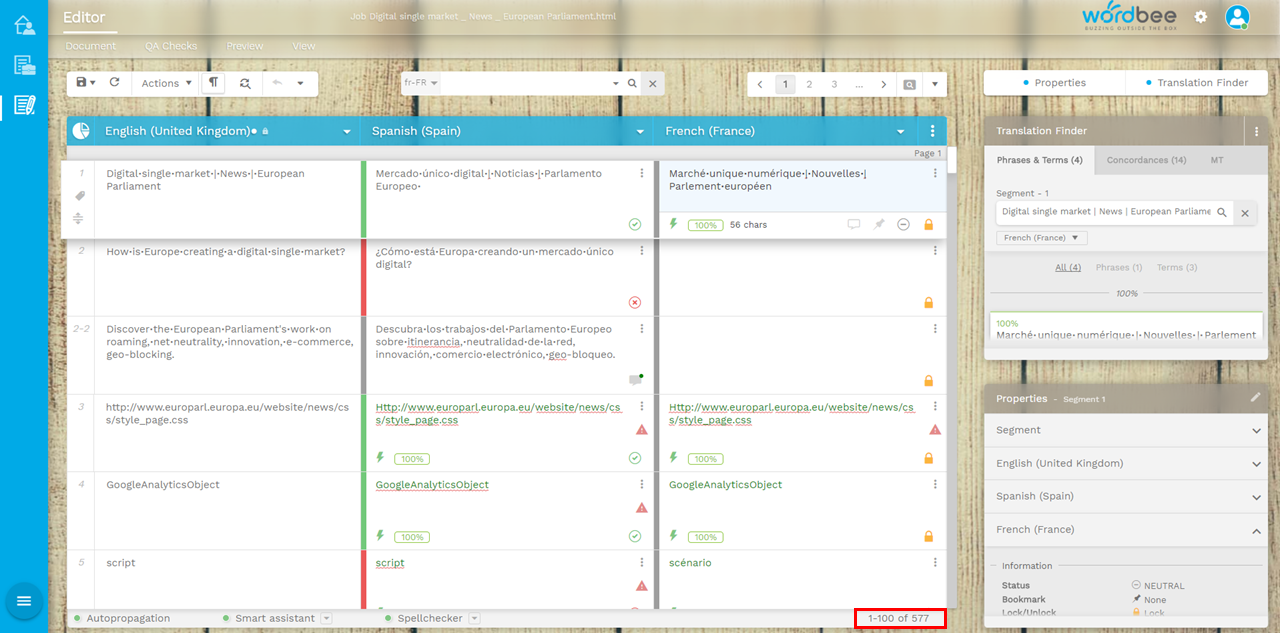
The Editor Working space
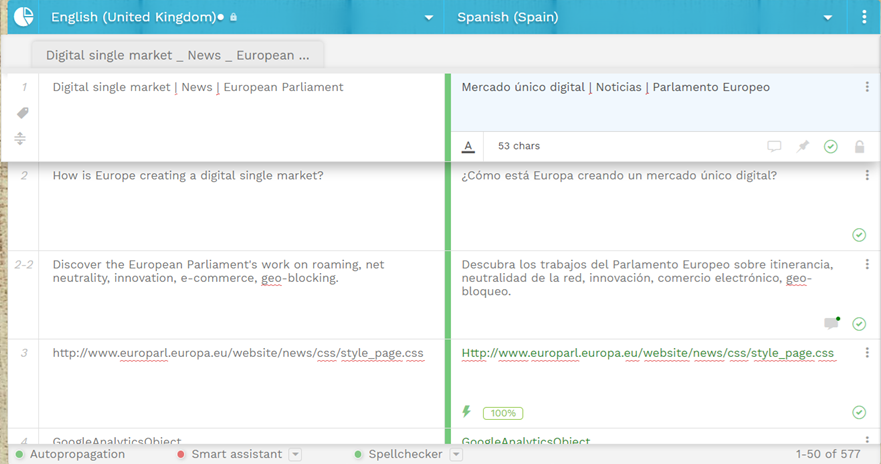
In this area you will be performing your active work as a translator/reviser.
When the documents are imported into the CAT editor, the source text is automatically divided into segments according to the text segmentation rules of your project (to know more about how to set them, go to the Segmentation (SRX) Rules page).
The header of the editor working space
The top part of the working space conforms the header, which gives access to the statistics panel  (top left corner) and the column properties
  (top right corner).
This area also contains the headers of each column, where the titles give information about the nature of the content of the rows below.
Remember you can change the size of each column by just clicking on its separation. 
Right below the icon, we can find the column containing segment references (Column Zero) which may display additional meta-information (we will see the details in the segment view).
The Column Zero of the Editor workspace is the only one you can not remove from the layout.
It contains the segment numbers, which indicate the paragraph in your document (or the segment number in the pointed paragraph). In the screenshot below, we see that paragraph two contains two segments: segment 2 and segment 2-2.
The columns
In the editor, the segments will always be displayed in columns, which you can hide or display to your own needs.
Column (re)order:
Next to the statistics icon and by default, you will have the following column sequence:
-
the first column to be displayed will be the source text, which is marked with a dot.
Next to it you will always have a hint of the status of the target language (which can be OK-green- 


Then other columns will follow:
-
The second column will usually be the target text you will be working on and
-
other additional columns may be loaded, depending on your predefined layout. For instance:
-
other existing target languages (translation layout) or
-
the revisions column (revisions layout).
-
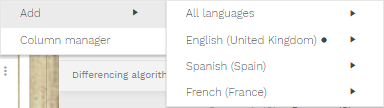
Column management
Always keep in mind that you can decide:
-
which columns you want to have directly available or
-
reorganize the columns to suit your needs and move them right or left.
You can do this in several ways:
|
|
|
|
|
|
|
on the top-right icon of each of them (at header level) |
available under the top right corner of the working space |
|
Options available:
|
Options available:
|


Segment view

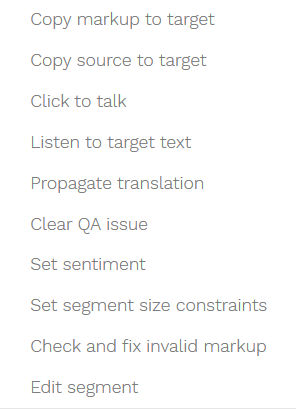
Each row represents a segment. Anytime you open one segment, it would pop up from the editor letting you know that you are in editing mode. Then you can modify the text or leave comments to other users, for instance.
Change status without entering editing mode
If you are performing a revision and just want to make changes to the status, click directly on the column gap between source and target. By default is gray (which indicates that the status of the translation is neutral).
Each segment is divided in different parts. In this case, we will take the example above, which has 4 parts.
|
Part 1. Column Zero |
Part 2. Source text |
Part 3. Language status (for working target) |
Part 4. Language text (for working target) |
|
|
|

|
|


Part 1. Column Zero
|
Icons |
Description |
|---|---|

|
Segment number |

|
Labels |

|
Split |
Part 2. Source text
Contains the source text. Locked. Only editable if user has specific rights.
Part 3. Language status (for working target)
|
Values |
Description |
|---|---|

|
NEUTRAL |
|
|
OK |

|
PROBLEM |
Part 4. Language text (for working target)
|
Icons |
Values / Options |
Description |
|---|---|---|

|
|
Segment panel (advanced) |

|

|
Segment formatting |

|
|
Comments will be displayed in the Timeline widget |

|
|
Pin segments to highlight something |

|
|
Indicates the possibility to make modifications in a segment.
|

|
|
By default: NEUTRAL |
|
|
|
Displays pre-translation hits (if any) |
|
|
QA Errors Warning |
|


