
The New Order Form can also be used to automatically generate a standard project when an order is submitted. For standard projects, you can choose to automate every step required to begin conducting work or only automate specific steps such as (project creation, word counts, invoice creation, etc.) Regardless of how the form is set up, a couple of steps will be required to deliver the completed work.
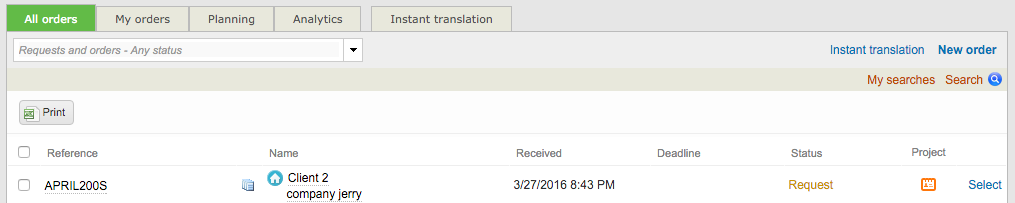
After an order is submitted via the new order form (by the client or internally by the project manager), the status for the order will be set according to the form configuration. Orders can be viewed by clicking on Orders in the Menu Bar.
If a project has been created after order submission, an icon will be shown in the Project Column. Click on Select to view the order.
The steps required to complete the order for client approval will depend on the tasks which have been automated through the new order form. Below are two sets of steps for a fully automated project and manual order completion:
Fully Automated Orders
If the new order form is configured to automate the order process for a standard project, then everything needed to begin work can be taken care of without intervention. Essentially these tasks will be taken care of automatically when the order is submitted in the system:
-
A project is created in the system.
-
Documents are copied to the project.
-
Documents are marked for translation.
-
Each document is word counted.
-
A quote and/or invoice is generated.
-
Jobs are created and started in the system based on the order.
Quote and invoice generation will depend on the status of the order when it is submitted in the system.
-
"Request" - a quote is generated based on the cost calculation.
-
"In Progress" - an invoice is generated based on this same information.
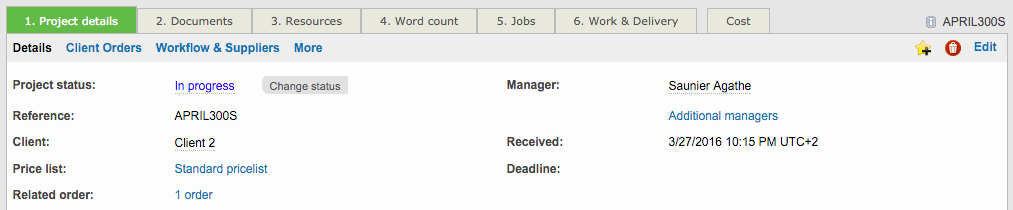
Since the above tasks are taken care of, the work can be conducted immediately. When you view the order, the cost will appear on the Order Details Tab, as shown below.

If you click on the Cost Tab, you will also see the generated invoice for projects marked with an "In progress" status. For orders marked as a "Request", the Cost Tab will show a quote rather than an invoice.

You can review the project information by clicking on the Project Tab. Additionally, the following information will be already configured and viewable for the project:
-
Documents - All documents are copied to the project, marked for translation, word counted, pre-translated, and included in the calculated cost.
-
Resources - Any configured resources are immediately attached to the project and used for pre-translation.
-
Jobs - Jobs are created in the system based on the assigned workflow and started automatically if configured in the new order form.
The following steps must be performed after work has been completed and reviewed in the system:
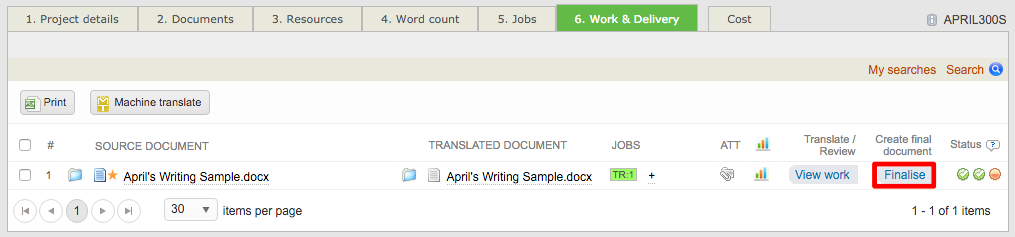
Step 1: Finalise Translations
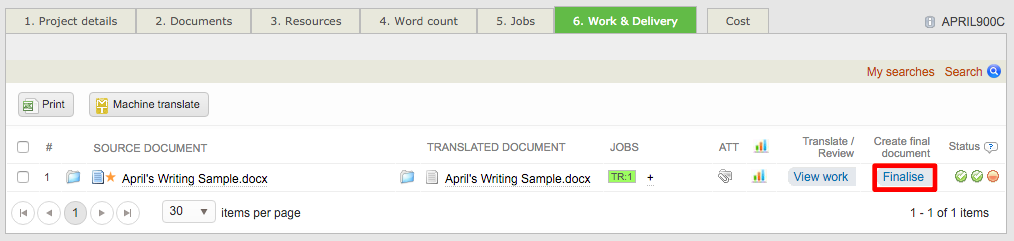
When viewing the order, click on the Project Tab and then click on the Work & Delivery Tab. The Status Column should have two green checkmarks to show that the document has been completed and reviewed. Click on Finalise for each document.
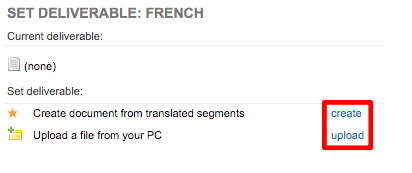
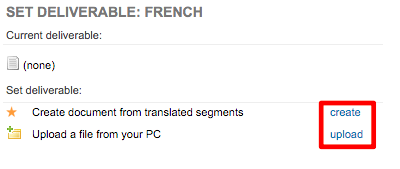
Two options are available for finalising the selected deliverable:
-
Create - Create a new document from the translated segments when using the CAT Tool. Enter a file name (if desired) and click on OK.
-
Upload - Upload the finished document when work has been performed with another tool. Click on Upload, browse to the file, and then click on OK.
For more information about finalising translations for standard projects, please see the Finalising Translations in the Getting Started Guide.
Step 2: Copy Documents from Project
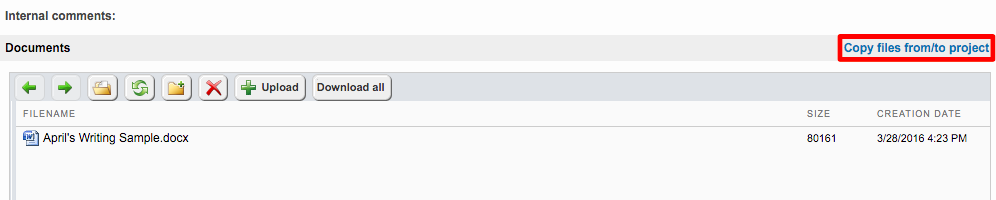
Next, view the order by clicking on Orders in the Menu Bar and then clicking on Select. The finalised translations need to be copied from the project to the order. Scroll down to the Documents Section and then click on Copy files from/to project.

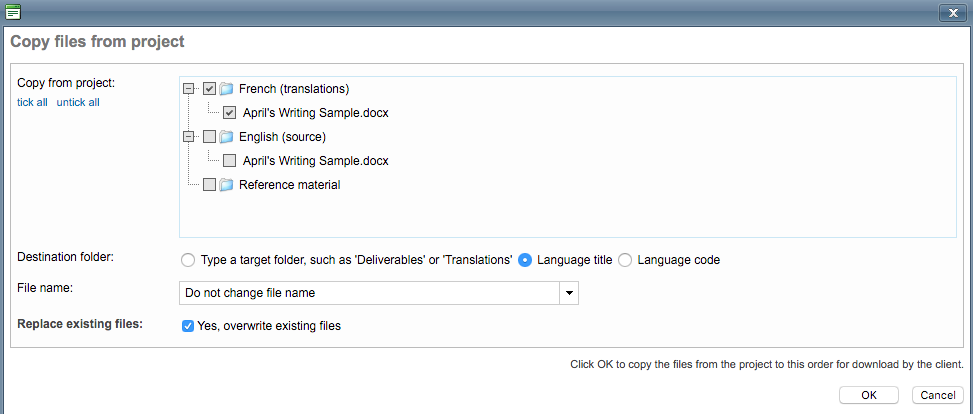
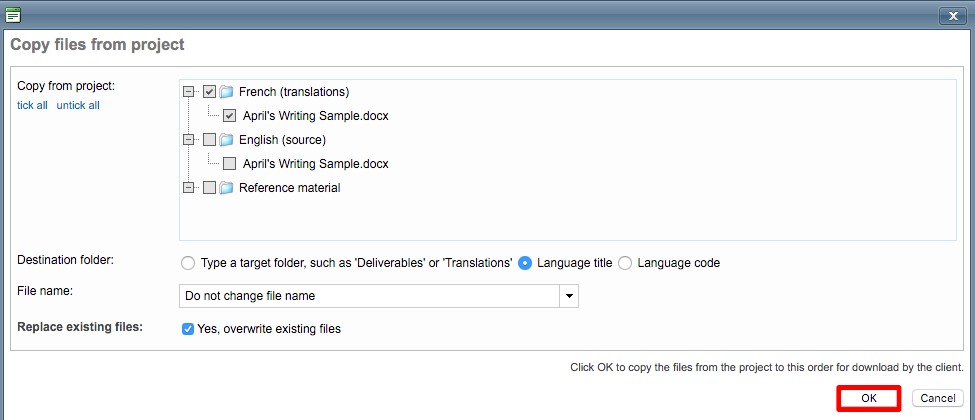
Choose Copy Files from Project in the drop-down menu and then select the files you want to copy to the order by ticking the checkbox next to each file in the tree. You may also configure the destination folder, choose to change the file name, and disable the option for overwriting existing files. When finished, click on OK.
The translated files will then be viewable in the Documents section on the Order Details Tab.

Step 3: Mark Order as Done for Client Approval
Once these steps have been completed, the work can be marked as done on the Order Details Tab so the client can approve it.
After the work has been marked as done, you will have the option to provide a rating. More information can be found in the User Ratings section.
Manual Orders
When minimal automation is configured for a Standard project in the new order form, the steps are quite similar to what you would need to do when an order is submitted through the classic order form for a new client. However, the client does not have to be added to the system.
You will need to complete the following tasks to manage an order where automation has not been configured in the new order form:
Step 1: Create a Project for the Order
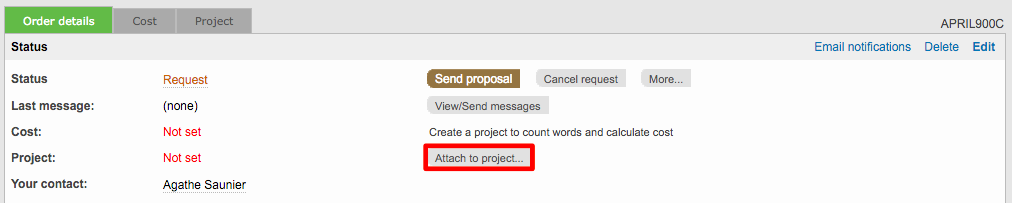
If the project has not been configured to be created automatically, then you will need to create it in the system and copy the files to the project. On the Order Details Tab, click on the option titled Attach to project... to associate the order with a project.
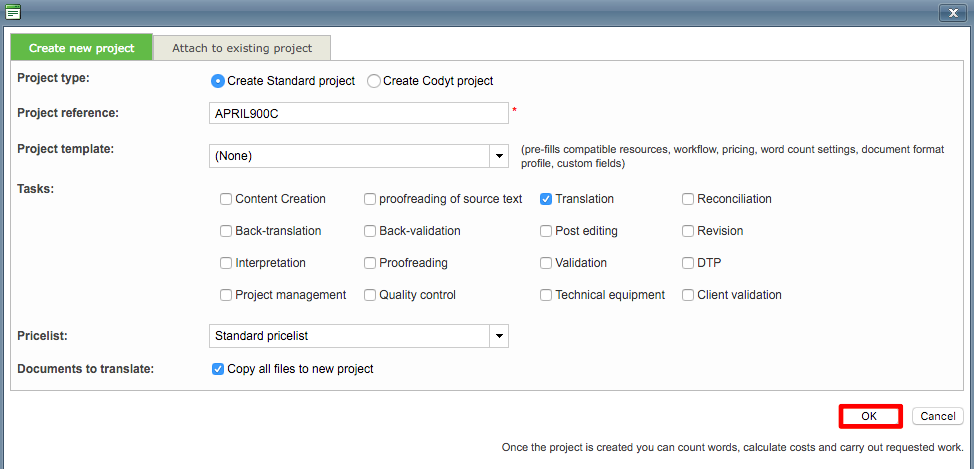
Make certain the radial next to Create Standard Project has been ticked in the pop-up window. When creating a standard project from an order, you can do the following:
-
Enter a project reference (optional).
-
Select a project template if one is available in the system (optional).
-
Choose the tasks to be performed for the project.
-
Choose the pricelist to be used for cost calculation.
At the bottom of the pop-up window an option for copying all new files to the project is enabled by default. This option should be left enabled. Click on OK to finish.
The Order Details Tab will now show "Detach from project", as a project is now associated with the order.

Step 2: Mark Documents for Translation
Since the files are automatically copied to the project, the next step involves marking each document for translation. You will need to do the following when viewing the order:
-
Click on the Projects Tab.
-
Click on the Documents Tab.
-
Right click on the document.
-
Choose Translate Yes/No and Mark for Online Translation.
-
Choose a translation option by ticking the appropriate radial (No, Offline, or Online). Online is chosen by default.
-
Click on Confirm in the pop-up window.
-
Make any configuration changes for text extraction, etc.
-
Click on Confirm again.
When these steps are finished, the document will have a green checkmark in the Translate column and a star in the Online column (if translating online).

For more information about marking documents for translation in Standard Projects, please see the Upload document(s) page in the Getting Started Guide.
Step 3: Assign Resources
If the client has an existing translation memory and glossary for projects, you will need to assign these resources to the project. When viewing the project details, click on the Resources Tab.
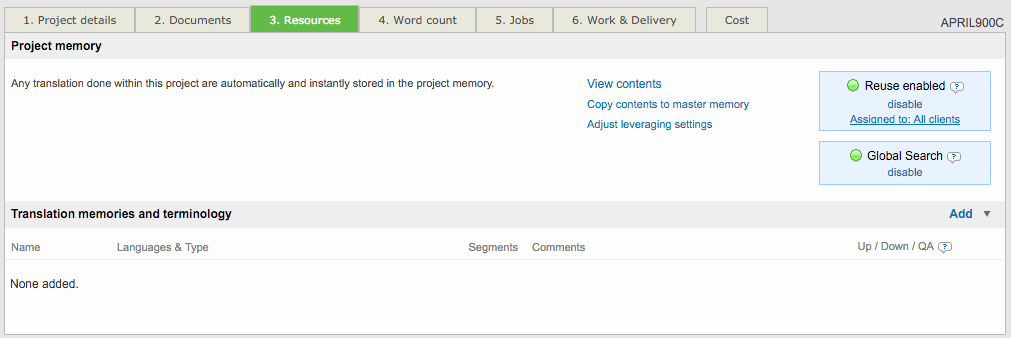
Then click on Add to assign the resources needed to complete the project. A new pop-up window will appear where you will need to complete the following steps:
-
Locate the resources to be used.
-
Tick the checkbox to select each resource.
-
Click on Add and close.
The resources will appear as shown below:

For more information about adding resources to standard projects, please see the Add Resources in the Getting Started Guide.
Step 4: Count Words
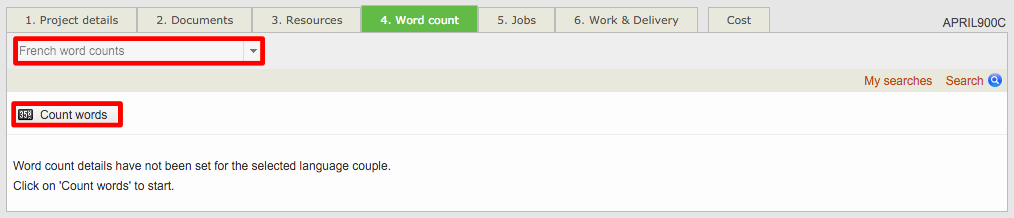
Next, a word count will need to be performed for each document and language pair. To perform a word count, first click on the Word Count Tab when viewing the project and then click on Count Words.
If more than one target language is used then the document will need to be counted for both source and target language pairs. This can be done by using the drop-down menu on the Word Count Tab, selecting each target language, and clicking on Count Words.
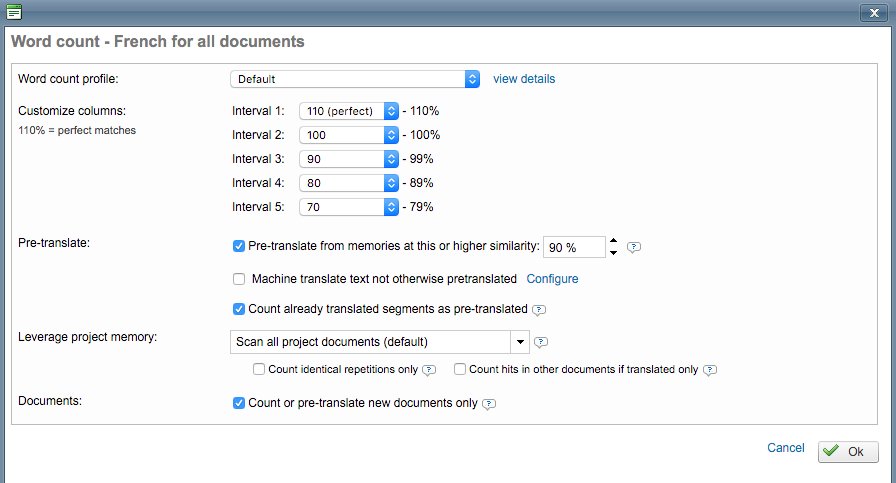
In the pop-up window you can choose an existing Word Count Template or configure the word count settings manually.
-
Enter fuzzy match intervals for applying discounts.
-
Configure pre-translation settings.
-
Make configuration changes for leveraging project memories.
-
Choose to count and pre-translate new documents or all documents.
Click on OK once all needed configuration changes have been made.
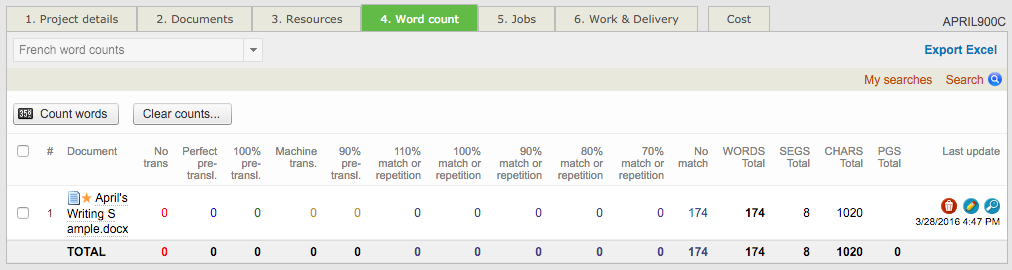
The Word Count Tab will appear as shown below once this step has been completed.
To learn more about completing a word count for Standard projects, please see the Count Words page in the Getting Started Guide.
Step 5: Generate a Quote
The client will already have a default pricelist in the system since they have previously submitted orders. For the project, you will need to click on the Cost Tab when viewing the order and then click on Add New.

-
Choose a pricelist from the drop-down menu.
-
Review the pricing information in the pop-up window.
-
Click on OK to save the quote draft.
-
Click on Close to exit the pop-up window.
Once the quote draft has been created, you will be able to change access settings, review quote information, and make any necessary edits. To view the quote, click on Select and a new pop-up window will appear. You may also attach the quote so that the client can view or edit it in the client portal.

For more information about managing quotes for Standard projects, please see the Client costs in Codyt projects page in Managing Quotes & Invoices.
Step 5: Send Proposal
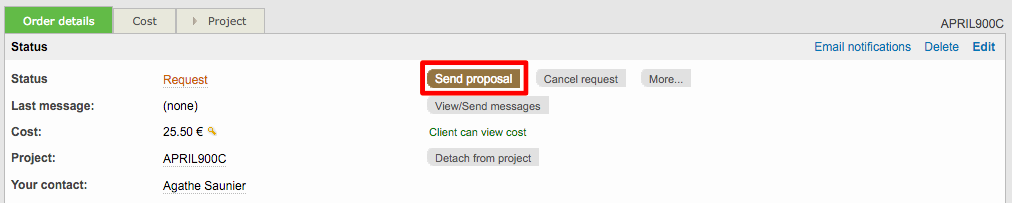
Now that the cost has been calculated and a quote exists in the system, you are ready to send the client the proposal. Click on Orders in the Menu Bar and select the order. The cost will now appear in the Order Details Tab and the quote can be viewed from the Cost Tab.
Click on Send Proposal and enter a message (if desired) in the pop-up window. Click on OK to close the window and send the proposal.
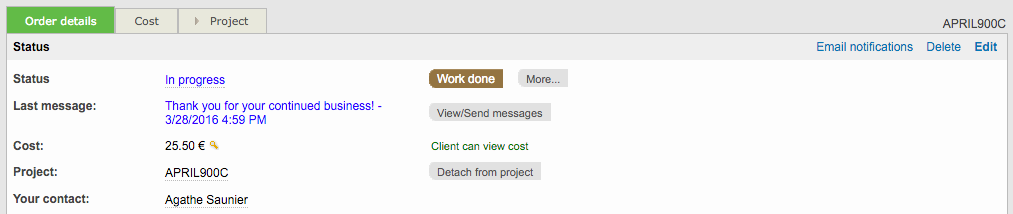
Once the proposal has been accepted, the Order Details Tab will appear as shown below:
Step 6: Create and Propose/Assign Jobs
Next, you will need to propose or assign project jobs to suppliers. Unless specified in the new order form, the jobs will need to be created and proposed or assigned to suppliers manually. To do so, complete the following steps:
-
Click on the Jobs Tab when viewing the project.
-
Click on New Job.

To create a job you will need to do the following in the pop-up window:
-
Choose a task from the drop-down menu.
-
Enter a deadline.
-
Choose source and target languages for the task.
-
Add any relevant instructions.
-
Tick each document to be included as part of the job.
-
Configure reference material viewing access.
-
Click on OK when finished.
The new job will appear as shown below. Here you may click on the 

-
Click on

-
Choose an individual supplier or propose the job to a group of suppliers.
-
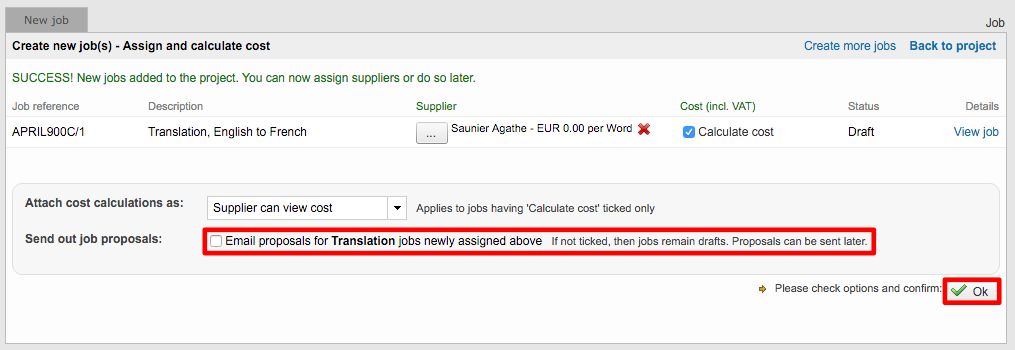
Once this is done, you will be returned to the New Job Tab.
-
Review all information and tick the option to send out job proposals if needed.
-
Then click on OK.
These steps will need to be completed for each job (i.e.task) that must be performed to complete the project.
For more information about proposing and assigning jobs to suppliers, please see the Create and Assign Jobs page in the Getting Started Guide.
Step 7: Create the Invoice
Suppliers will be able to conduct the work once the proposal has been accepted. After reviewing the work, you will need to generate an invoice for the client in the system.
This can be done by clicking on the Cost Tab when viewing the order and then clicking on Add New. In the pop-up window, choose a pricelist for the invoice. 
Next, choose Invoice Draft for the status. You may also enter an Invoice Number, Invoice Date, and Effective Date if desired. Then click on OK to save the invoice and Close to exit the pop-up window.

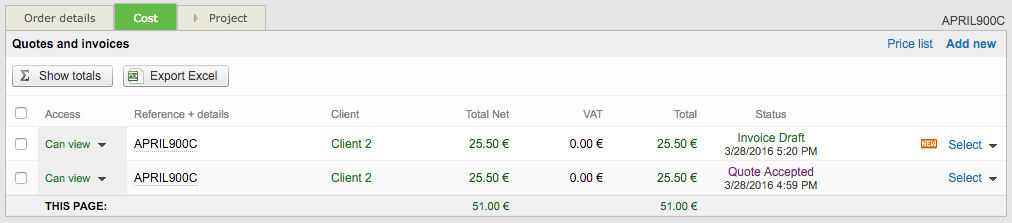
You will be directed back to the Cost Tab where the invoice draft will now be viewable. It will need to be attached for downloading and viewing by the client.
To change access rights for the client, use the drop-down menu underneath the Access Column. Click on Select to view, edit, or attach the invoice for viewing and downloading.
For more information about generating invoices and attaching them to the project, please see the Client costs in Standard projects page in the Getting Started Guide.
Step 8: Finalise Translations
As with an automated ordering process, the completed translations will need to be finalised. Click on the Work & Delivery Tab when viewing the project and then click on Finalise next to each finished translation document.
Then click on Create to create a document from the translated segments or Upload to upload the completed translation (when another tool has been used).
To learn more about finalising translations, please see the Finalising Translations page in the Getting Started Guide.
Step 9: Copy Files from Project
After all other steps have been completed, you will need to copy the project files to the order. To do so, complete these steps:
-
Click on Orders.
-
Click on Select for the order.
-
Then scroll down to the Documents section of the Order Details Tab.
-
Click on Copy files from/to project.
-
Click on Copy files from project in the drop-down menu.
Choose the files you would like to copy from the project by ticking the checkbox next to each file name. You may also configure the destination folder, change the file name, and disable the option for overwriting existing files. Once finished, click on OK.
Folders for each language will be added in the documents section and you will be able to see each file that was copied from the project. Once this step is completed, you will be able to mark the work as done so the client can review the work and approve it.

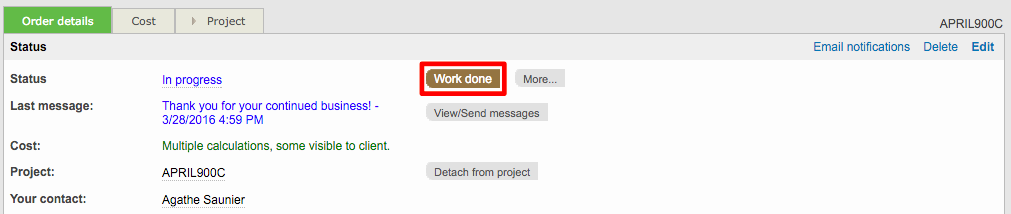
Step 10: Mark Order as Done for Client Approval
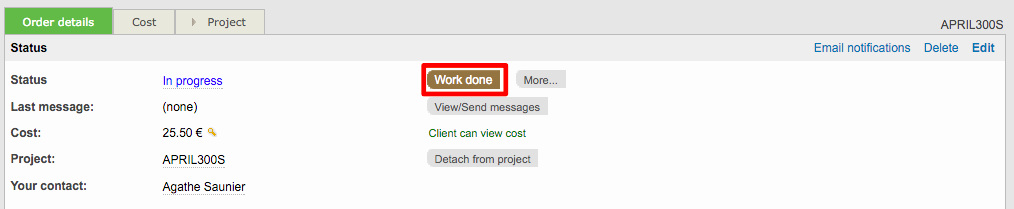
On the Order Details Tab, click on Work Done to send the completed work to the client for review and approval.
After the work has been marked as done, you will have the option to provide a rating. More information can be found in the User Ratings section.