
After you have Added a New Order Form and finished Entering the Basic Information, you are ready to begin creating and configuring the options that will be provided to clients for selection on the form. Options can be anything that pertains to an order such as:
-
Type of document (i.e. brochure, catalogue, flyer, etc.).
-
Type of work being ordered (i.e. translation, revision, proofreading, etc.).
-
Type of product.
-
Any other set of options that pertain to what the client is able to order in regards to services.
Initially, the user options section will appear as shown below:
By configuring each option the user can select on the form, you ensure that everything is automated when the client fills out the form and submits an order through the client portal. The user then selects an option on the form such as "Translation" on the form. Everything is pre-configured and automated for the selected option including:
-
Word Counting
-
Resource Assignment
-
Project Creation
-
Invoice Creation
-
Manager Assignment
-
Workflow, etc...
This information may be customized per user option to ensure the appropriate workflow is facilitated for the order. This saves a great deal of time for both the client and your staff.
For example, when configured appropriately, the client is able to submit a request for translation, which will arrive on the system where a project and workflow is automatically created. Additionally, uploaded documents are automatically word counted based on chosen profile information and the cost is calculated.
Once an option has been configured, the next option will essentially be a copy of the previous user option. For additonal options, you only need to change certain configuration items such as the workflow, resource group, manager, etc.
The following sections have been provided to help you in configuring a new order form for clients with a profile, login, and password in the system:
Getting Started
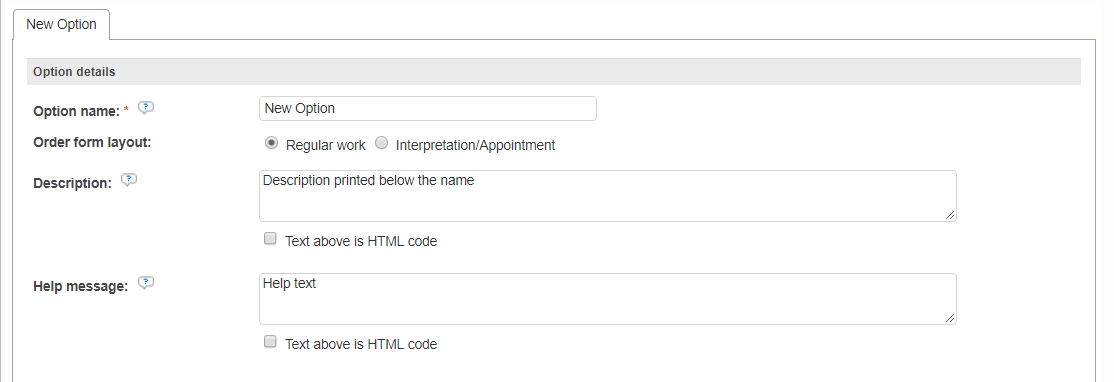
An option is readily available for configuration and may be used to get started. Once you enter a name for the option, it will appear on the tab currently titled New Option, as shown below. Note that by default, new options are created using the regular work layout, which allows you to present the classic translation - workflow features in your form.
If you want to add another option, click on Add Option to the right of User Options.

The will create a new tab for the option, which will be titled New Option. You may then enter a name for the option such as Translation + Revision.

Please note that adding a new option will be more applicable after you have completed the configuration for the first, as the first option's configuration will be used to create the next option.
Once more than one option has been added to the form, you will also have the ability to change its position and remove it when needed:

Basic Information
The first step for creating a user option is to configure it's basic information. This includes entering a Name, Description, and Help Message.
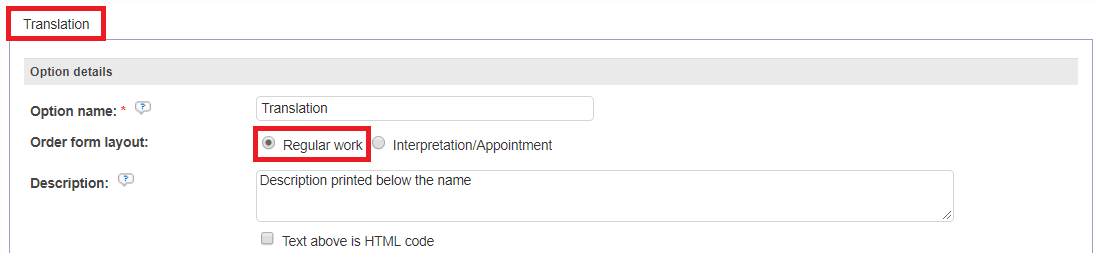
The Name will appear in the tab within the User Option configuration and is what will be displayed to the client when viewing work type selections on the form. In the example below, the first user option to be configured on the order form is an option for ordering Translation Services.

Specific options for interpeting and date-based workflows are available under the Interpreting/Appointment layout. For example, you will allow your clients to set meetings for a future dates, so that your collaborators can perform a task onsite.
After a name has been entered, you have the choice to provide a description of the option to the client. This is optional, but may be helpful to the client in choosing the right option on the form.

To enter a description, click on the text field to the right of this option and then type the desired text. The Description resides directly below the name of the option on the form and may be marked as HTML code when applicable.

The last basic configuration for an option is an optional Help Message. In general, you want to use a shorter message for the description and provide more details within the help message.
However, please remember that the help message will only appear if the Show Help in Tooltips option has been enabled within the basic form configuration (see Enter Basic Form Information).

Please note that this information will appear below each selection option on the form. For the example above, the text might be too long and would be better as the Help Message.
For example, the text above may be too much to appear below the option on the form, so instead you might want to enter something basic for the option description such as "Select if you only require translation services." and then the Help Message could contain a more detailed description. Additionally, you may tick the checkbox next to Text above is HTML code if it is applicable.
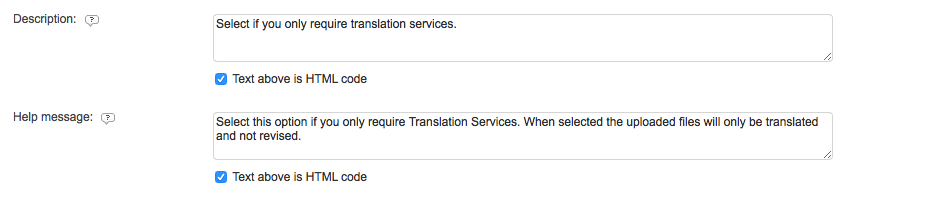
The Description will appear on the form as shown below:

The Help Message will appear in a tooltip box after clicking on the Question Mark to the right of the option name in the form. It will appear similar to what is shown below:

Please note that if you enter a custom description and help message on the option, this information may need to be changed for additional user options created on the form.
The following pages have been provided to aid in configuring user options for your new order form: