Besides the classic order form, you also have the option to create a customized order form for clients and internal use. To add a new order form or remove one from the system, you will need to complete the following steps:
After creating an order form, see these articles to learn how to configure the form:
The new order form provides a way to generate a form that is fully automated and only displays information that pertains to typical client orders. This includes configuring the service options the client can select on the form, customizing the header information, and configuring the workflow for each user option on the form.
Once the basic form information has been configured for the client or clients and all user options have been configured, you will need to assign the form to the appropriate client(s) in the system.
In order for a client to use this form within the client portal, they must have a profile, login, and password in the system.
As an example, you may create a form that contains user options for each service you offer. When the client selects an option, it will have an automated workflow for:
-
Resource Group Assignment
-
Word Counting
-
Manager Assignment
-
Project Creation
-
Job Creation
-
Invoice Creation
-
Costing, etc.
This eliminates the need for manual configuration and makes it easy to quickly start work on client orders.
Creating a New Order Form
To begin, you must first add a new order form or create one by copying the information from an existing one.
-
New - Choose when you want to configure an order form for the first time or do not want the information to be copied from an existing order form. Each time you add a new order form, the header will automatically be populated with the "name of your company - order form" and have the default settings. This may be changed to the name of a client.
-
Copy - Copying a form is a good option when you want to quickly configure the form, as the configuration settings for each defined user option are copied to the new form. This allows you to simply change the header information based on the client and alter the workflow without having to configure every aspect of the order form each time.
After the order form has been properly configured, you may later copy the form and change specific details for another client such as the assigned manager, resource group, workflow, and other items. Once created, the order form may be assigned to the client and used for ordering.
More than one order form may be created in the system. This allows for tailored order forms to be individually assigned to clients with the specific options and workflows they need.
Add a New Form
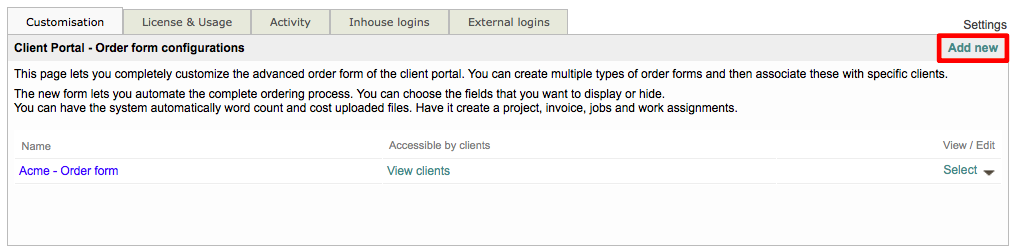
To add a new form, first, go to Settings > Client Portal > New Order Form and click on Configure. Then click on Add New in the upper right corner.
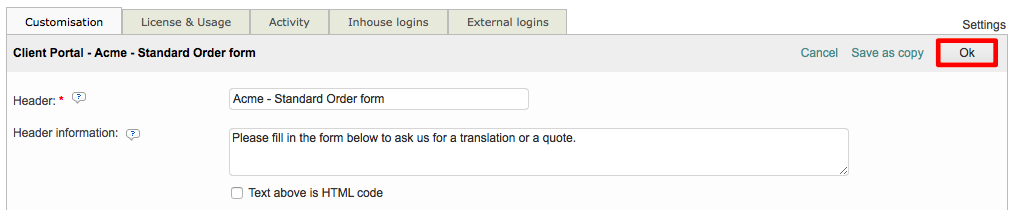
Then click on OK in the upper right corner once all configuration changes have been made:
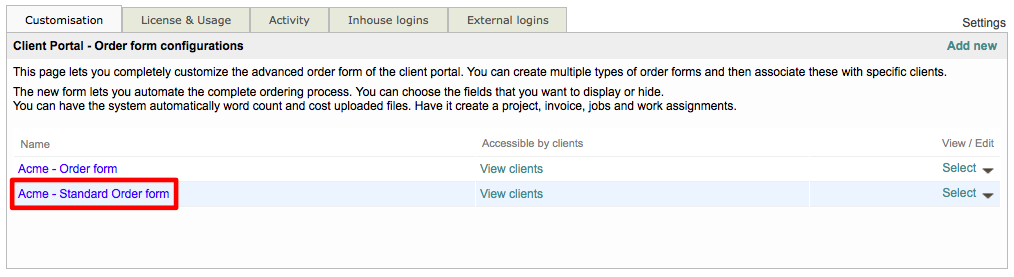
The new form will appear within the list as shown below:
Save Existing Form as a Copy
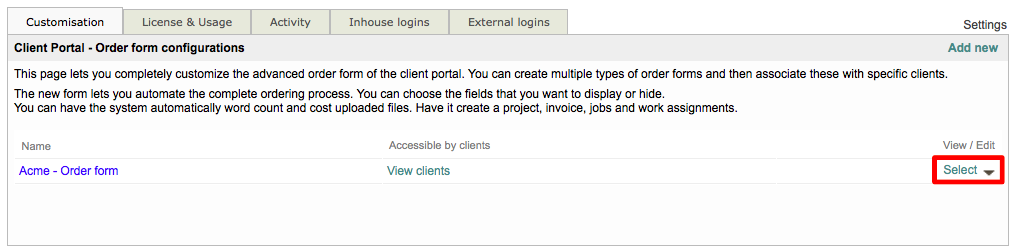
To create a new form from an existing one, first, go to Settings > Client Portal > New Order Form and click on Configure. Then click on Select to the right of the form you want to use.
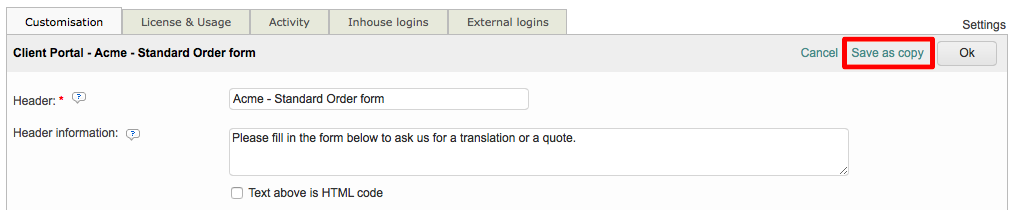
Then be certain to enter a new name for the form and click on Save as Copy in the upper right corner when finished configuring your new form.
The new form will appear within the list as shown below:

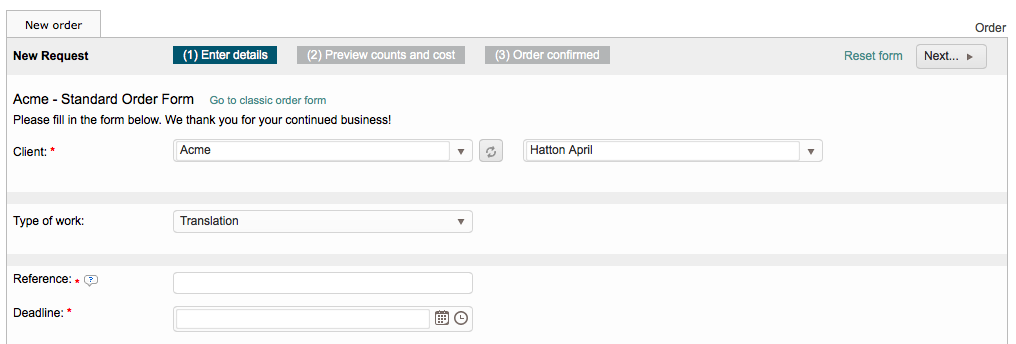
After it has been properly configured, the order form will appear as shown below when being viewed by a client or internal user:
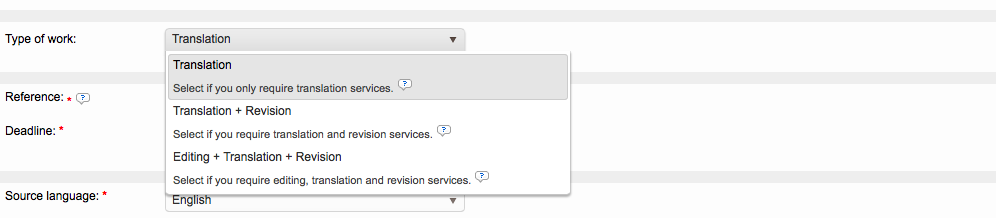
User options will appear as selections for the Type of Work option on the order form, as shown below.
For more information about assigning a form to a client and accessing the actual order form in the system. please see Assigning Order Forms to Clients.
Removing Order Forms
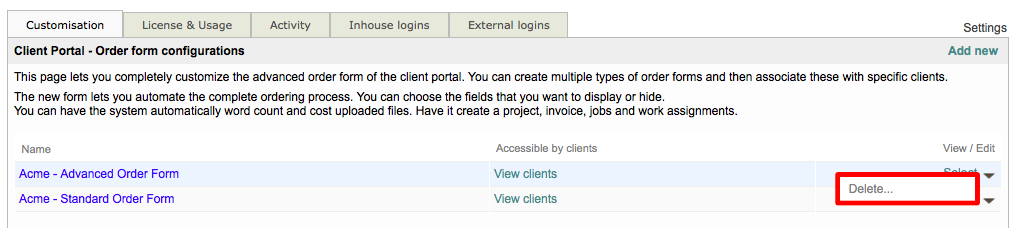
If for some reason an order form needs to be removed from the system, first go to Settings > Client Portal > New Order Form and click on Configure. Then click on the Down Arrow for the desired order form.
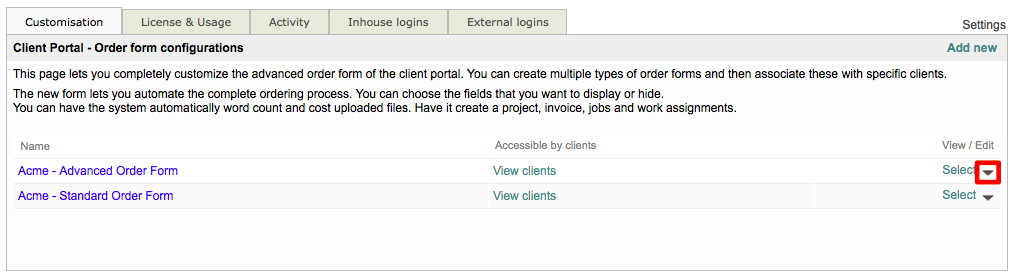
Choose Delete from the drop-down menu, as shown below: