
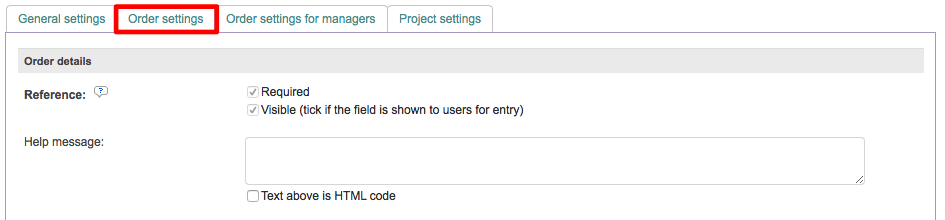
Order Settings
The Order Settings Tab of the New Order Form contains settings that pertain to the services/tasks the client is ordering in direct reference to this specific user option. This sections explains how to configure each configuration setting for the order form when a client selects this specific user option.
Please note that each setting on this tab contains a Help Message setting, which may be used to add a custom message for the user to see when clicking on the Help Tool Tip. Additionally the text may be marked as HTML code when needed. In order for Help Messages to appear, the Show Help in Tooltips setting must be enabled (ticked) within the Basic Configuration.
The following sections have been provided to help in configuring the order details for an order form user option:
Reference
The Reference setting determines whether or not a client is able to enter a reference number or name for the order on the form. By default, this setting is set to required and made visible on the form. You may untick this option if it is not a requirement and leave it visible as an entry option (or) untick both setting choices to hide it on the order form. <need to verify this information>
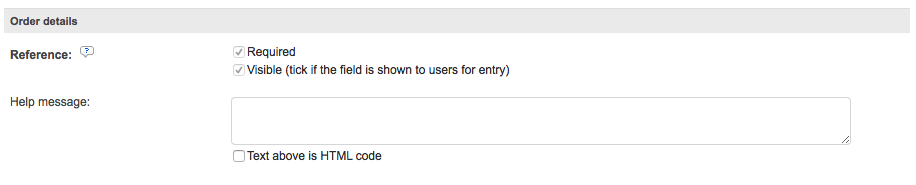
Additionally, text may be added to help the client know what this field is on the form, such as "Enter a Reference Number or Name for the Order".

Deadline
The Deadline settings may be used to configure whether or not a deadline is required, visible to the client on the form. Additionally you may configure a minimum lead time, default hour, and default delivery time for the order. By default, a deadline is not required to sumbit the order, but is a visible item on the order form with a minimum lead time of 4 hours.
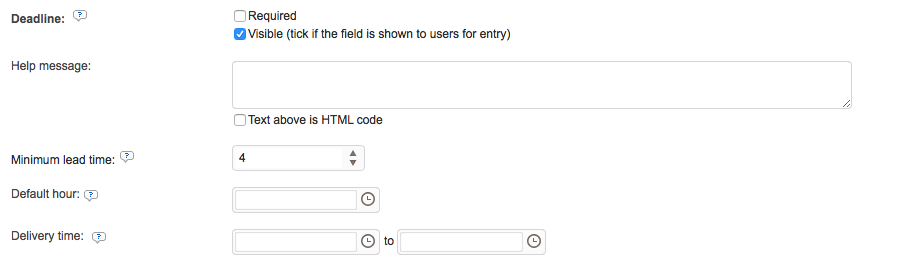
The Deadline may be a required entry, not required and visible to the client as optional, or simply hidden from the client altogether. To configure these selections, tick the checkbox next to each desired setting. Enabled settings will have a checkmark and blue background.
You may also enter a help message if desired to appear when the client clicks on the Tool Tip icon next to the option on the form. In this example, the deadline is required and visible.

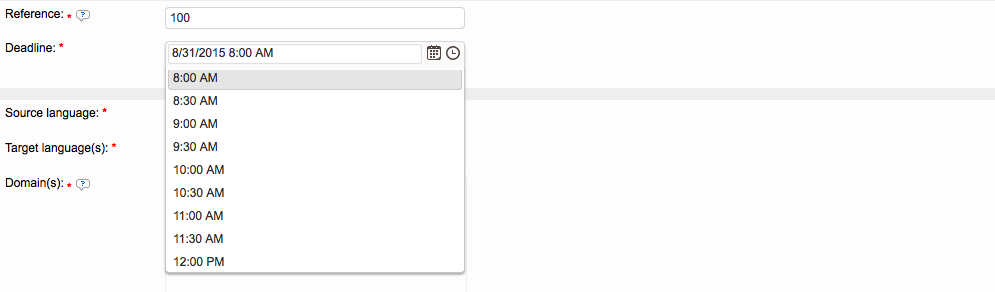
The Reference and Deadline form options will appear on the request form upon entry, as shown below:

Next, the default Mininum Lead Time is set to 4 hours; however, this may also be changed in the configuration. For example, you might want to configure a larger completion window for the order such as 24 hours. To do so, click on the field and type the number 24 or use the increment/decrement arrows to alter the value by 1.

You may also configure a Default Hour and Delivery Time for the order if desired, use the Clock Icon or type the values directly. For example, if a request or order is submitted at 7:00 PM (after hours), it might be good to set the Default Hour to 8:00 AM for the next day.

The Delivery Time is typically the hours your office is option. For example, if you operate between 8:00 AM and 4:00 PM, then these are the times to enter in this setting. As with the Default Hour setting, click on the Clock Icon for each to set the appropriate time.

The system will not allow the client to enter an date or time that does not comply with these settings. For example, the earliest date available on the calendar is 24 hours from order submission and the client can only choose a time between 8:00 AM and 4:00 PM on the order form.
If you have also decided to always calculate deadlines within platform office hours (using the capacity details for each workflow step of this option), you will also make sure that no deadline will be estimated during the weekends or selected holidays. Remember them to always keep your company calendar updated!
Domains
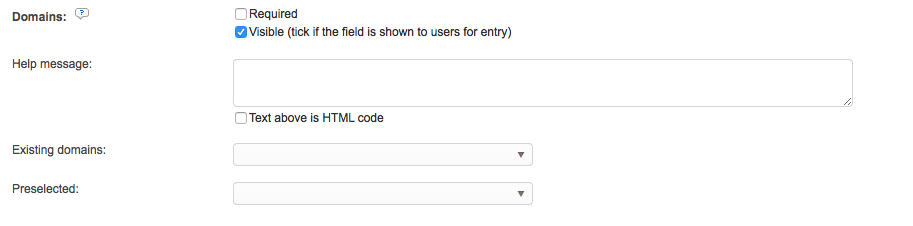
Next, you are able to configure the Domains that apply when the client chooses this option. This section must only be configured and visible if it is relevent. By default, the Domains are viewable on the form, but not required.
For example, if your company organizes resources by domain, then this section should be configured. However, if resources are organized by client, then it is not necessary and may be set to not visible and skipped.
If you do not organize resources by domain, you may untick the Visible option and this section will not appear on the form.

Additionally, if Domains are used to organize resources, you may also tick the Required setting to ensure that the client chooses the appropriate domain(s) and/or subdomain(s) for the order. A Help Message may also be added to provide the client with additional information about this selection on the order form.

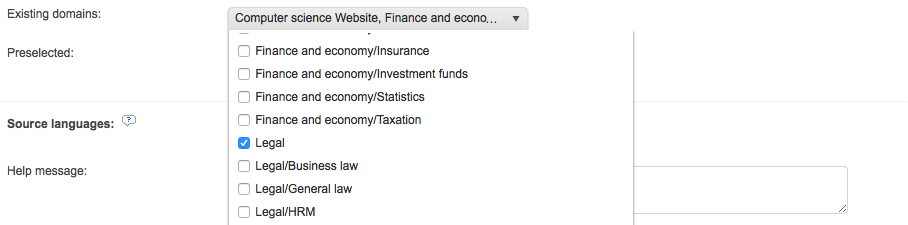
If Domains are used, you may also configure specific domains to appear as available selections to the client when completing the order form. This can be done by using the drop-down menu for the Existing Domains setting and then clicking on each checkbox to make one or more selections.
If Domains are used, you may also configure certain domains to be automatically selected for the client when completing the order form. This can be done by using the drop-down menu for the Preselected setting and then clicking on each checkbox to make one or more selections.

Configured and preselected domains will appear as shown below on the actual order form:

You may select one or more domains and/or subdomains to appear as existing domain selections or as a preselected domain.
Source and Target Languages
A section is provided for configuring both Source and Target Languages on the form. For simplicity, the following screenshots will show the process for Source Language configuration as the steps are the same for configuring the Target Languages.
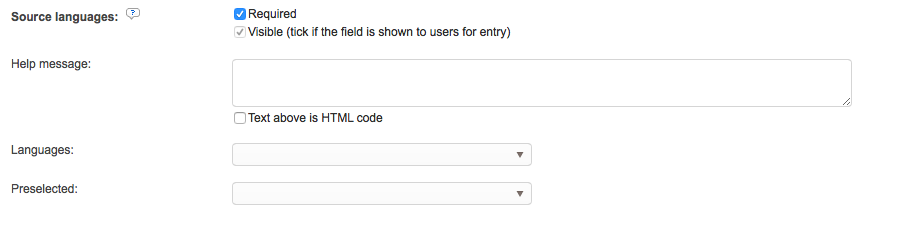
If this information is not required, but you want to give the client the option to still make selections, untick Required and leave Visible ticked. You may also untick both and the client will not see this information when completing the form. You may also enter a custom help message to provide additional information to the client.

By default, source and target languages are required to submit the form and are visible to the client. If you do not configure any languages, the client will be presented with a list of every available language in the system. This portion of the configuration allows you to only select the source and target languages that pertain to the client completing the form and cuts down on entry time as well.
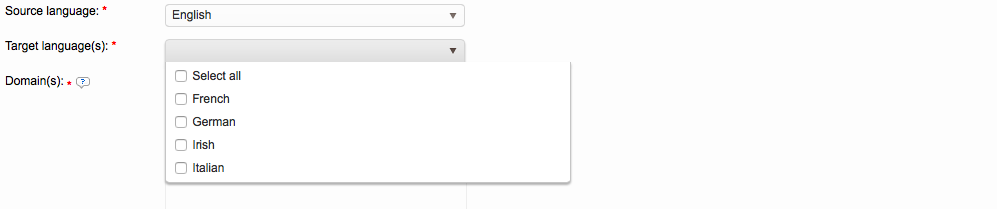
To choose a specific language or set of languages for the source and target languages, click on the Languages drop-down menu. Then tick the checkbox next to each applicable language in the list:
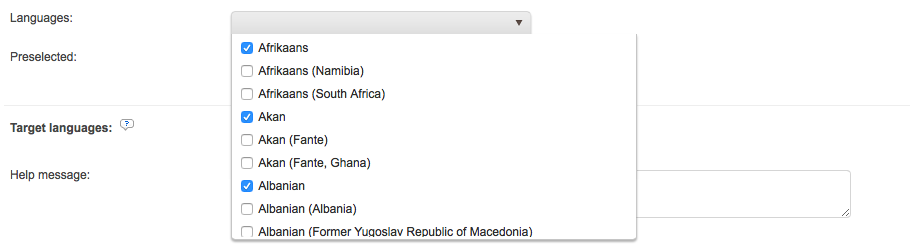
You may also do the same to preselect languages for automatic selection in the form. The Preselected setting is helpful when the client always requests the same source and/or target languages for orders and will prevent errors when submitting an order.

For example, if the client always requests that files consisting of English as the source language are translated, then this language could automatically be selected in the Preselected configuration setting to ensure it is automatically selected during form submission.

This information appears on the actual order form as drop-down menus:
Uploading Files & Reference Materials
As part of the order details for the user option, you also have the ability to configure whether or not Uploading Files is required. By default, this option is required and viewable on the form.
If it is required, then visible will be checked automatically. You may also enter a help message and mark the text as HTML code if needed.

If you want to make it a viewable but not a requirement or to hide it from view, click on the checkbox next to either option to enable or disable it.

Additionally, you may require or give the option of Uploading Reference Material to the client. By default this information is not required or visible to the client on the order form when the option is chosen. To make it visible or required, tick the checkbox next to the appropriate option, add a help message, and mark the text as HTML code if desired.

This information will appear on the actual order form as shown below when at least one file has been uploaded:

Instructions
Finally, an optional field is provided to the client to provide instructions about the order on the form. This field is visible to the client, but not required by default. You may make it a requirement or simply hide it from view by ticking the checkbox next to the appropriate options.

If you tick Required, then Visible will be automatically checked. You may also enter a custom help message to provide more details to the client.

It will appear as shown below on the order form:

At this point, you have configured all information that is viewable to the client and required to complete the request. Additional settings are provided to display specific information to managers completing the form internally on the clients behalf and for project information when a project is automatically created for the option.
To learn more about configuring these settings, please see the Order Settings for Managers and Project Settings pages.