
You can export a job, project, translation memory, or termbase to work on it outside the Editor: in your own CAT tool, in Word or Excel, or with an external collaborator. When you're done, import the file back to apply your changes. For Flex content (string management), see Export and Import.
If Export and Import are grayed out or missing from the File menu, you're not allowed to use them.
Exporting Your Content
Each export is a bilingual file with the source language and one target language:
-
Jobs and projects: XLIFF, Word, or Excel.
-
Translation memories and termbases: XLIFF only.
Follow these steps to export:
-
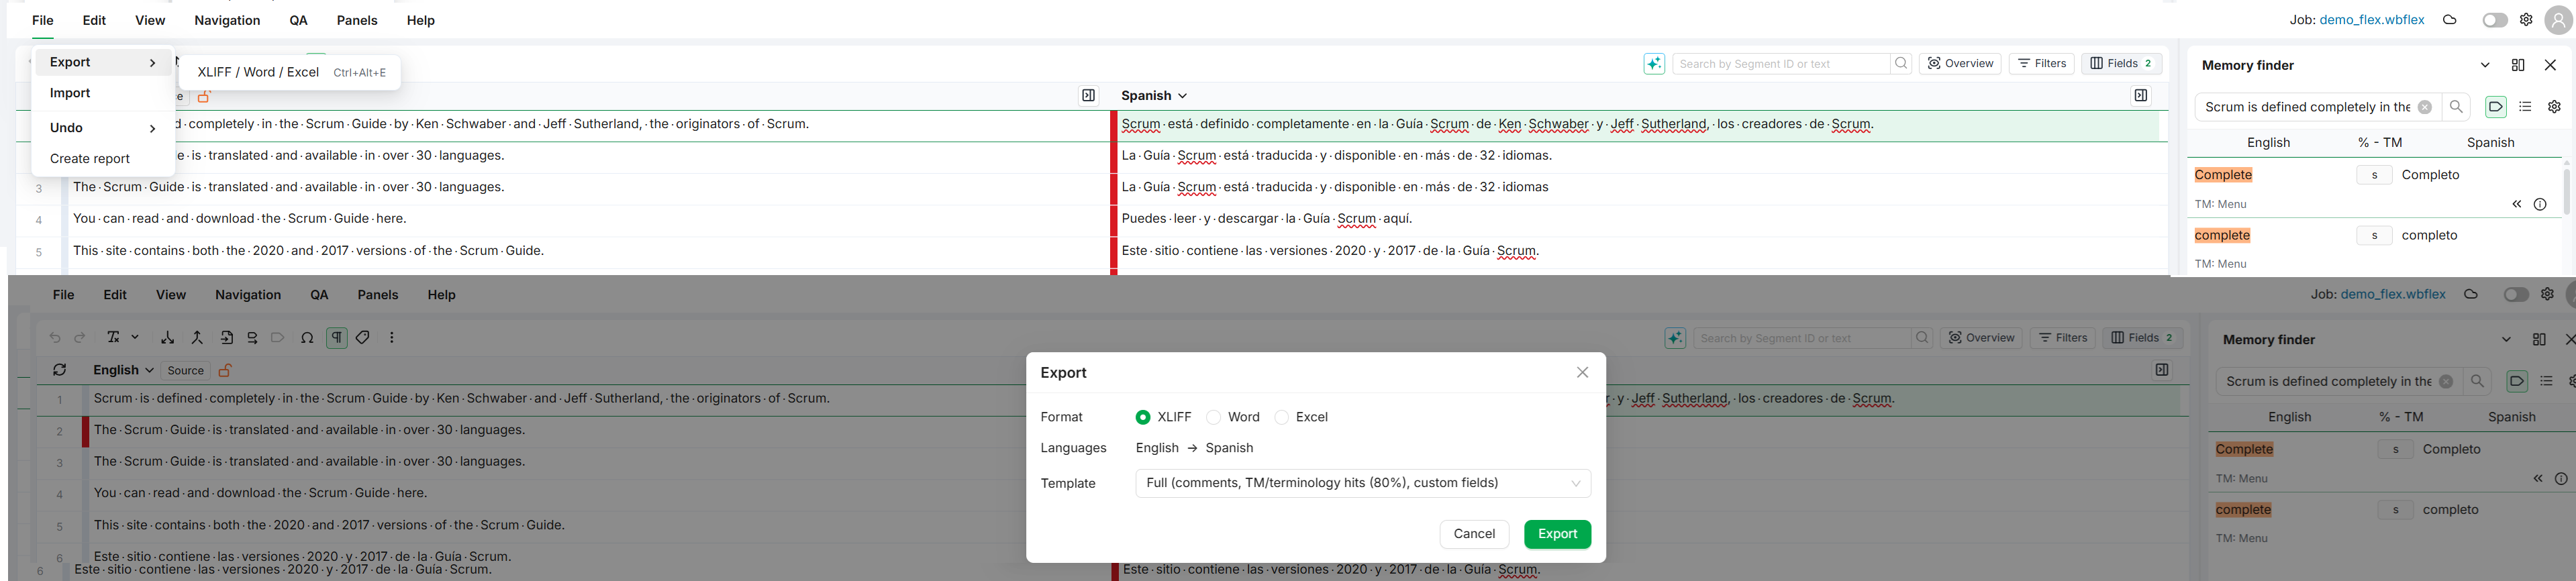
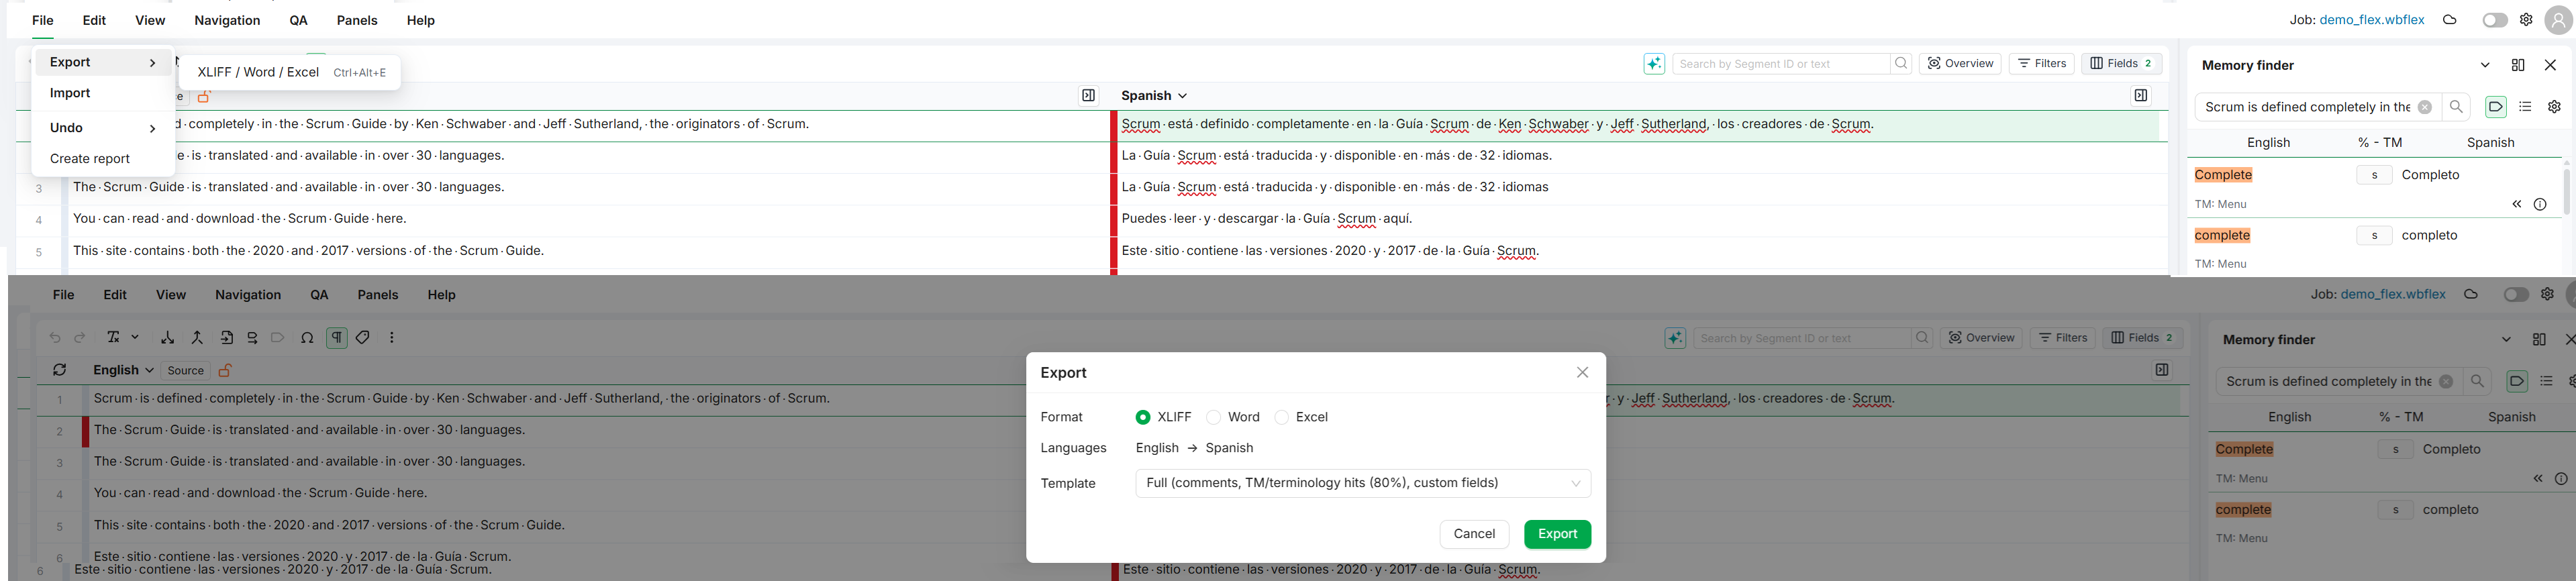
Select File > Export > XLIFF / Word / Excel. In a memory or termbase, select File > Export > XLIFF.
-
Under Format, select the file format.
-
Under Languages, select the target language if you have more than one.
-
Under Template, select what the file includes (see Templates below). The Editor remembers your choice.
-
Click Export. The file downloads straight away.
If filters are active in the grid, a message warns you that only the filtered segments are exported.
The file is named after the document when one document is open. Otherwise it's named after the job, project, memory, or termbase. The language codes follow the name, for example _en-fr, and _filtered is added when filters are active.
Templates
Jobs and projects:
|
Template |
What it includes |
|---|---|
|
Basic (source + target) |
Source and target text only. |
|
With comments |
Adds the comments on each segment. |
|
With comments and TM/terminology hits (80%) |
Also adds memory and terminology suggestions from 80% similarity, so the offline translator has context. |
|
Full (comments, TM/terminology hits (80%), custom fields) |
Also adds the project's custom fields. |
Translation memories and termbases:
|
Template |
What it includes |
|---|---|
|
Basic (source + target) |
Source and target text only. |
|
With comments |
Adds segment comments. |
|
Full (comments, custom fields) |
Also adds custom fields. |
If the template you used last isn't available for a memory or termbase, the Editor uses Basic (source + target).
Importing Your Edits
Import the edited file to update the segments. You see a preview of the changes before anything is saved. Supported formats are .xlf, .xliff, .xlsx, and .docx, up to 1 GB.
Follow these steps to import:
-
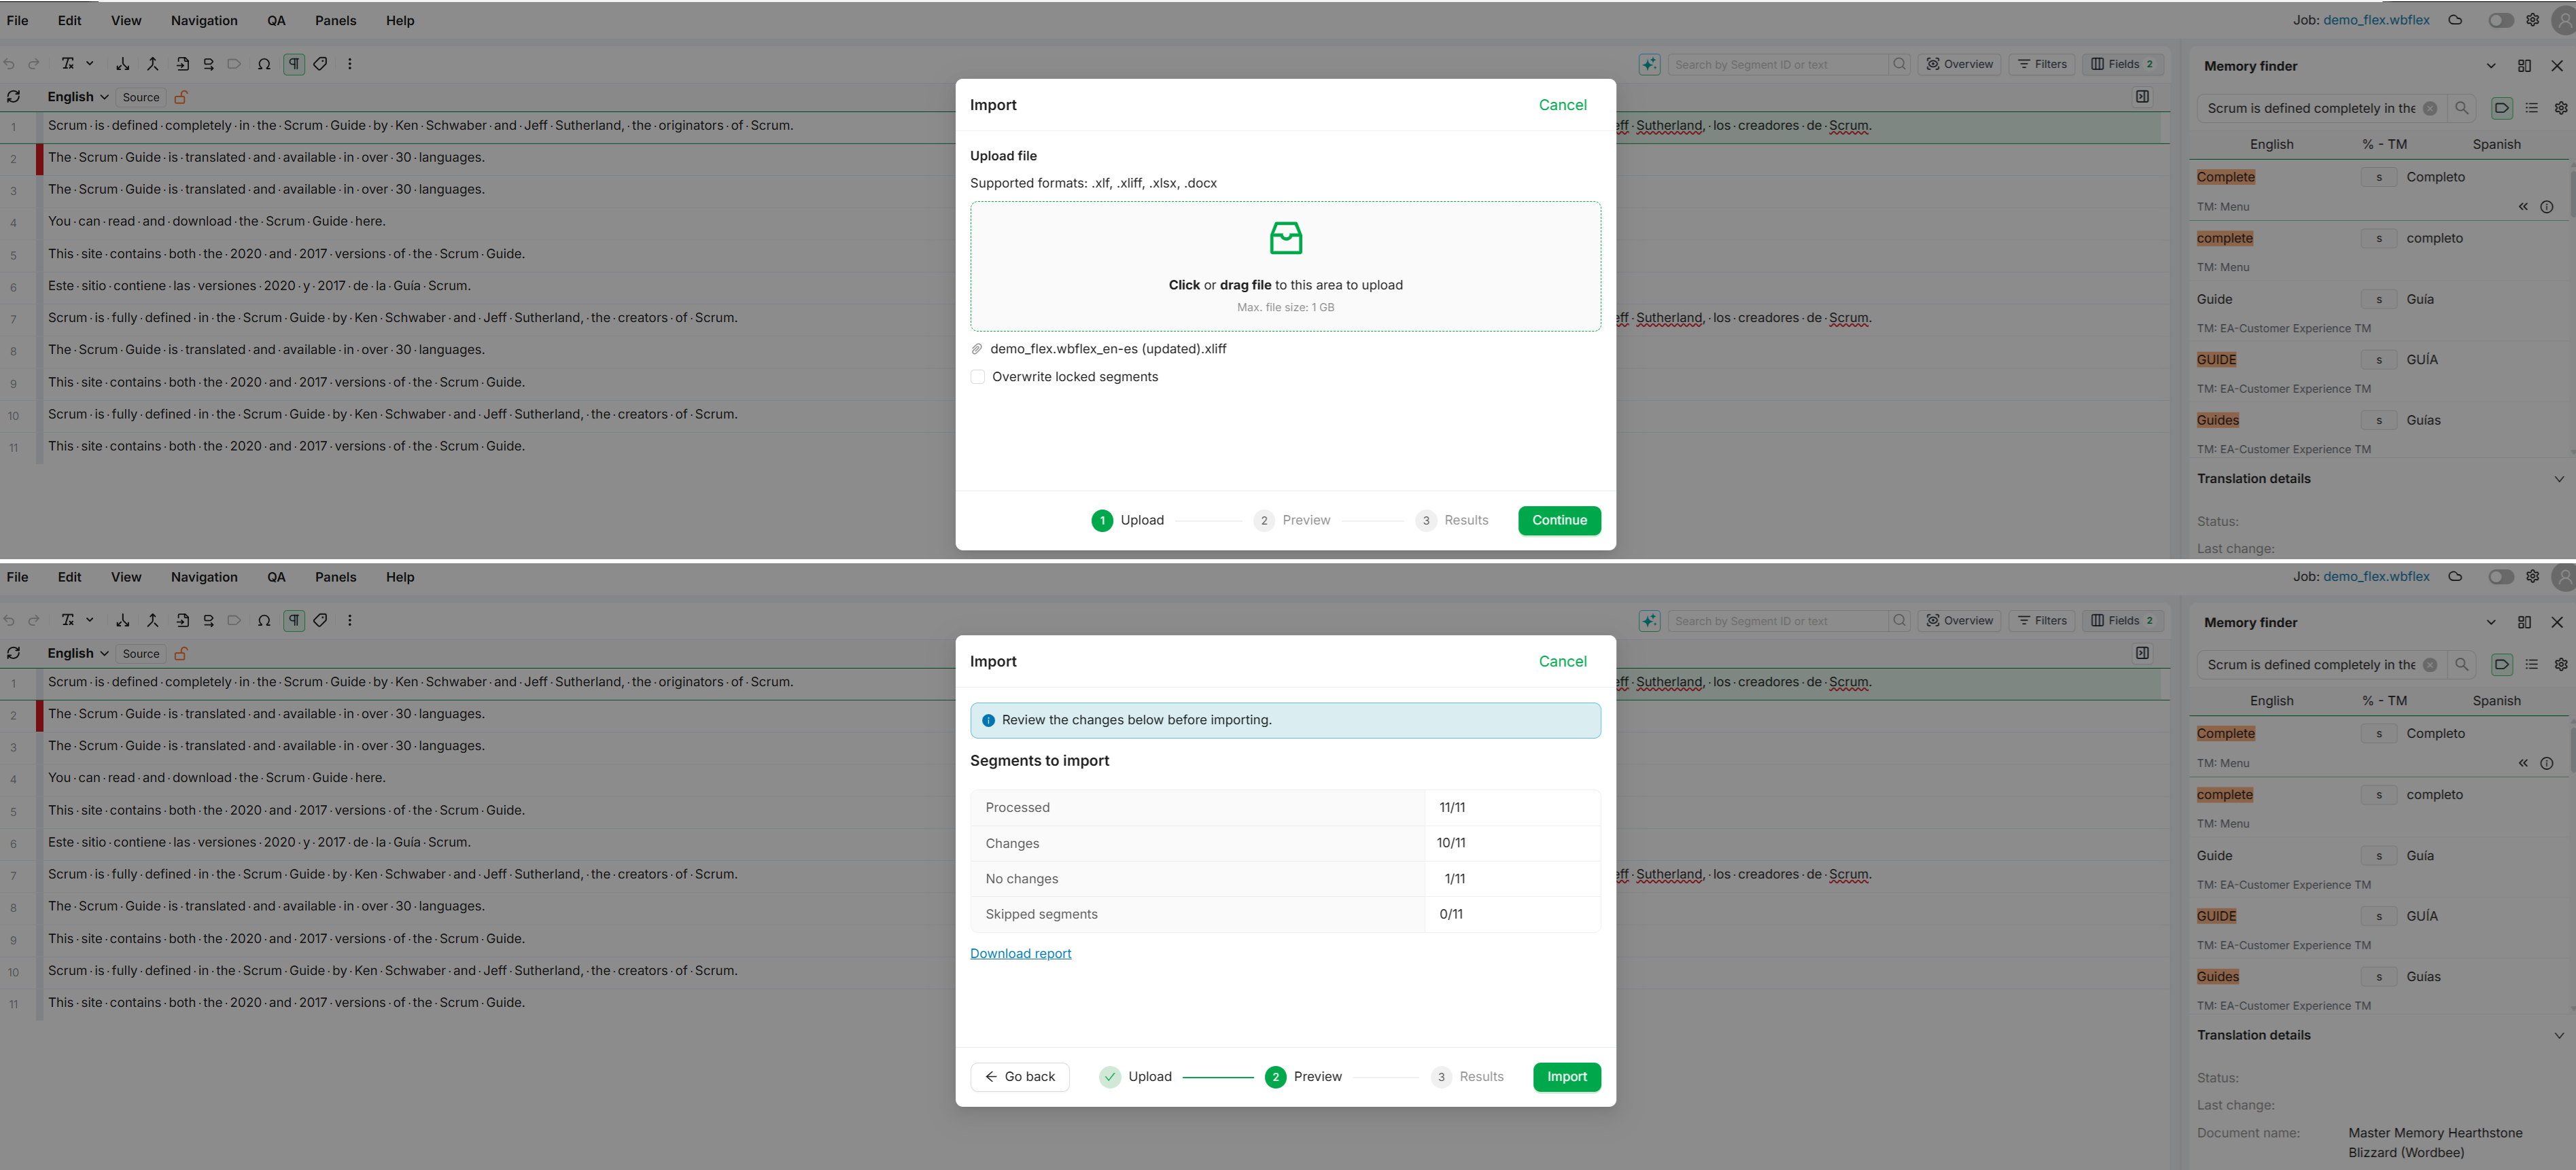
Select File > Import.
-
In the Upload step, drag your file into the upload area or click to browse. To also update locked segments, select Overwrite locked segments. Click Continue.
-
In the Preview step, check the counts under Segments to import: Processed, Changes, No changes, and Skipped segments. For line-by-line detail, click Download report. To pick another file, click Back. When the preview looks right, click Import.
-
In the Results step, check how many segments changed, then click Done.
The import updates segment text and status only. Custom fields and labels in the file are ignored: to update them, use the Batch Actions Panel.
Statuses in XLIFF Files
In an XLIFF file, each segment records where its pre-translation came from and its status, in the standard state and state-qualifier attributes. If you work in another CAT tool, these attributes decide how each segment comes back.
On Export
|
Origin |
state |
state-qualifier |
|---|---|---|
|
In-context match: same text in the same context, from a memory or a previous version |
|
|
|
100% match, not in context |
|
|
|
Fuzzy match |
|
|
|
Machine translation |
|
|
|
Auto-correction or rule-based |
|
None |
|
Not pre-translated |
|
None |
On Import
|
state in the file |
Status after import |
|---|---|
|
|
Confirmed (green) |
|
|
Neutral (gray) |
|
|
Neutral (gray) |
|
|
Error (red) |
|
|
Error (red) |
|
No |
Neutral (gray) |
As a result, in-context and 100% matches you didn't change come back Neutral, not Error. The online QA check still flags any real issues.
This applies when you import a bilingual XLIFF back into a job, project, memory, or termbase. Uploading an XLIFF as a new source document works differently.
Learn More
-
Filters Panel: Narrow your content with filters, then export only the segments that match.
-
Export and Import: The equivalent flows for Flex content (string management).
-
Batch Actions Panel: Apply labels or update custom fields in bulk after an import.
-
XLIFF Configuration Options: Configure how XLIFF source documents are extracted and rebuilt.